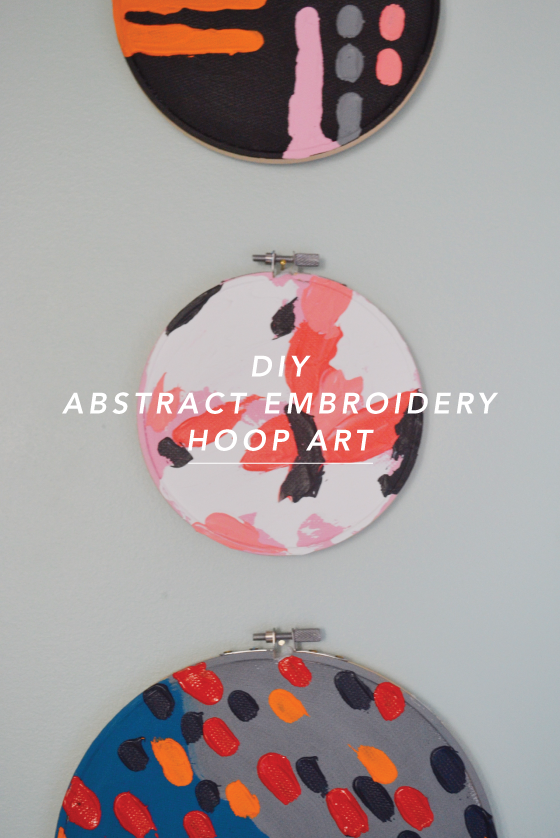
DIY Abstract Embroidery Hoop Art
Welcome to our second new series of 2017! After nearly ten years of sharing the creativity of others, I thought it was high time we started creating more ourselves. These projects are just as much for me as they are for you. Working in a creative industry tends to have the opposite effect of what you might expect, and my own personal art has taken a backseat. I aim to change that starting with this post.
So, what can you expect? A loosely guided art project once a month that leaves plenty of room to explore and make your own. I’ll share my own take on it and leave you to the rest with a list of supplies and your own hands.
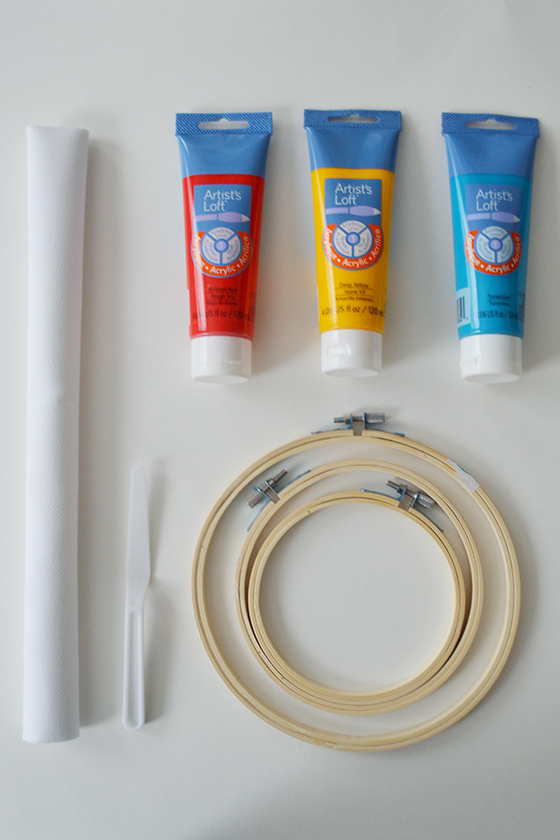
Supplies
• embroidery hoop(s)
• embroidery fabric
• acrylic paints
• palette knife (a disposable plastic knife will do in a pinch)
• acrylic paint brush
• jar with water for rinsing
• paper towels
• paint palette (or paper plate)
• scissors
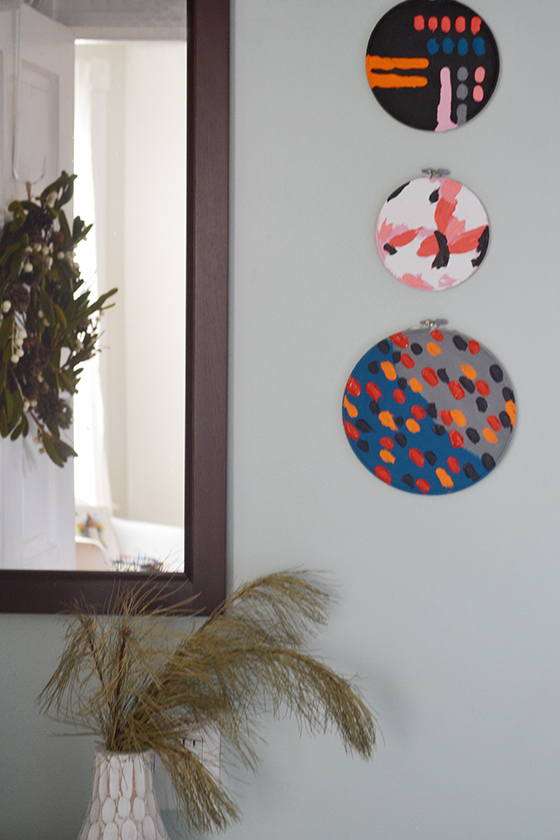
I began by finding two color palettes I liked that could be easily mixed and matched – mainly blues, corals, goldenrod, and grey. I also knew that I wanted my three hoops to be related in style to look cohesive when hung together, and I accomplished that in two ways. First I made sure to use colors from the first two pieces together in the third, and second I made each painting slightly more organized in style than the previous. (Can you tell the order?)
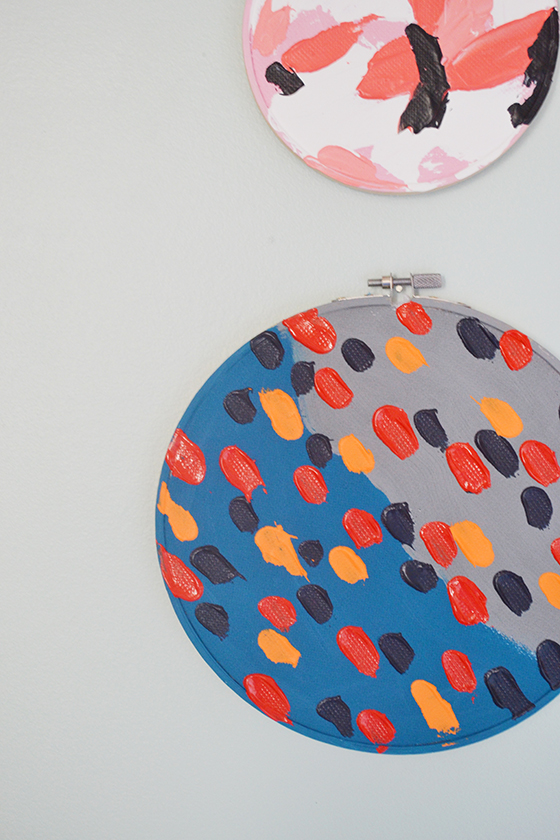
Begin by disassembling the embroidery hoop and stretching the embroidery fabric over the inner hoop before pulling the fabric taut and replacing and tightening the outer hoop. I waited until the end of the project to trim off excess fabric from the back, but you could do that now as well.
Next you’ll want to pick up that paint brush and paint the entire “canvas” background however you see fit, making sure to paint over the top edge of the embroidery hoop as well. (Sidenote: this is the only time I used a brush throughout)
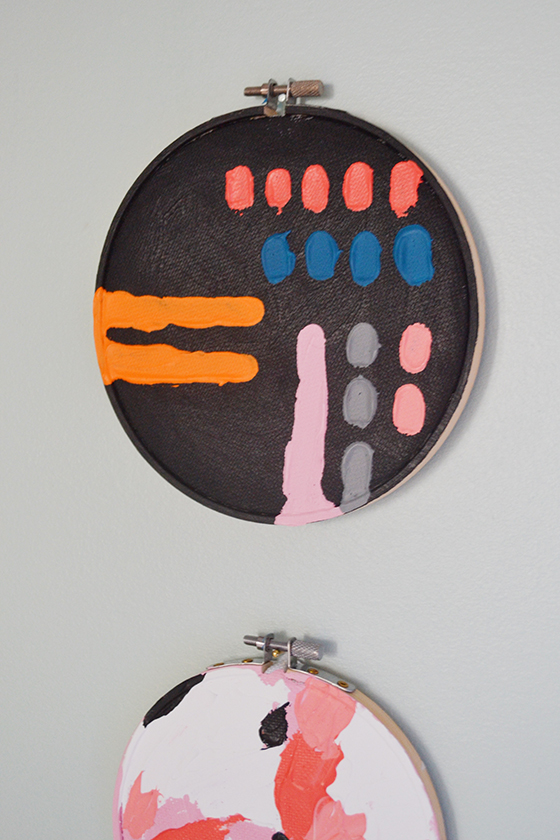
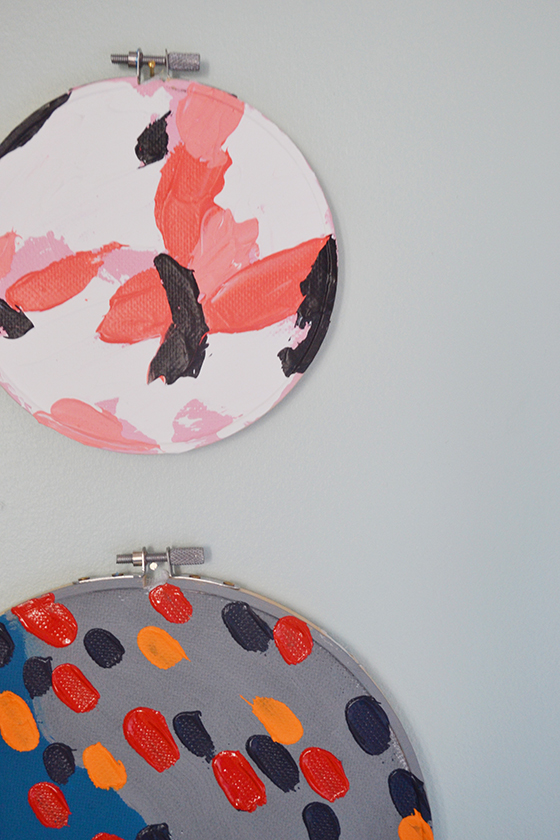
After the background is dry it’s time to put that palette knife to work. Squeeze each of your chosen paint colors onto your palette, and if you’re mixing a new color remember that it’s always better to mix too much than too little because it’ll be nearly impossible to recreate that color again. Load up the underside of the knife with a dollop of paint and use it as though you’re icing a cake. I didn’t bother waiting for colors to dry in between, just used a gentle hand to avoid mixing. The paint should be thick enough on the fabric that you can see definition, no need to refrain.

Once finished I let these guys hang out for a solid 24-hours to dry. Those thick layers of paint will take at least that long to set up fully. I then used some small finishing nails to hang them on the wall, just under each hoop closure.
I hope you love this new series and will join me in bringing more creativity into your life! And if you complete any of the projects I’d love to see – just tag @designcrush.

No Comments