DIY Geometric Sunhat

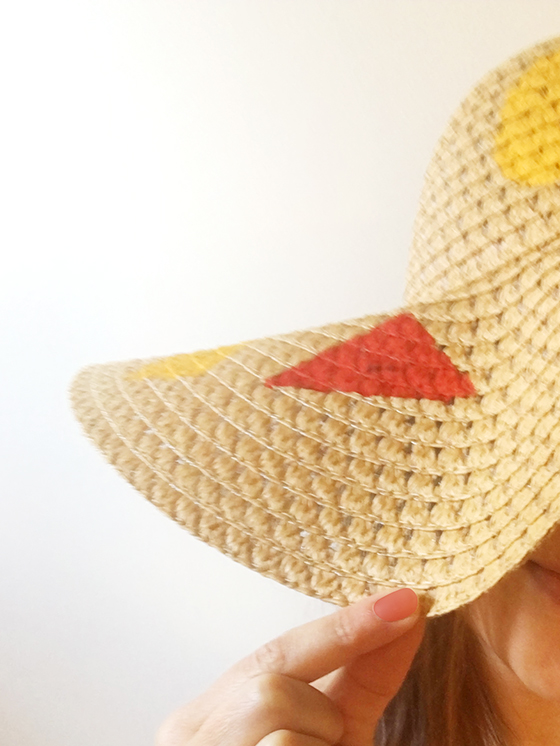
It’s already May, and I’ve been a planting fool! But unfortunately, I’ve also already been sunburned once. Despite my daily layer of sunscreen, I’m realizing I need something more – like an gigantic hat to protect my face, neck, and scalp. (Having super dark hair and a flaky scalp do not mix.) I picked up a wide-brimmed straw hat for the job, but decided it needed a bit more personality. A few geometric shapes and three primary colors later and now I’ll be wearing it all summer long! Bonus: this one is foldable, so it’ll be easy to tuck into my bag on the go – no excuses.
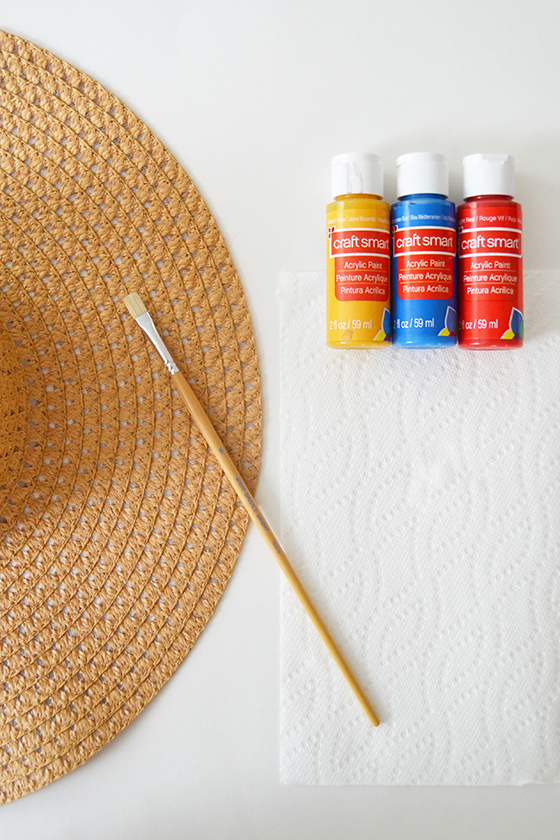
Supplies:
• wide-brimmed straw hat
• craft paint
• cardstock
• scissors
• pen
• flat-tipped paintbrush
• palette or paper plate
• paper towels
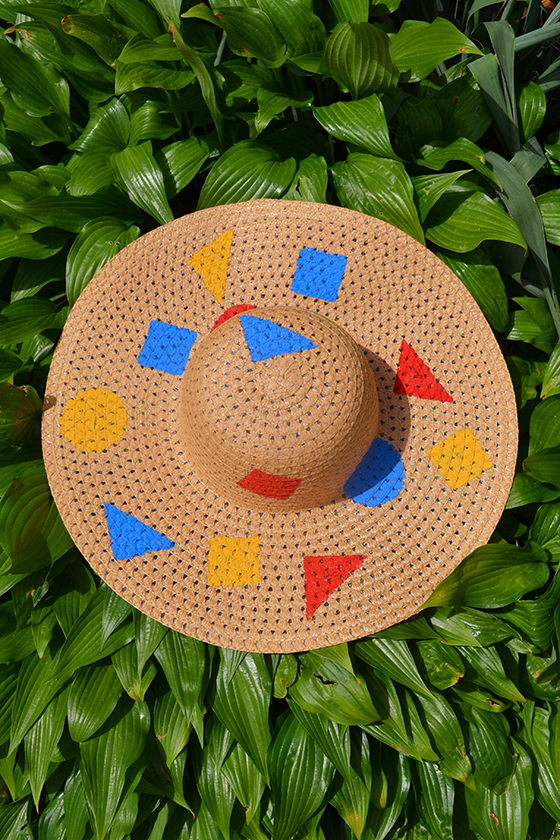
Start out by making some simple cutout templates using the cardstock, pen, and scissors. I used objects from around the house – a salt cellar for the circle, a sticker for the square, and the corner of the cardstock for the triangle. (Of course you can opt to use any shapes you want, I think black and white squiggles would look great!) I recommend using a pen to trace each shape because a pencil didn’t seem to be dark enough.
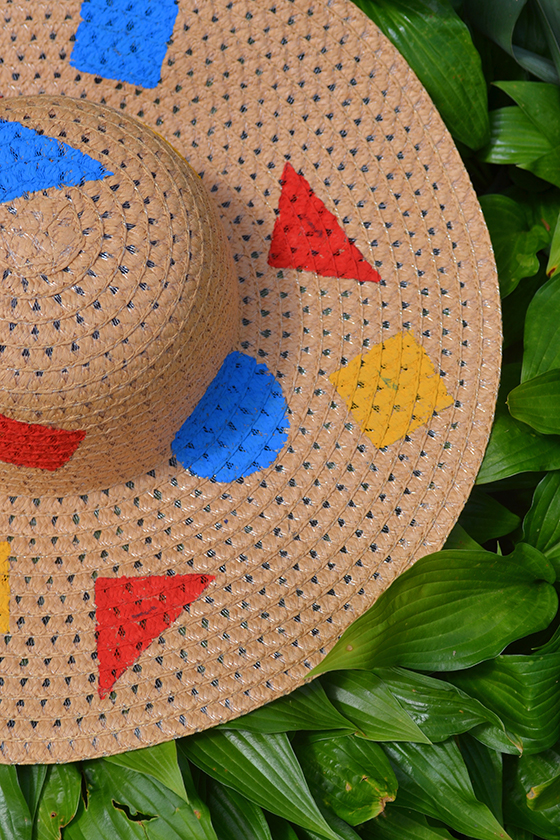
Lay out your shapes and trace as you go, making sure to avoid placing circle next to circle, etc. Now get to painting. I chose a primary color palette because it’s bright and fun for summer, but I think a black and white scheme would be just as striking. Layer of paper towels or newsprint on your painting surface before getting started because it will come through a bit. After putting some paint on my palette, I went around and made a small daub of color on each shape as a guide.
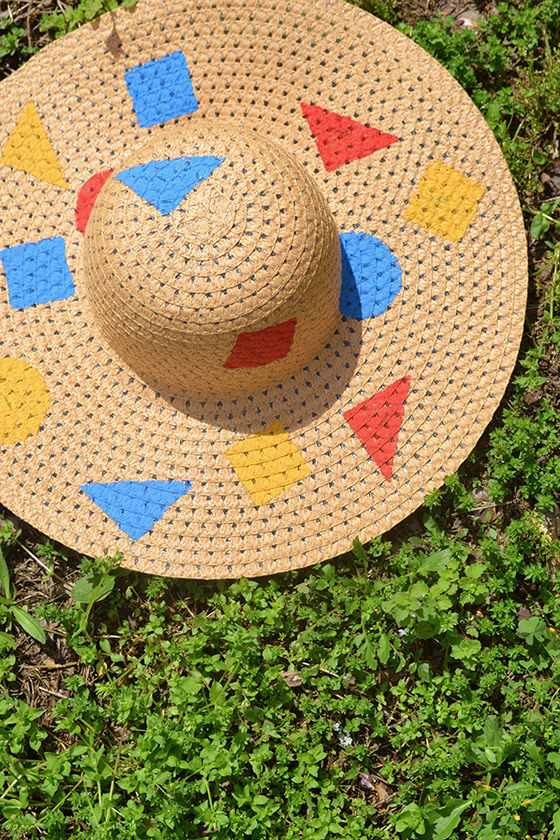
Carefully line the edges of each shape using your flat-tipped brush before filling in the centers, using the brush in an up and down motion to get all the nooks and crannies where necessary. Allow your new hat to dry thoroughly (of course) before strutting your stuff and protecting your mug!
No Comments