DIY Modern Cone Trees
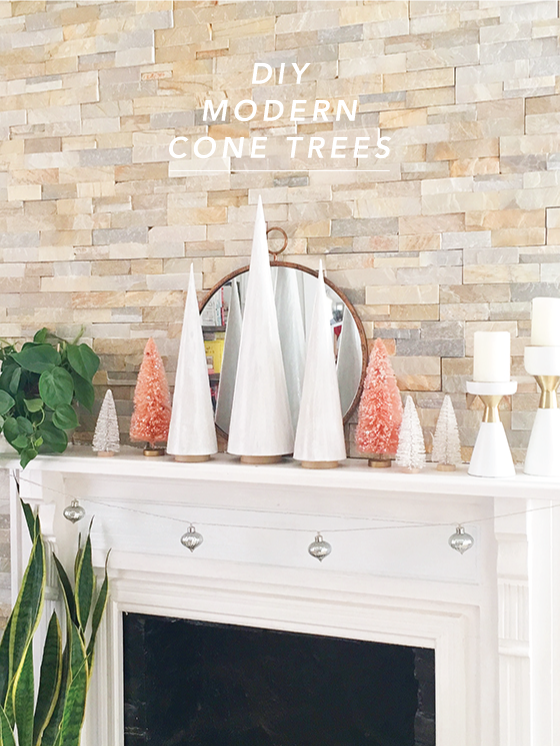
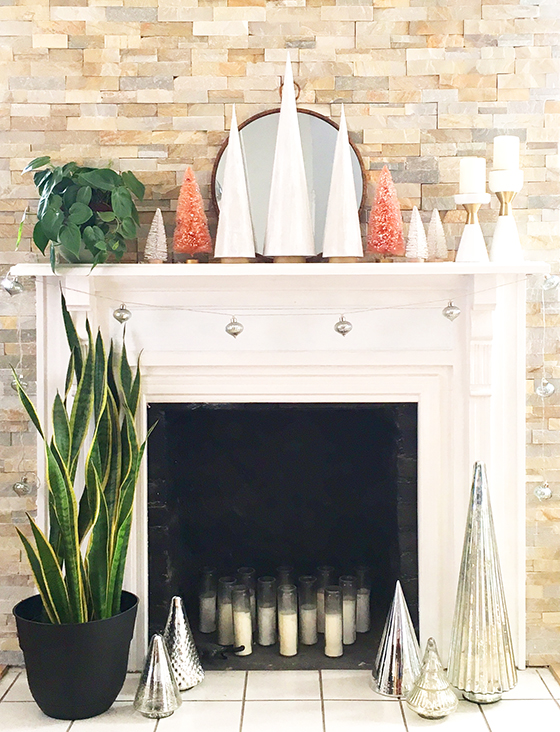
I first made this ridiculously easy project a few years ago and can’t believe it’s taken me so long to share with you! This trio of DIY modern cone trees are a statement maker on their own or pair them with your other decor – I favor plenty of bottlebrush trees. I think they’d also be really pretty in any other color and the glitter would really pop!
Supplies
• paper mache cones (the ones I used are 16-inch and 12-inch)
• pearlescent white craft paint
• medium paint brush or craft sponge
• clear craft glitter
• newsprint or something similar
Step 1. Spread out the newsprint or something else that will protect the surface of whatever you’re creating your trees on. (It’s the glitter that’s going to get messy, not the paint.)
Step 2. Do one tree at a time, start by painting with long vertical strokes. You can do either one coat of paint for a more textural look – the paper will show through a bit – or two for more coverage, but whichever look you prefer make sure the paint is still wet when we get to the next step.
Step 3. Rather than using glue you’ll be relying on the wetness of the paint to adhere the clear glitter to the cone for a pretty, snowy look. (You could also use regular glitter if that’s your preference, or mix the two together.) With the tree held horizontally over the covered surface, gently sprinkle the glitter as you rotate the cone. I went with about 50% coverage on my trio, so you gauge how much you’d like from that estimate.
Step 4. Allow to dry completely. If you’d like an extra layer of protection/glitter adhesive, you can add a coat of clear spray varnish at this point before allowing it to again dry completely.
Step 5. DONE.
No Comments