August 18, 2014
12 August DIYs
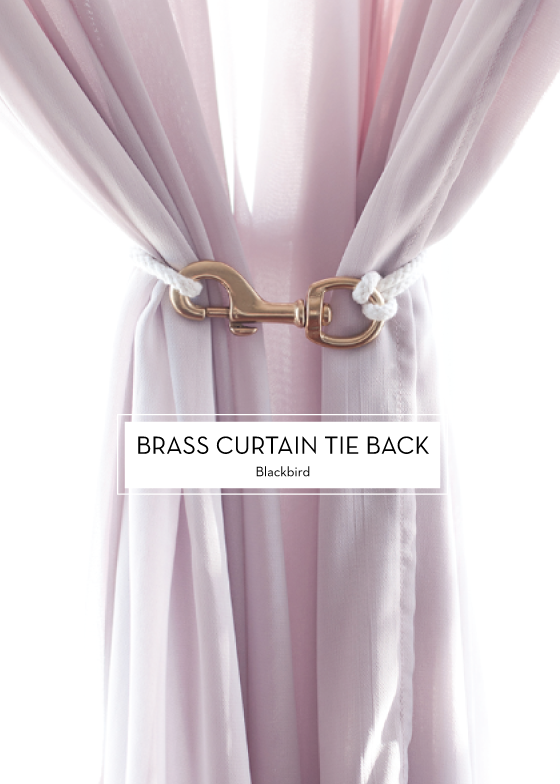
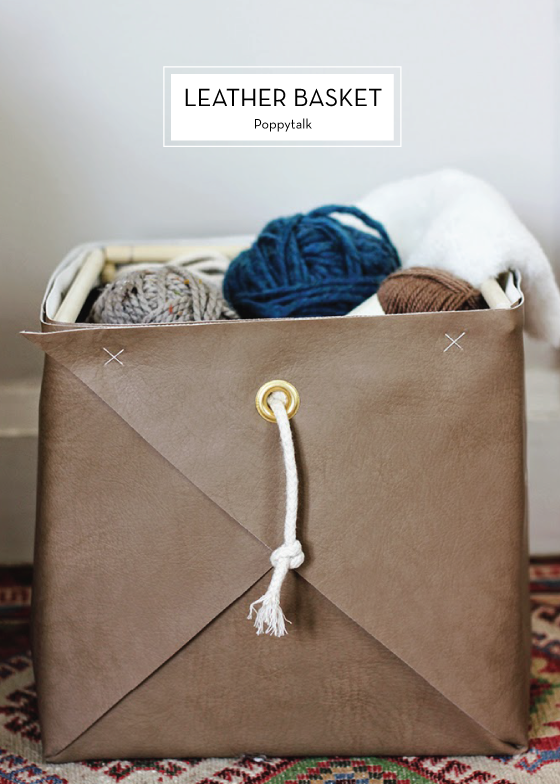
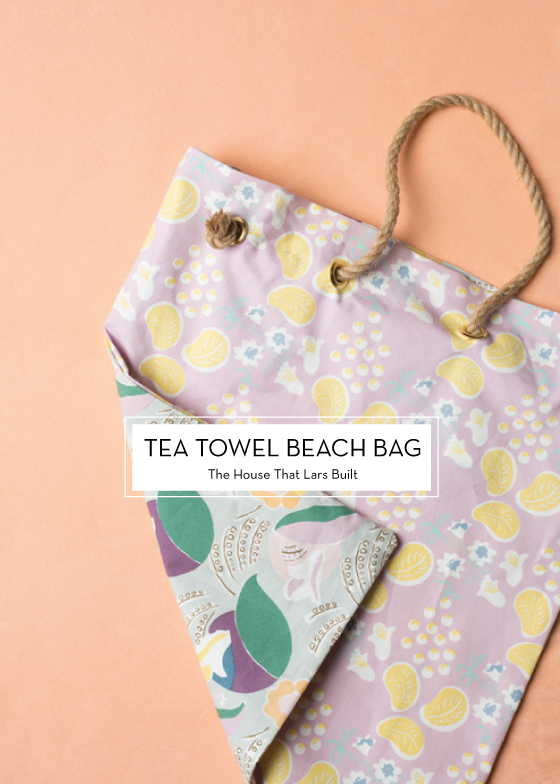
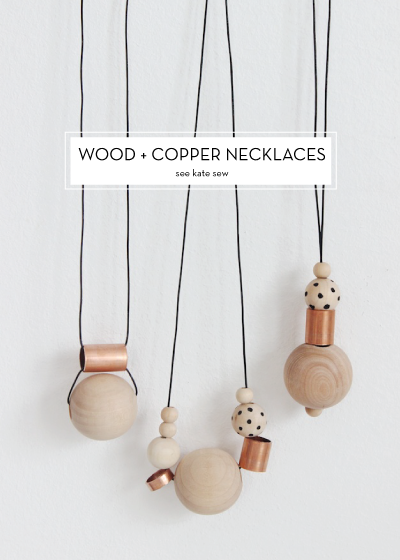
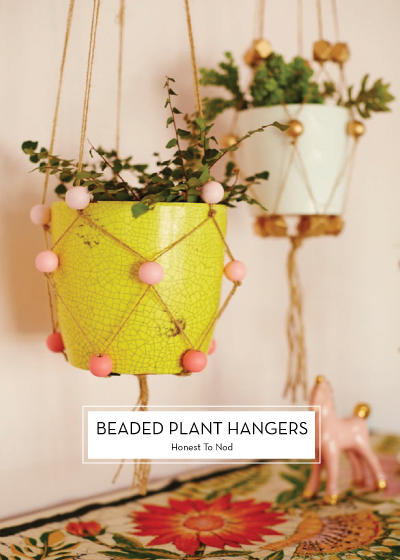
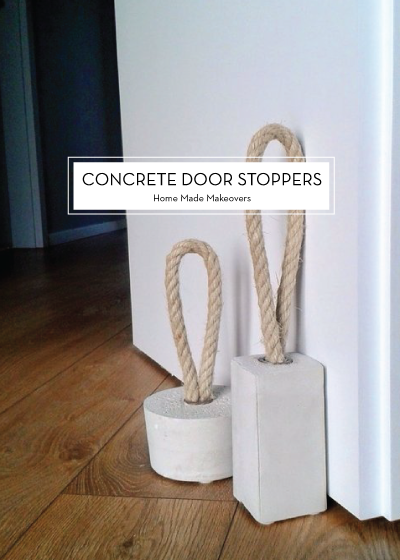
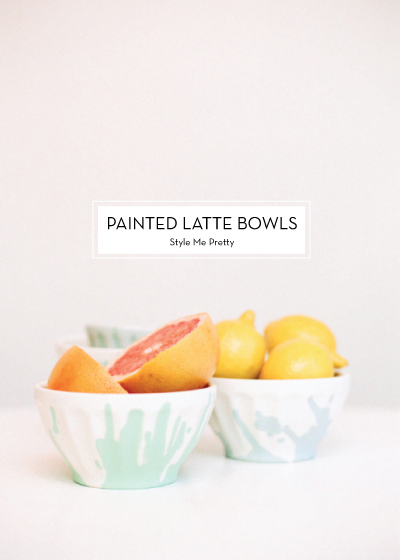
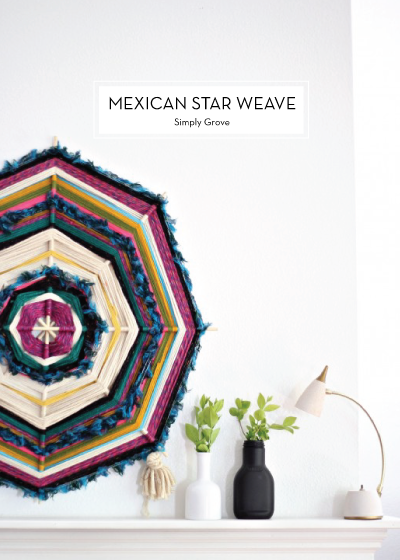
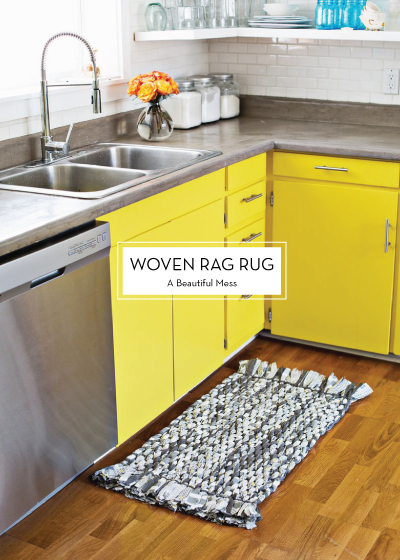
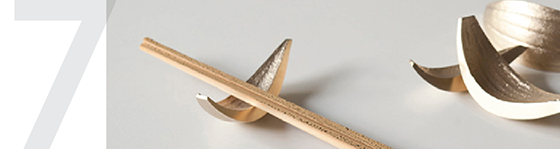
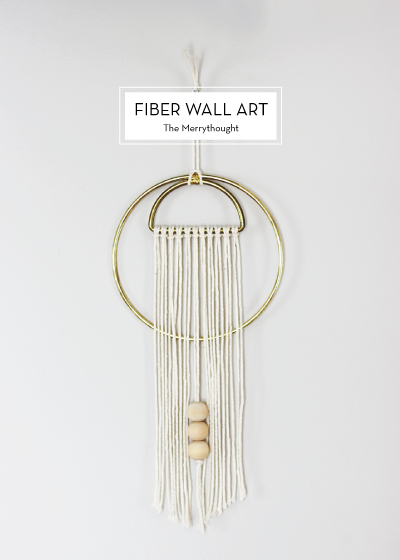
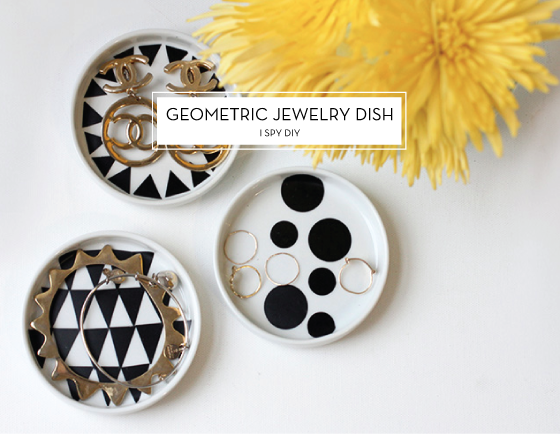
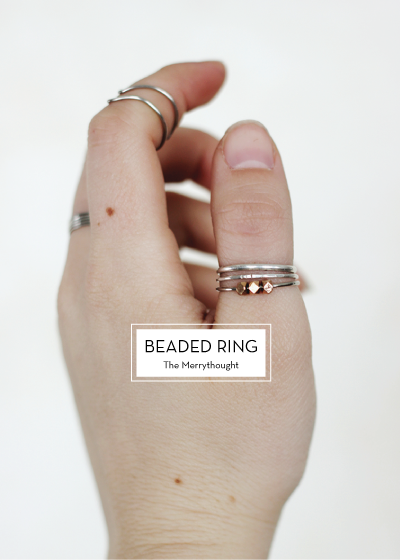
Click on each image to go to the project.
All photos copyright of their respective sites unless otherwise noted.
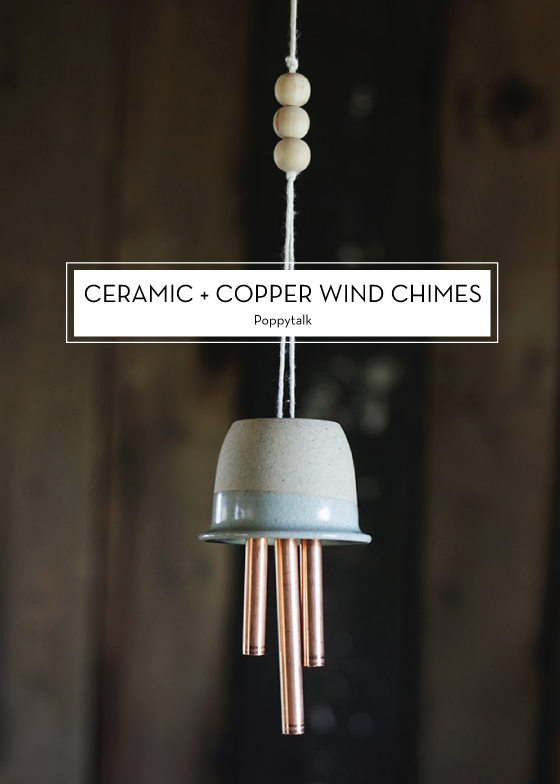
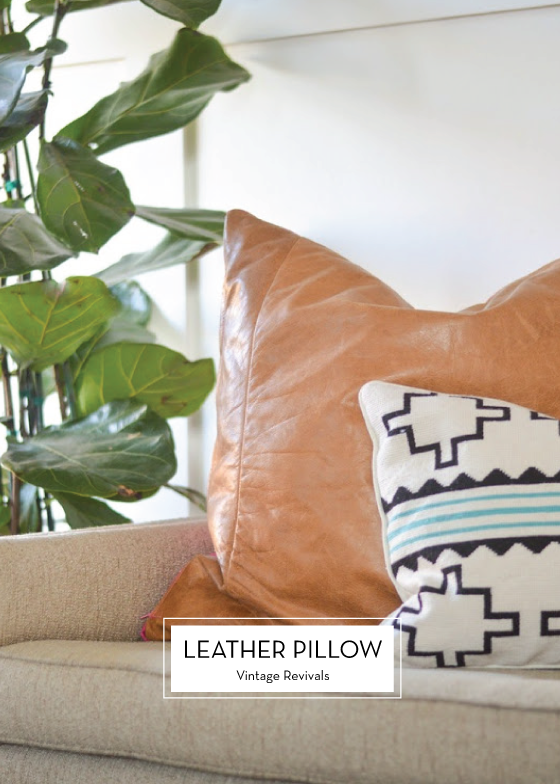
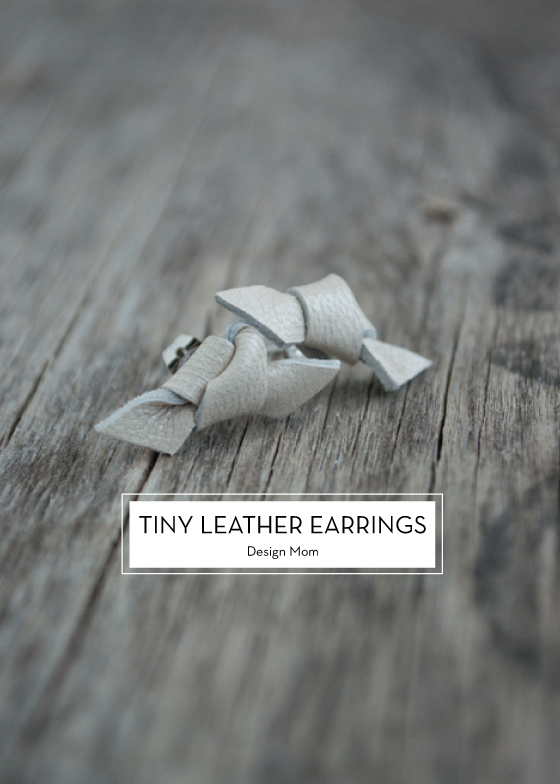
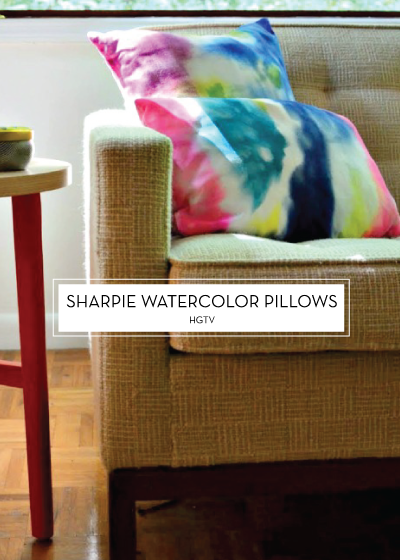
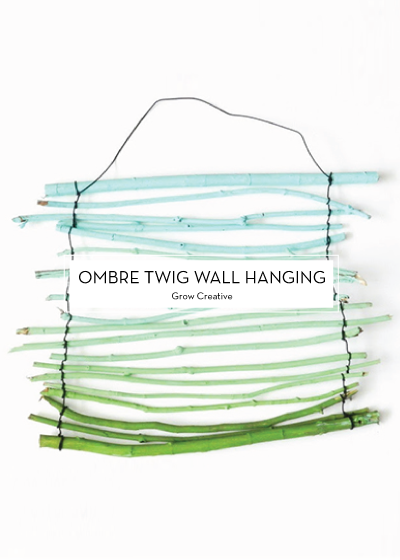
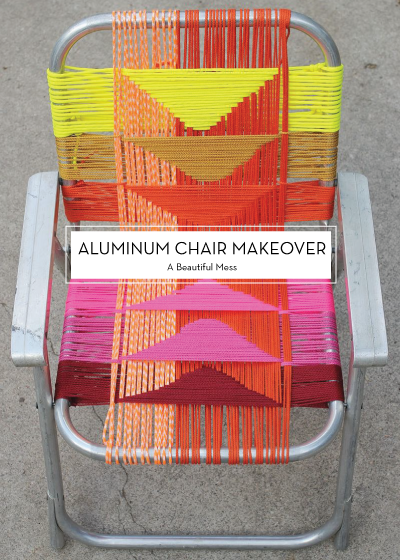
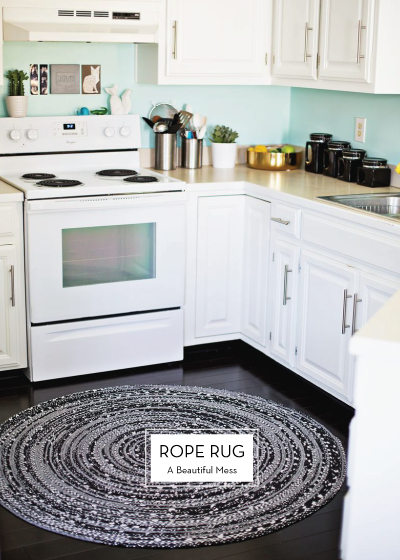
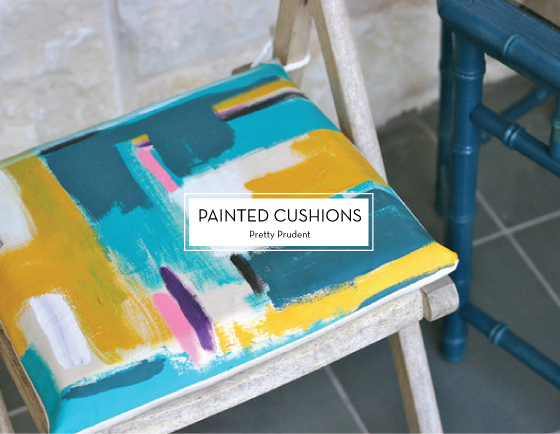
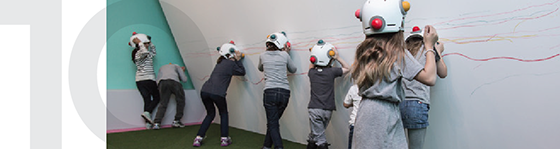
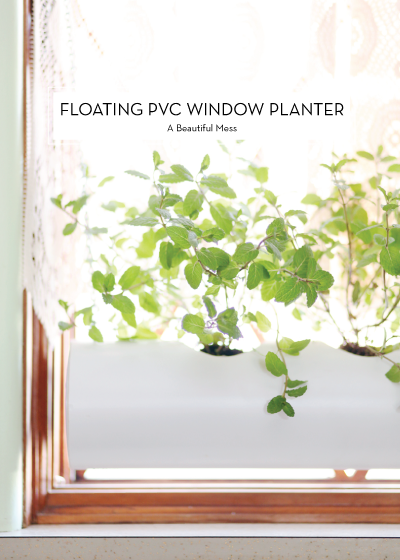
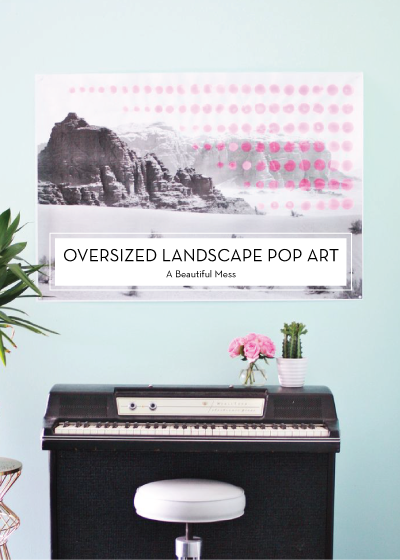
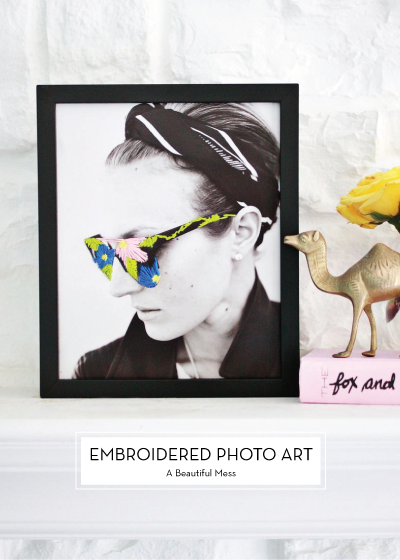
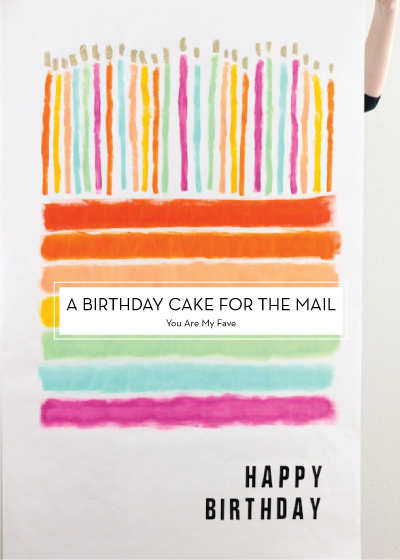
Click on each image to go to the project.
All photos copyright of their respective sites unless otherwise noted.
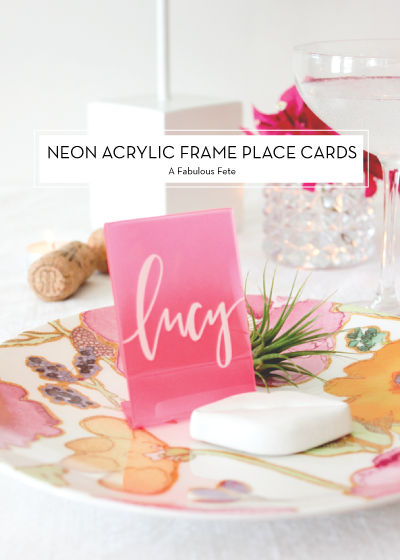


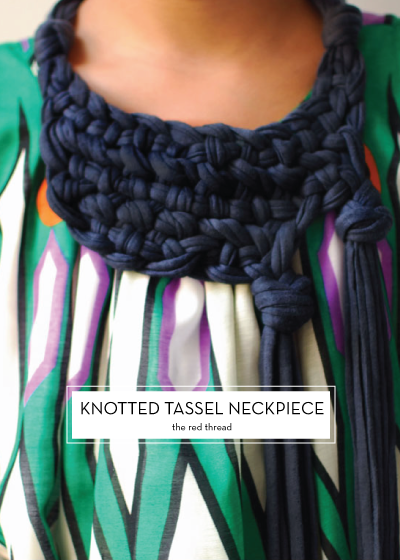
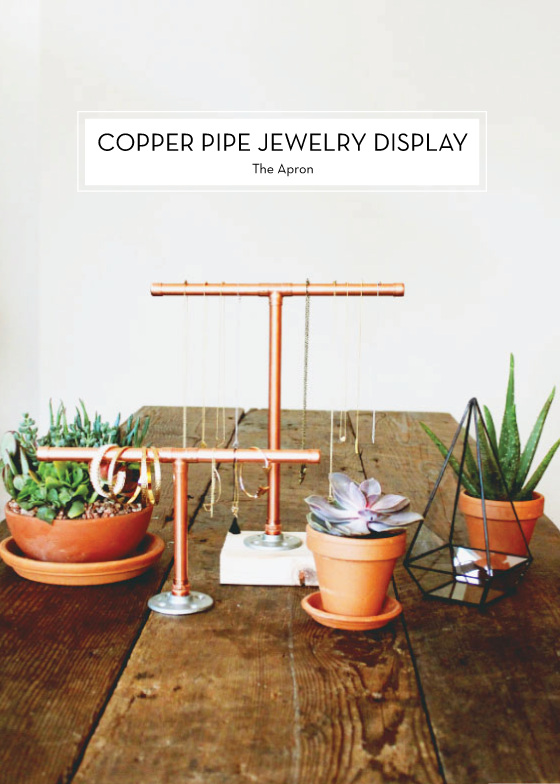
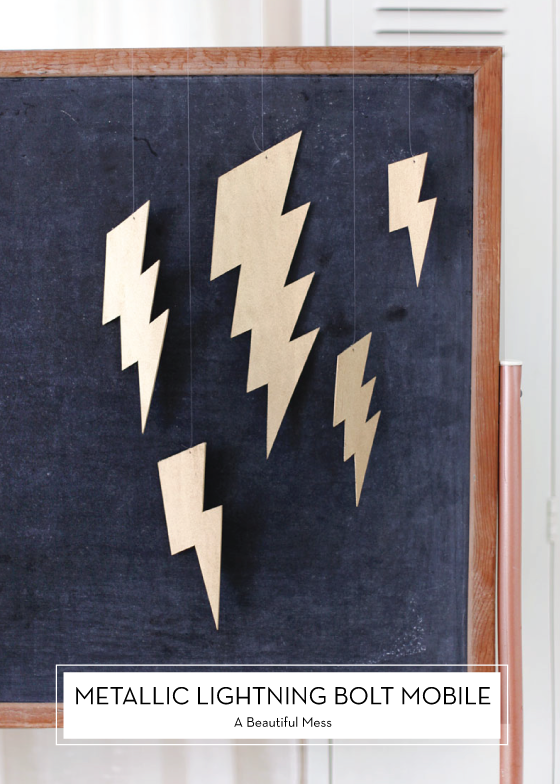
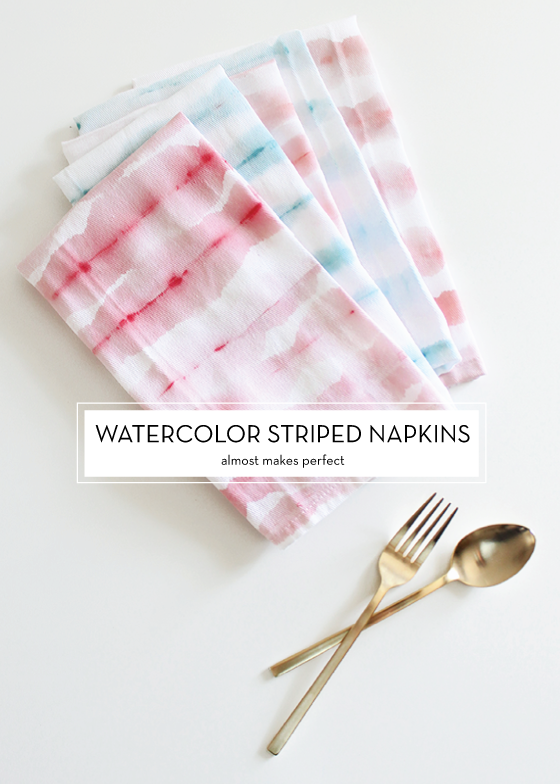
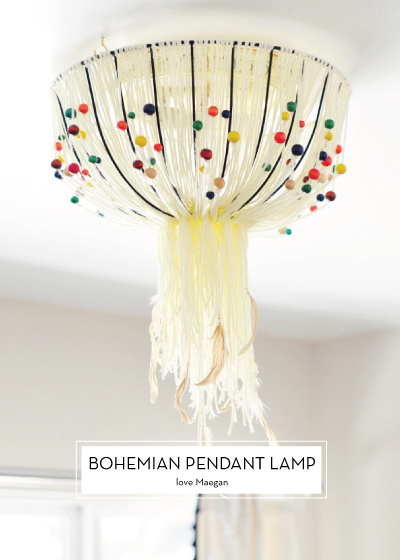
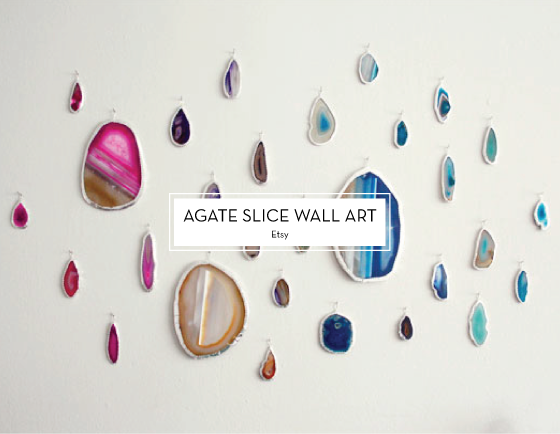
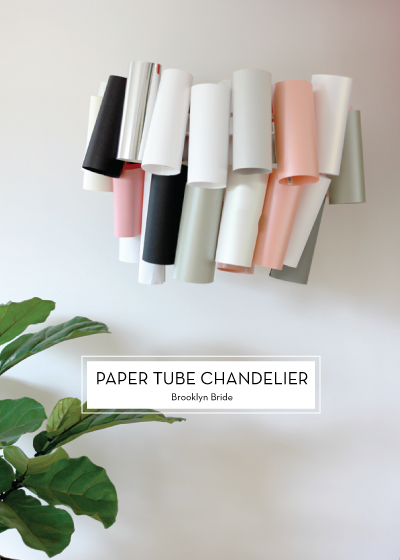
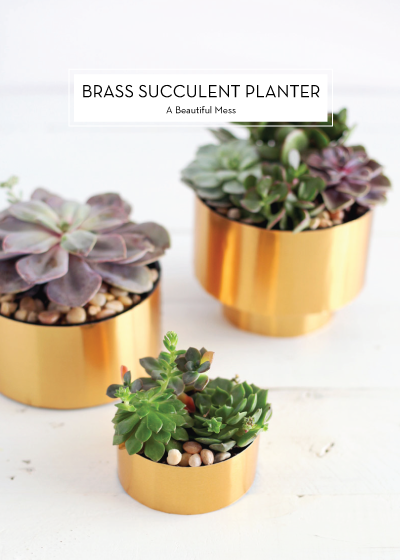
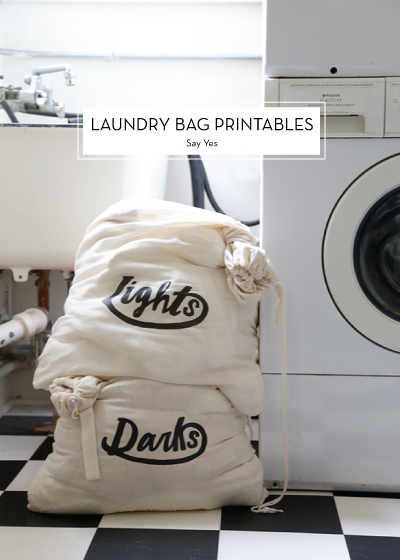
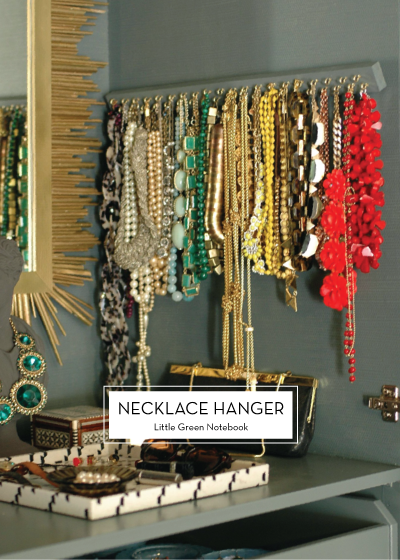
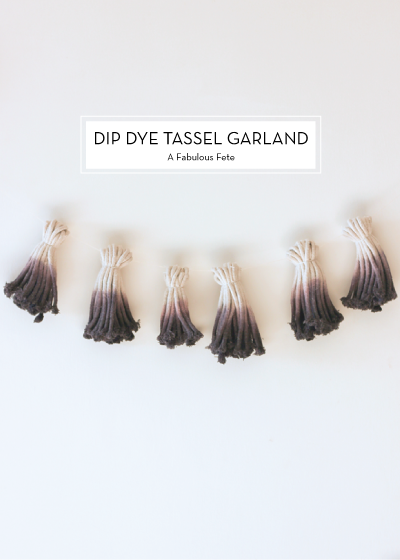
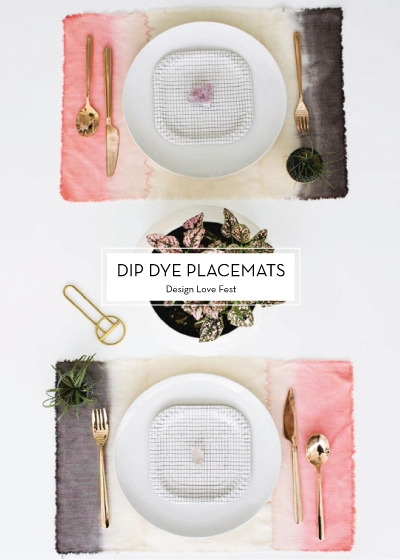
Click on each image to go to the project.
All photos copyright of their respective sites unless otherwise noted.

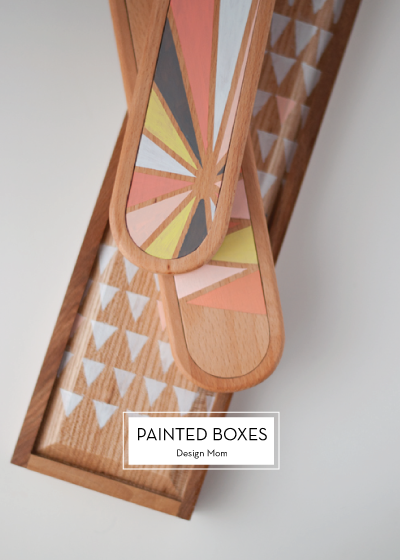
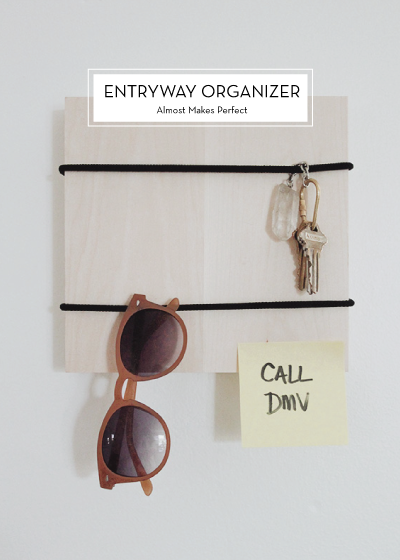
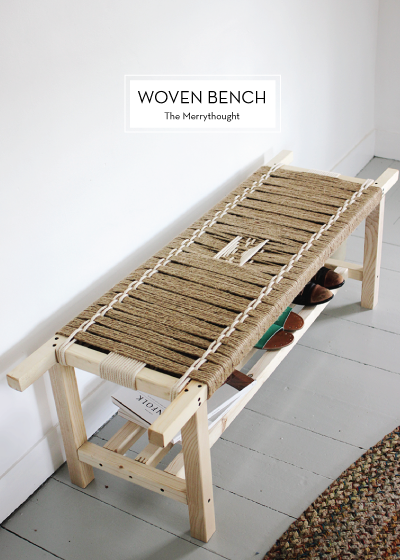
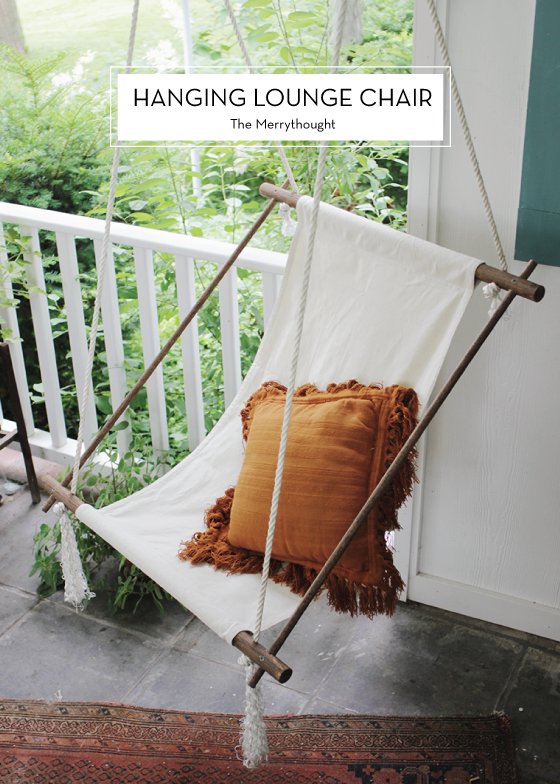
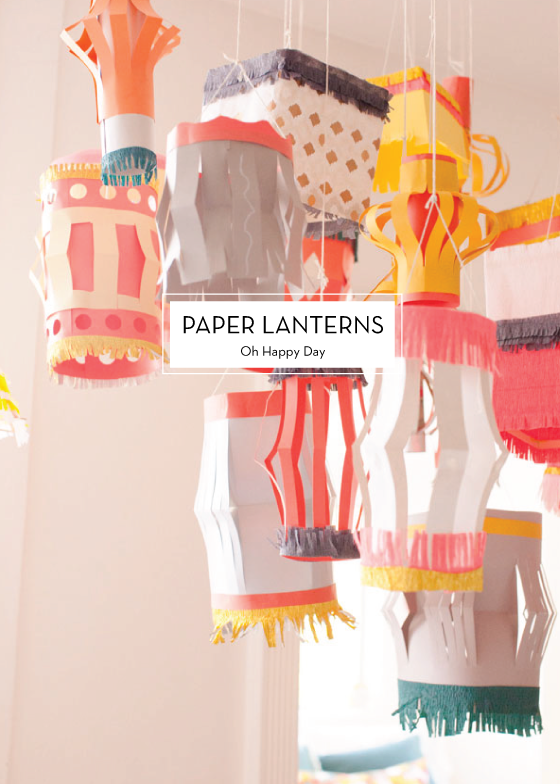
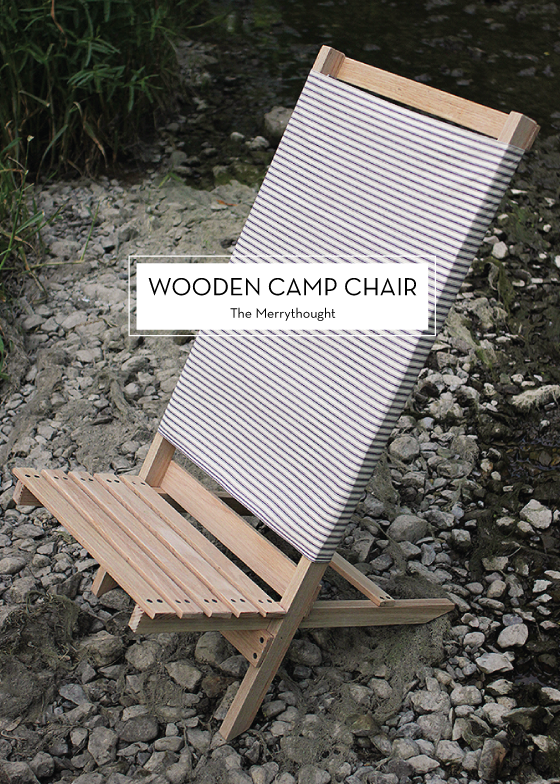
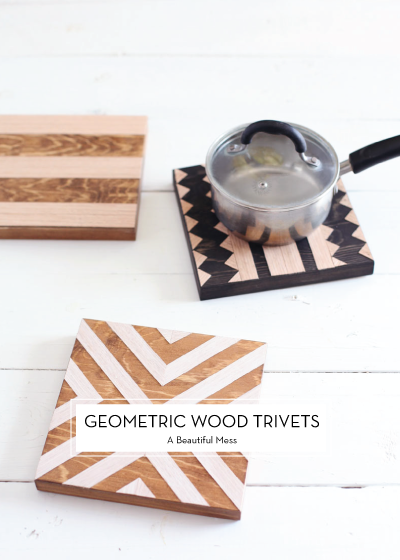
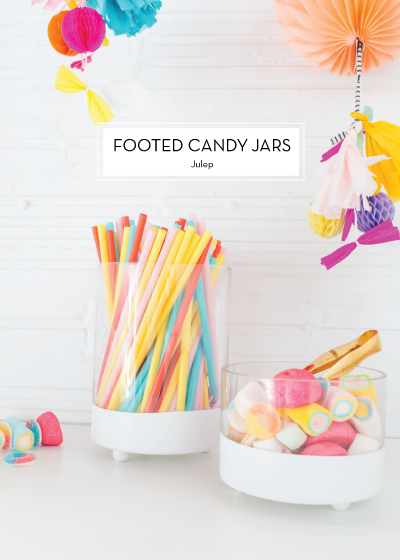
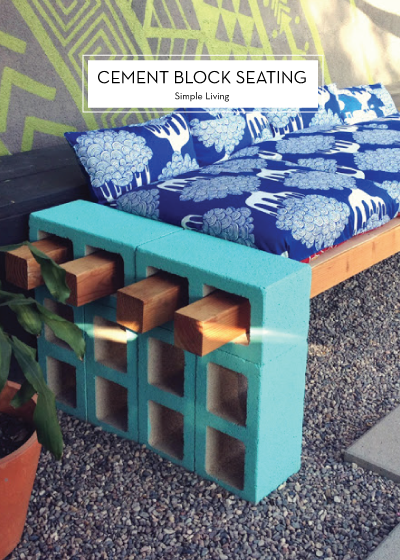
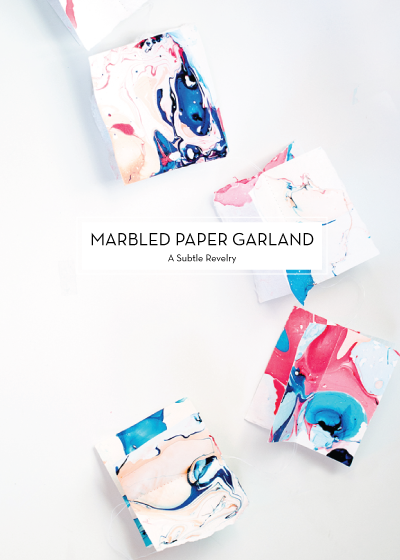
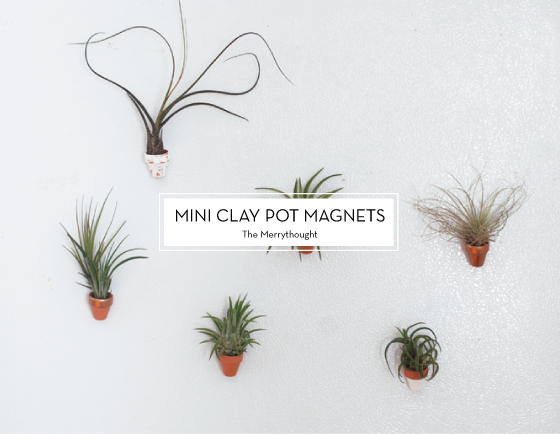
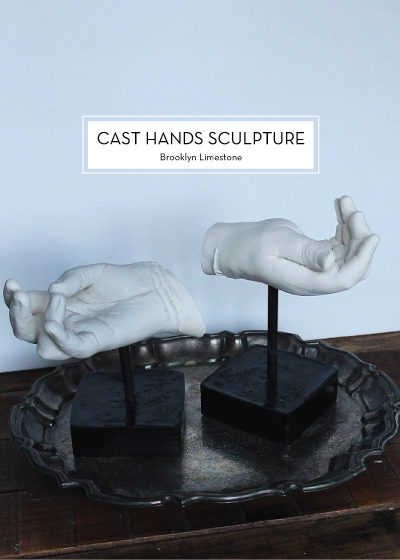
Click on each image to go to the project.
All photos copyright of their respective sites unless otherwise noted.
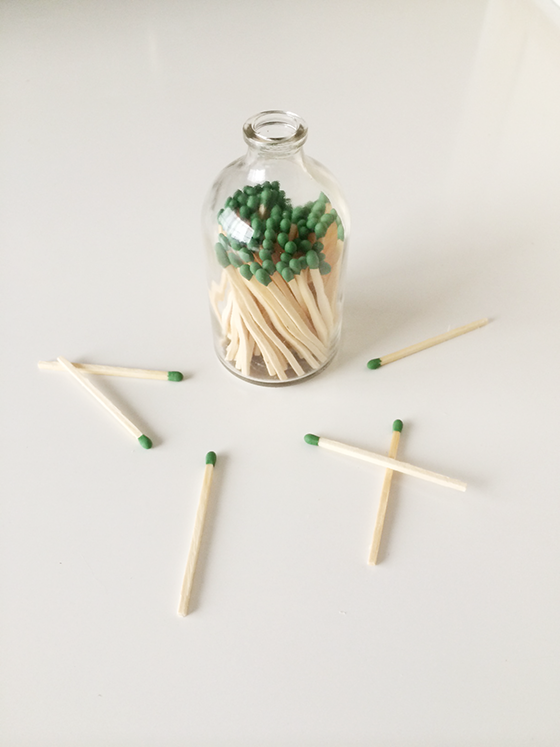
Yup, I know. It looks like I just plopped some matchsticks in a glass bottle and called it a day. While DIY matchstick holder is definitely one of the simplest projects I’ve ever done, there are a few more steps to it… but not many.
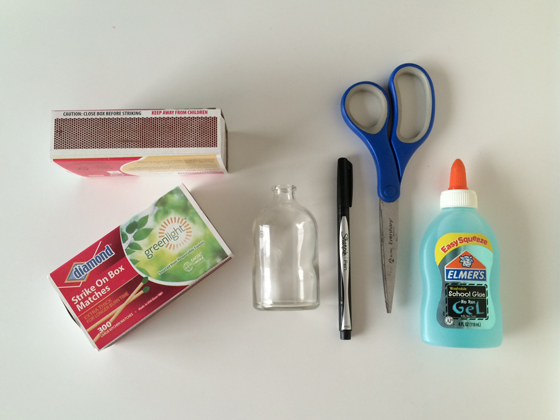
Supplies
• small glass bottle (I picked mine up at Michael’s for $1)
• strike on box wooden matchsticks
• pen
• scissors
• tape
• glue
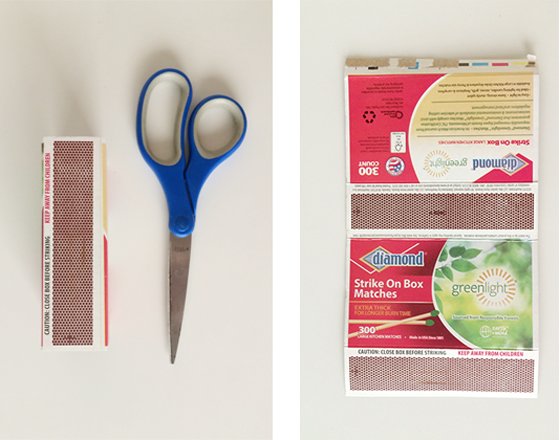
First thing first, dismantle the box sleeve that has the striker. Be as gentle as possible and flatten that bad boy out, and then grab your scissors.
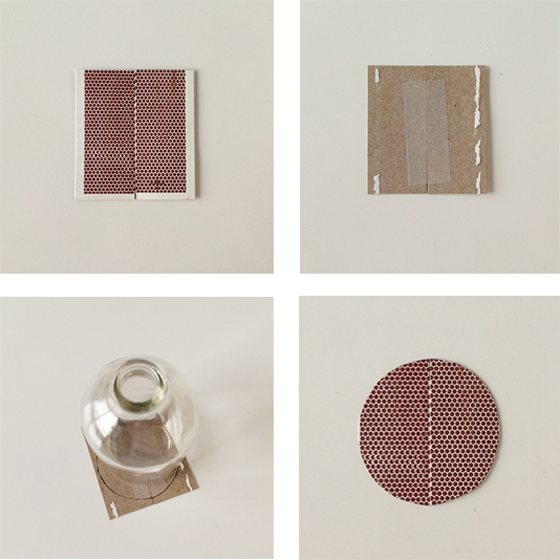
Trim off the striker panel, then cut it in half. Match the two sides up together (trimming them up to match if you were a little off), then flip over and tape on the back side. Place your glass bottle on top of the joined together pieces, center and trace. Trim around the circle (or whatever shape you end up with) and stay to the inside while cutting so that the end result is slightly smaller than your tracing.
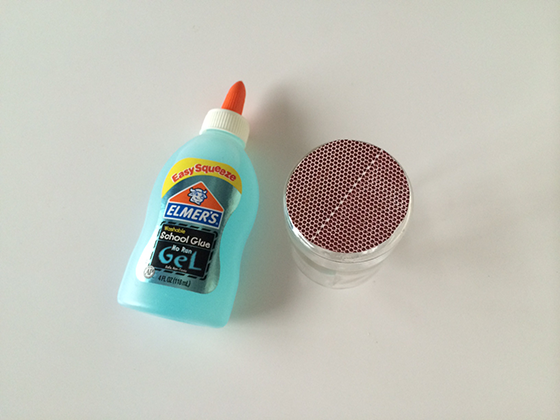
Flip the bottle over and apply a few thin concentric circles of glue, align the striker shape you just created and press firmly. And, well, that’s basically it. You could add some craft paint or wash tape to the exterior for a little something extra, but I’m a simple kind of girl who prefers the look of wood and glass alone. (And though this isn’t really a Father’s Day DIY, I know my Dad would agree if it were for him!)
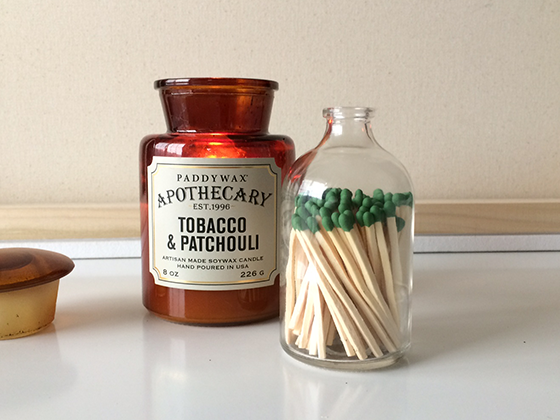
Add as many matches as you can while leaving enough breathing room for them to move around a bit. You want to be able to actually remove them for use after all! Like I told you, easiest DIY ever. I think this guy would make a great little hostess gift when paired with a candle or grilling accessories for get togethers this summer, don’t you? Or, like I said, maybe even Father’s Day this Sunday. (wink, wink)
Posted In accessories, gifts, house and home, make it


01/ Love this complicated photoshoot done underwater on a shipwreck in Bali!
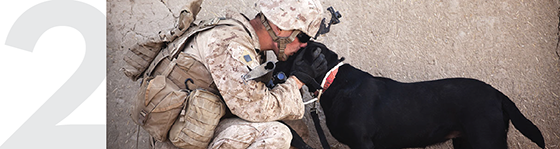
02/ This piece on Dogs of War is incredible.
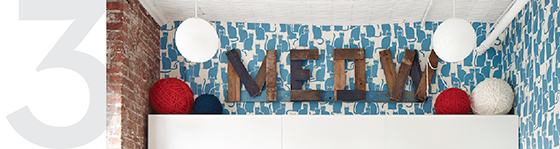
03/ I’m all about Emily Henderson’s cat rescue makeover that she shared this week.
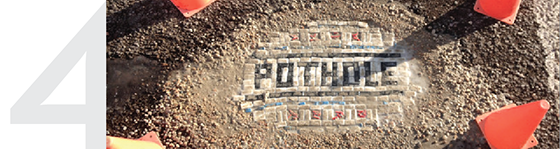
04/ Jim Bachor took the problem of potholes into his own hands.
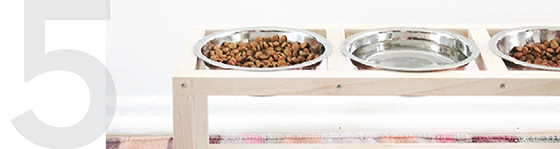
05/ I like that this DIY modern pet bowl stand can be height customizable.
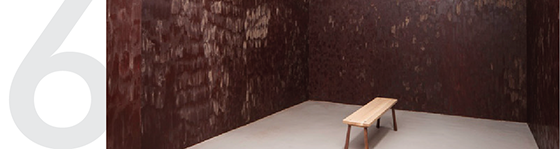
06/ A room made out of chocolate where you can, YES, lick the walls!
07/ Beautiful product upcycling from Kurasuhito Kurasutokoro and Yusuke Komatsu.
08/ Coca-Cola has created a modular system to reuse their plastic bottles. (It’s about time.)
09/ This is fascinating, people from around the world posing with their daily food intake.
10/ The Pastello Draw Act looks like a dream with its crazy crayons!
This week on Design Crush:
Beautiful experiments with dye and the sea by Arnaud Lajeunie.
I finally upgraded to a chair fit for a boss lady!
Andy Boot gives rhythmic gymnastic ribbons a second chance at life.
Area has flat out nailed simple but quality textiles for the home.
This cut paper alphabet from Tony Ziebetzki is so good.
A traditional game is reimagined with Pieces N Play Domino.
Big Happy Family is helping me stay organized as I dash out the door.
Whimsy Milieu is creating pieces that make every day a happy one.
Show you’re passionate about the creamy treat with pudding 10 ways.


Click on each image to go to the project.
All photos copyright of their respective sites unless otherwise noted.
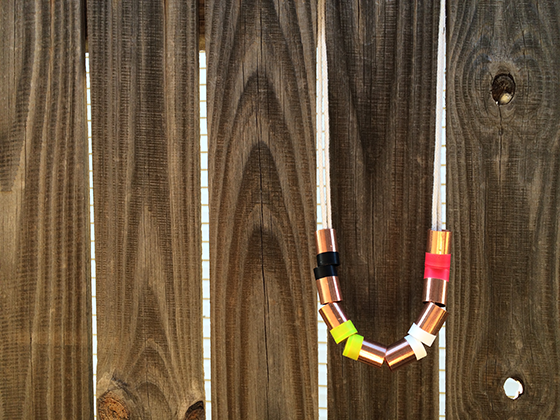
I’ve had the idea for this paint dipped copper necklace in my head for some time, and if you’re any sort of creator you know it’s always nice when the concept comes out even better than you anticipated! This guy is sure to be a staple in my summer wardrobe and offer some color to my mostly black, white, and neutral wardrobe. I love how customizable it is – use as many copper couplets and whatever and however many colors of paint as you’d like.
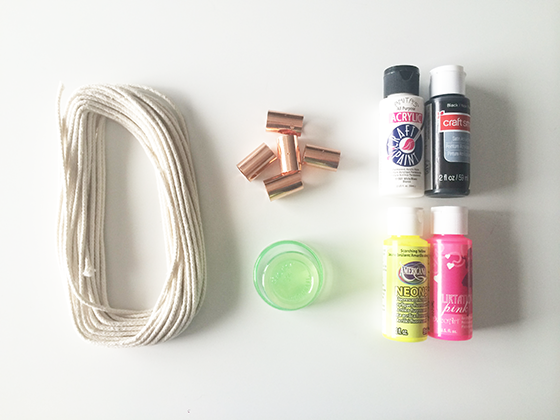
Supplies:
• copper couplets (I used 1/2″)
• 2 – 28″ lengths of 1/8″ cotton/polyester rope
• craft paints in the colors of your choice
• 4 oz plastic cups
• wax paper
• clear nail polish (optional)
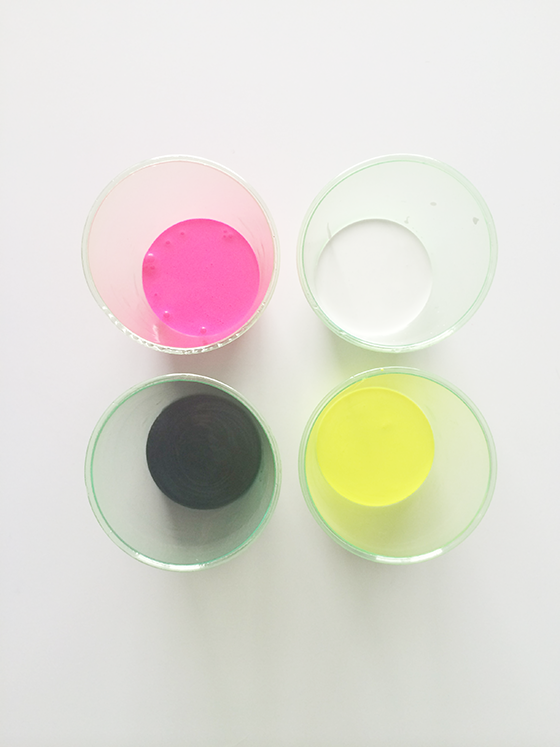
I chose neon pink, neon yellow, white, and black for my color palette. I like that the black and white keeps my necklace colors in tune with what I already have in my wardrobe, while the neons offer a pop of interest. Start by pouring about half an inch of paint into each of your plastic cups. (Because you won’t actually be using that much you can pour the remainder right back into the bottle post-dip!)
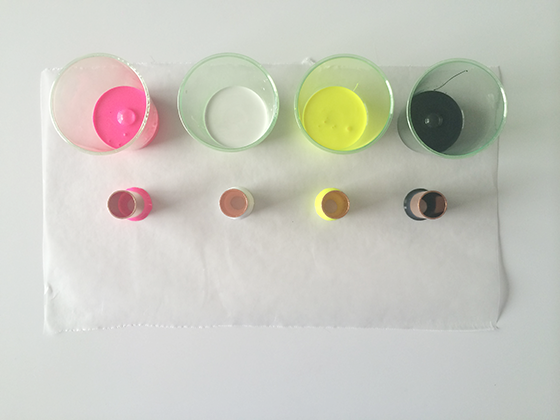
Tear off a short piece of wax paper and set your paint and cups on top of it. Dip one of the copper couplets into the paint making sure to touch it to the bottom of the cup, then remove and gently shake off as much of the excess as possible. Set couplet on the wax paper to chill out for a minute. Repeat with all couplets and paint colors.
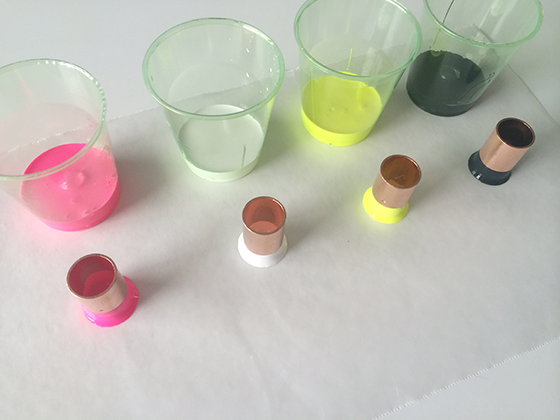
After the couplets hang out for a bit (about 15 minutes) you’ll notice the paint beginning to pool at the bottom. The next step is simple – pick each one up and move it to a clean part of the wax paper. Wait another 30-45 minutes and do it again, except this time flip them over so they’re sitting on the unpainted end. So easy. Once they’re completely dry you can opt to do another round of dipping for extra coverage if you’re not satisfied. You can also coat the painted portions with some clear nail polish if you’d like added protection.
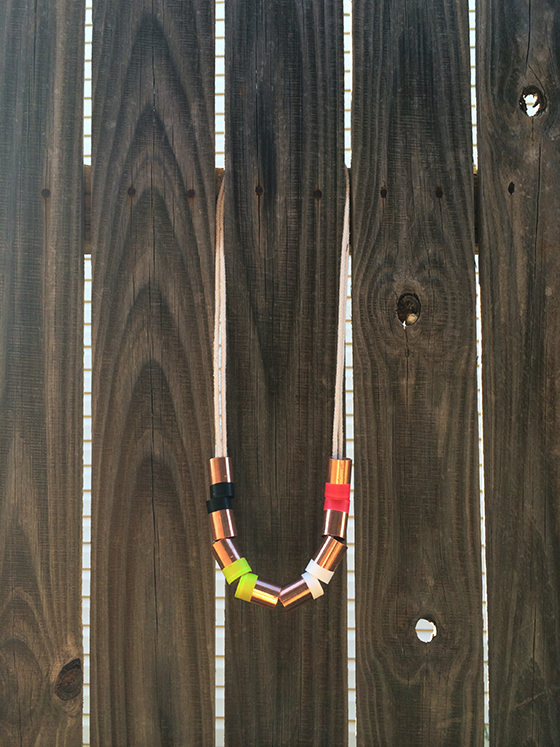
Only one step left! Snip off two lengths of cotton/poly rope and string up your copper pieces as desired, I settled on an end-to-end configuration after playing around for a bit. Tie the ends together (or use a clasp if you’re fancy) and call it a day.
Posted In jewelry, make it, wear it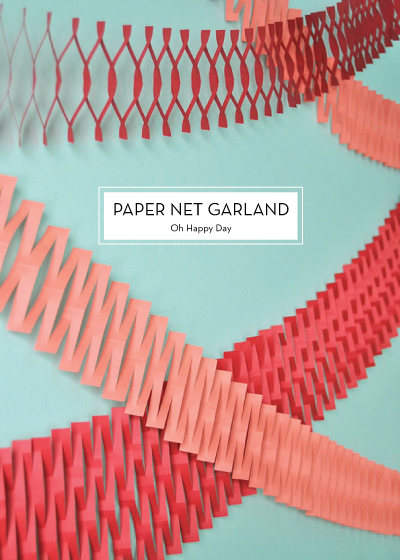

Click on each image to go to the project.
All photos copyright of their respective sites unless otherwise noted.
Is Easter a big deal in your house? Growing up ours always involved a hidden basket (one year behind the Christmas tree that had yet to be taken down), plastic eggs hidden outside, and a big family dinner at my grandparents’ house. Now it mainly involves dinner at my moms and yes, baskets are still hidden! Check out these 17 projects and ideas to make your Easter Sunday extra special.

ROW 1:Easter Brunch Invitations + Stickers // DIY Floral Party Hats // Printable Easter Treat Bags ROW 2:Easter Bread // Easter Sticker Buckets // A Simple Easter Arrangement ROW 3:Paper Rabbit Bust // Easter Candy Bark ROW 4:Easter Ice-Cream Sandwich Treats // Bunny Ears Twist Wrap // Origami Easter Bunnies ROW 5:Paint Swatch Flowers // Easter Egg Scavenger Hunt // Happy Easter Egg Hunt Signs Kit ROW 6:Easter Egg Terrarium // Washi Tape Eggs // Printable Iron-On Bunny Bags
Posted In easter, entertaining, food, holidays, invitations, kids, make it, paper goods, recipes, round up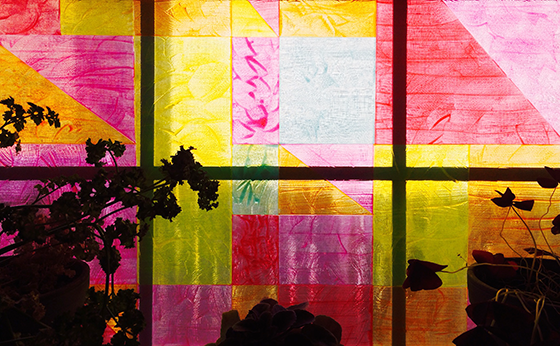
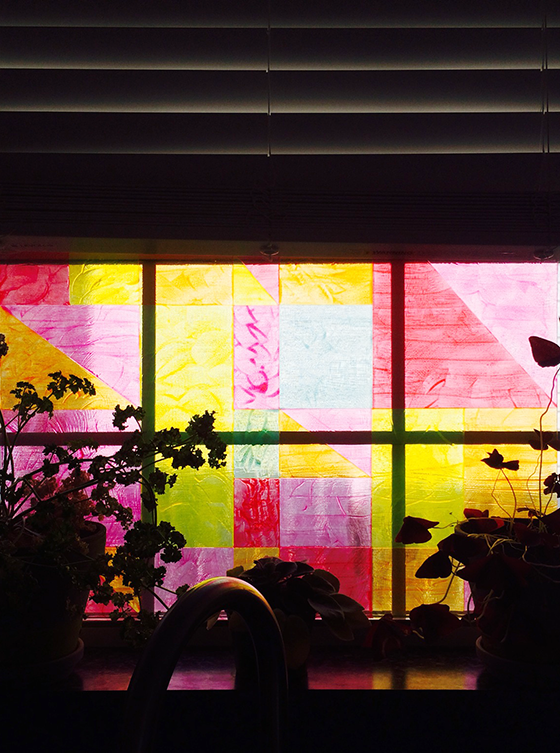
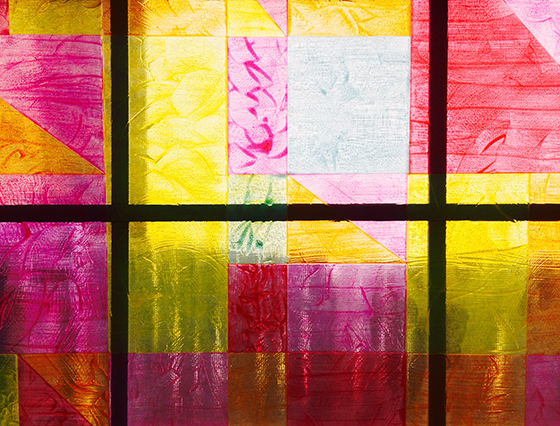
The window over my kitchen sink is one of my favorite places in the house. The few plants that I’ve managed to keep alive spend their time there, it gets great light for almost the entire day, and I love it when a breeze is blowing in. I thought I’d give it a little DIY attention by creating a sort of faux stained glass window, and I’m digging the new (not at all permanent) result!
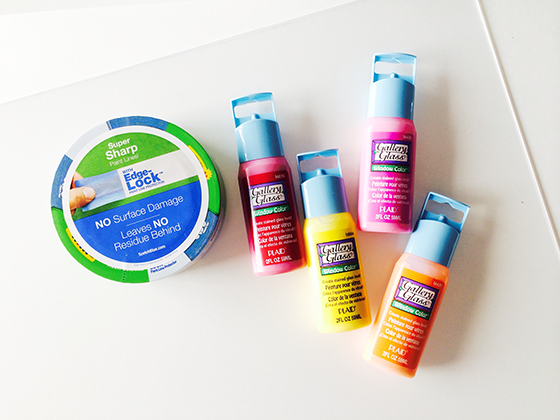
Materials:
• plexiglass sheet cut to the size of your window
• piece of white paper or poster board
• ruler
• pencil
• stained glass paints
• ScotchBlue™ Painter’s Tape
• smallish paint brush (I used one that is 3/4″ wide)
• paper towels
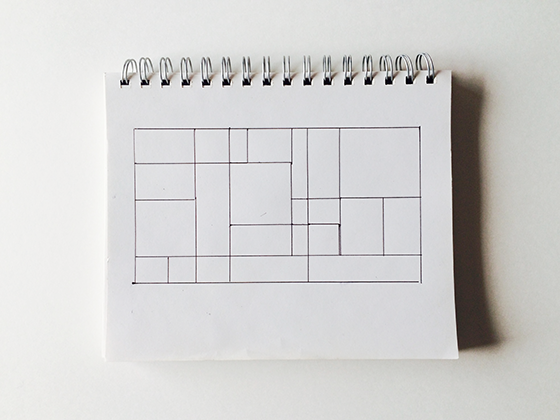
Let’s get started! First thing first, get out a piece of paper or your sketchbook and get to work drawing a rough idea of what you’d like your finished window to look like. I knew that I wanted something Mondrian-inspired with 4-5 colors.
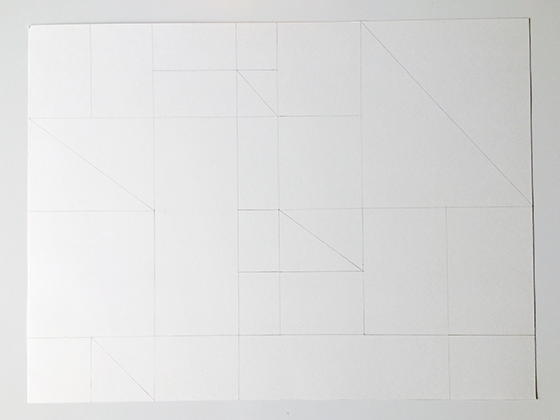
Next you’re going to transfer your idea to a piece of paper or poster board that’s cut to the same size as the piece of plexiglass. Like I said, the sketch was just a rough idea, this will be the real thing that acts as your direct template. I started by going off of my drawing and quickly branched out to something a little more geometric. Some of my original areas were too large, so I broke them down into triangles to add some interest. But really it’s all about what looks good to your eye.
Once you’re content with your finalized drawing, lay it behind the piece of plexiglass. (There may be sheets of acetate on both sides for protection, so make sure you remove that first.) Use a small piece of tape in each corner to affix the two together.
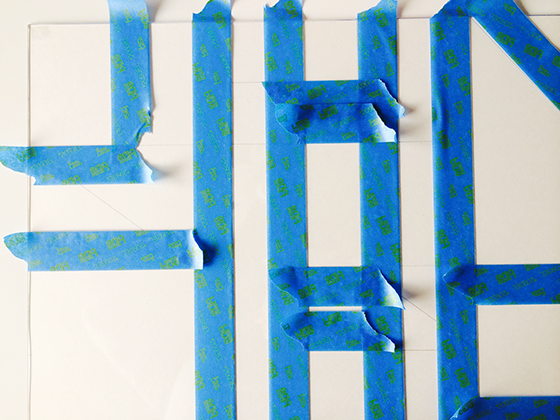
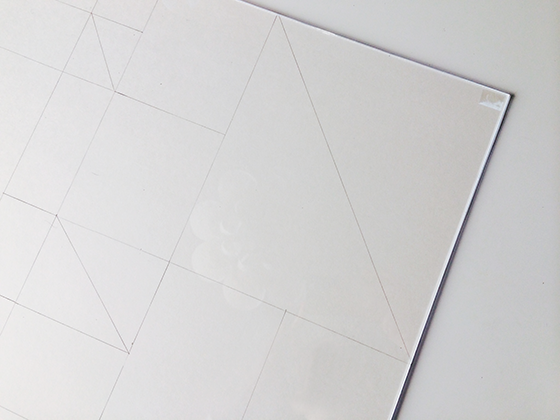
Now it’s time to get taping! You’ll need to work in small sections, I tried to tape off the largest areas first and went from there. There will be lots of drying time in between taping, so even though this project may take a bit to complete (depending on the size of your window) there’s considerable downtime.

Once you’ve taped off all of the sections you’re going to want to take a minute and think about he layout of your color palette. You don’t want any sections touching that are the same hue. Prep the edges of your plexiglass by laying paper towels (or newspaper) under the entire perimeter. Once you’re all set, squirt a bit of your first color of paint onto a section and gently paint it using horizontal strokes. It will look a little thin and that’s okay. Make sure and paint over the edge of the tape as you go. Rinse your brush and repeat until all taped off sections are painted. Now this is important, remove the tape while the paint is still wet. It’s crucial to creating a crisp line.
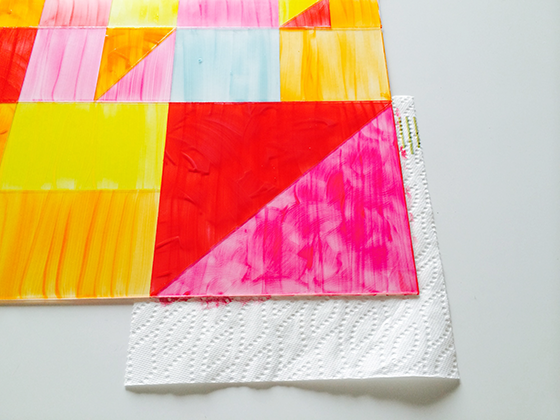
Wait 30 to 45 minutes for your newly painted sections to dry, then tape off a new set of shapes and repeat the process until they’re all filled in. At this point you might be happy and ready to call it a day. I opted to do a second coat because I’m crazy like that. This time around I kind of swirled my paint around instead of using clean strokes. Once it dries there’s more depth and unevenness, which makes it look more like stained glass.
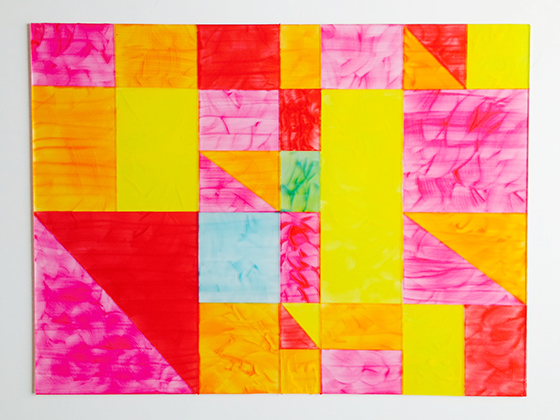
When you’re through remove the paper guide from the back of the plexiglass and have a good look. There might be an edge here or there that could stand a little touchup. Now it’s time to make your window happy! If there’s a ledge you might want to simply lean your work of art against the window, or use glue dots around the edges to make it a little permanent. Either way, voila!
To help you get a head start on your own faux stained glass project, or whatever else you might have up your sleeve, we’re giving away a $50 e-GiftCard to Home Depot!
To Enter:
1. Join the Home Depot super fan program.
2. Pop back here and leave a comment letting me know you’re now a member.
3. Do it all before Tuesday, April 8th at 11:59pm CST.
We’ll randomly choose a winner the next day and let you know if you’re a winner!
I am proud to be a 3M- sponsored blogger, and, as part of my responsibilities, I get the opportunity to evaluate new products from ScotchBlue Tape. Opinions are my own and additional product used in the project were selected by me.


Follow ScotchBlue on Facebook, Twitter, and Pinterest.
Follow Home Depot on Facebook, Twitter, and Pinterest.