You Should Totally: Make DIY State String Art
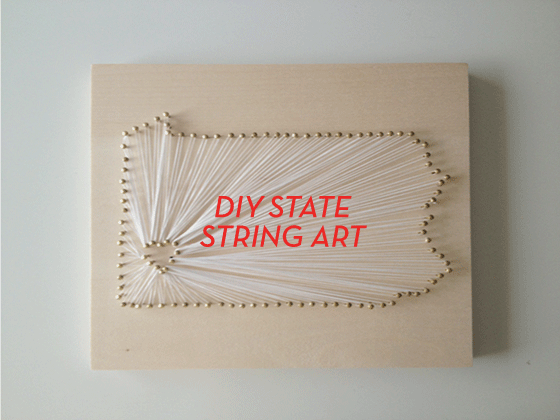
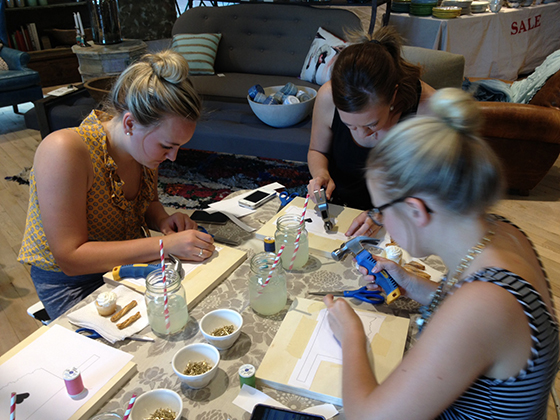
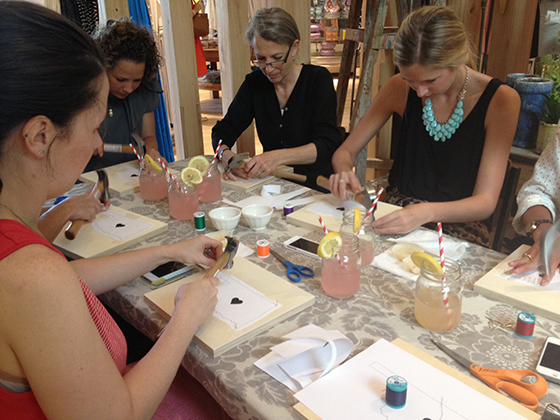
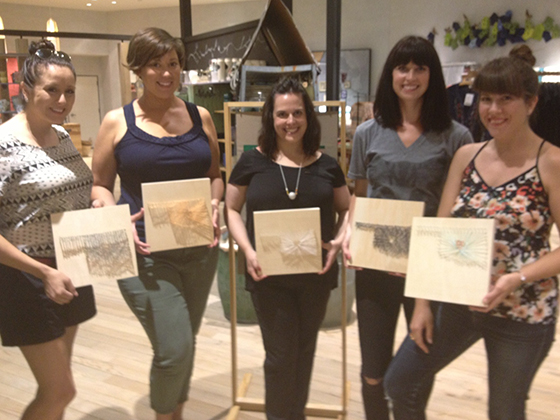
Last week I told you how fantastic/amazing/awesome the Anthropologie + Design Crush String Art Workshops were, today I’m going to tell you all about the project we created and how you can make your own. Ready, set, go!
SUPPLIES
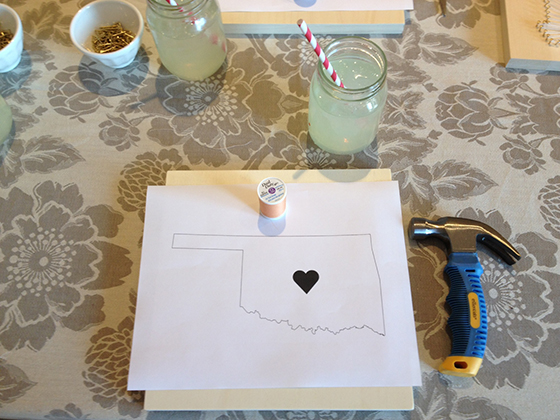
• 12 x 12″ square wood canvas
• outline of the state of your choice
• scissors
• tape
• brass coated 5/8″ linoleum nails
• hammer
• a spool of sewing thread of the color of your choice
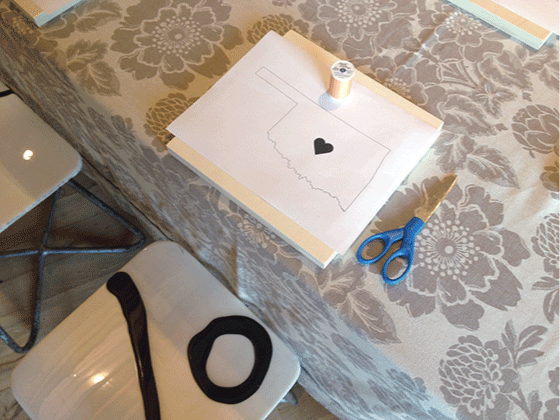
1. Print out an outline of the state of your choice.
If you have Photoshop on your computer you can use it to size appropriately, if not simply use the percentage function on your printer or use a copier. (Quality doesn’t particularly matter here.) Using either Photoshop or a marker, draw a heart around the city of your choice. It’s important to make it at least the size of a quarter while staying inside the boundary of the state’s outline (you may need to cheat if it’s near the border).
2. Cut around the edges.
Leave about a half inch border or so.
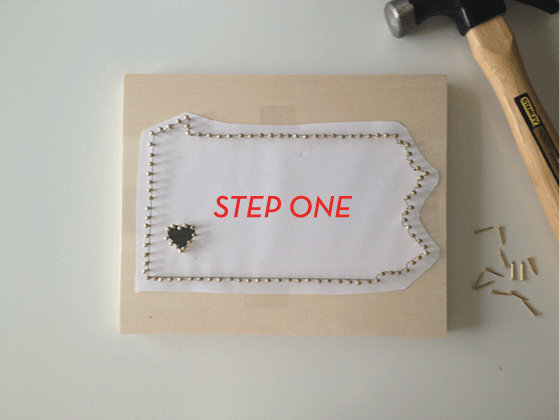
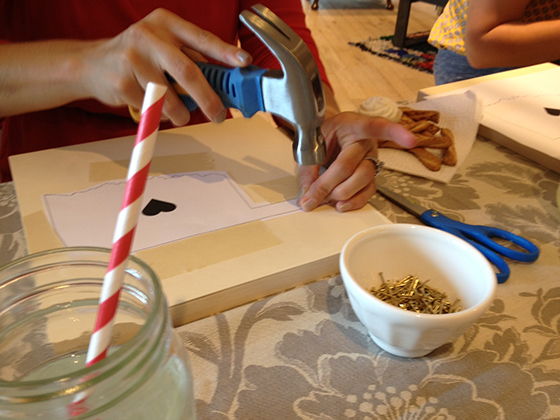
3. Tape it down.
Don’t be too skimpy with the tape either. Secure every side to the wooden canvas because the paper will want to slip and slide once you start hammering.
4. Start nailing.
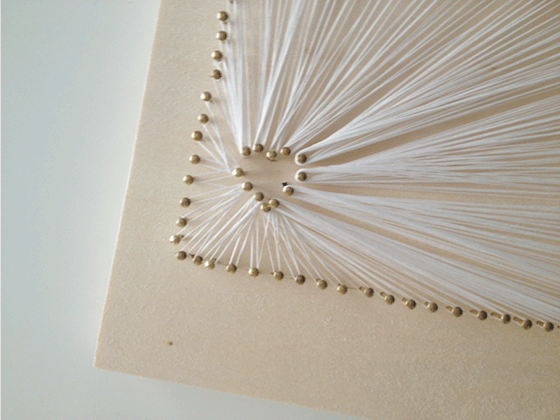
Choose the upper right corner to begin with your first nail. From there add another, each one roughly 1/4″ away from the next. You’ll want to make the slightly closer – without touching! – when you make your way around the heart, you’ll see why later.
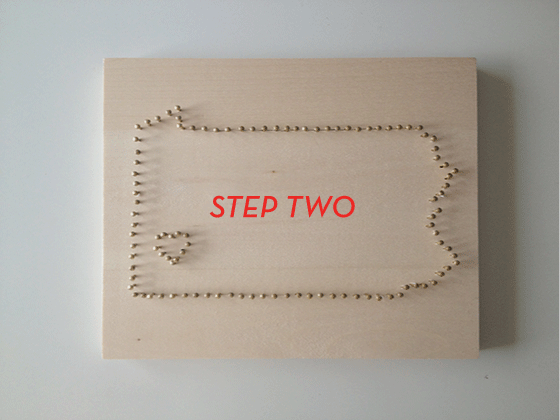
5. Remove the paper.
This is the most gratifying part to me, once you’re finished nailing around your border tear up the template and tape.
6. Wrap away.
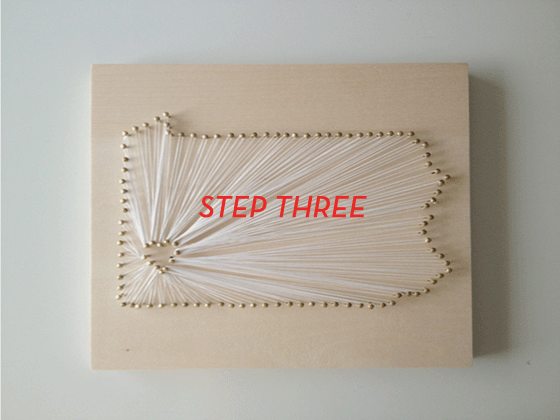
To begin, tie a knot around the same nail in the upper left that you started with earlier. From there wrap back and forth between the nails on the border and the interior heart, I like to wrap around each border nail twice to make the color of the string pop more. You’ll use the same interior heart nail to anchor several border nails. Move onto the next when it feels right (i.e. there’s too much thread around one or visually it’s time).
7. Finish up.
After making your way around the entire state outline it will be time to tie off on the same nail you began with. And that’s it! Instant art.
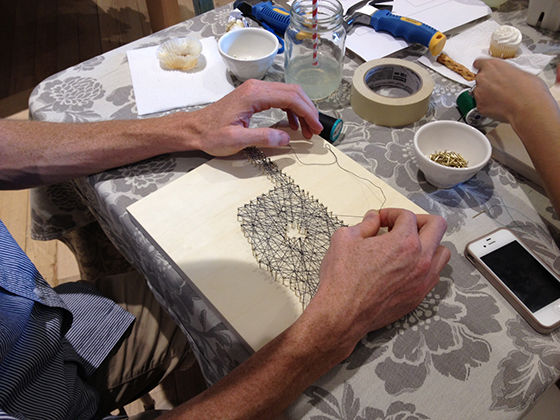
Another option is to abandon my OCD way of wrapping and create a more random design. To do this simply use a random pattern to wrap between border nail-to-border nail-to-heart nail, etc. Brewed Together wrote about attending the workshop and Kaleb (our lone male crafter!) killed it with his random design, take a peek. You can also opt to fill in the heart with a second color of string, Kaleb’s wife Marilyn did just that. In other words, have fun and make it your own!
Posted In create, make it

