Things My Father Taught Me


Just before Father’s Day I was asked by a blog that shall remain anonymous to contribute a post about what my father has taught me. Good, bad, everything in between. The blogger failed to post my story and a few others (much to our dismay), but I thought the post might be worth sharing here.


My dad and I have always had a bit of an up and down relationship, but he’s still managed to teach me quite a bit. Some from things he did, some from things he didn’t do. Some from actions speaking louder than words, and some from the opposite. There’s a lot to be said for that point when you realize your parents are people, they have flaws and misgivings and regrets. That point of acceptance changed my life.

Always be yourself, whatever that means to you. Be the girl who gets dropped off at school in the 5th grade on the back of a motorcycle. Don’t be afraid to mix lunch meats on a sandwich. Follow your dreams. Sometimes too far. Learn to make a great breakfast and master the grill. It’s okay to be the quiet one in the background, but speak your mind when it tells you to. Learn to drive a stick shift, preferably from someone with patience. Learn to be patient. Everyone has regrets, turn them into lessons. Age is just a number, it’s how you feel inside that counts. Don’t worry about what other’s think, you’re the one who has to live with you. (How they feel is a different story.) Don’t be afraid to make new memories, just don’t forget the old ones. Do anything for a friend or family member. Spring for the quality alcohol, your hangover will thank you. Be affectionate with your children, even if your parents weren’t with you. Old habits die hard. Fix the wrongs in your life while you still have the luxury of time. It really is the thought that counts.

21

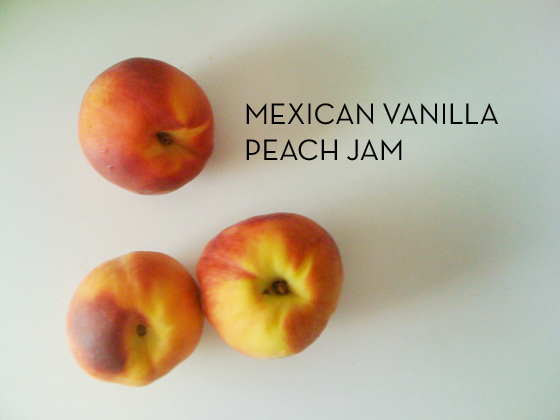
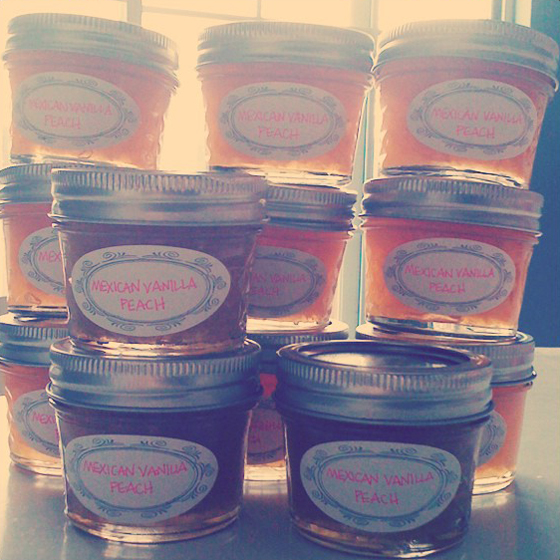
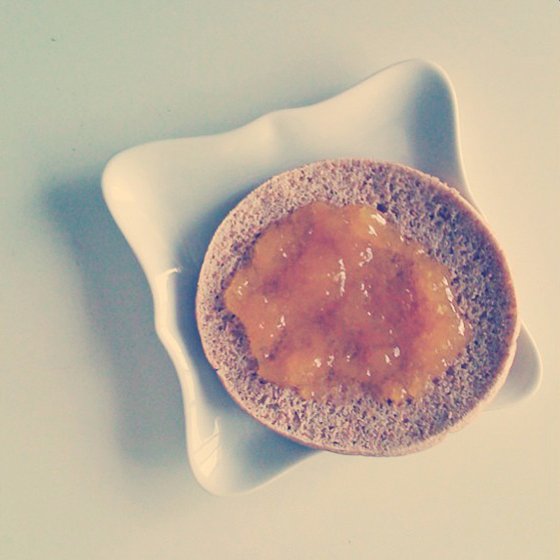
Mexican Vanilla Peach Jam


I have great memories of watching my grandparents make jam together. My grandpa chopping the fruit (usually apricots or strawberries) and my grandma manning the massive pot on the stove, stirring and scooping off the inevitable foam as the fruit boiled. Once everything was in jars and several had been given away, the rest were relegated to the fruit cellar under their basement stairs. There they sat until a fruit basket was made up for someone or until they fell prey to my grandmother’s insatiable sweet tooth and love of toast with jam.

About a year ago I got it in my head that I wanted to try my hand at making some. I’m not sure what took so long, but I finally got around to it last Sunday. Peaches were on sale ($1.07 a pound!) and I made it to the hardware store to pick up some adorable half pint Ball jars. It was 108 degrees outside, so what else would I do other than fire up the stove for an extended period of time and put the AC to its limits?


Mexican Vanilla Peach Jam
• 5 lbs yellow peaches (about 10 cups)
• 5 C sugar (I used 4, next time I’ll use 2)
• 2 tsp lemon juice
• 3 Tbsp Mexican vanilla (or 4 Tbsp regular)
Yield: 6-7 pints


1. This is the most time-consuming part, peel and chop up all of your peaches. I used a potato peeler to remove the skins, but you can also drop them into a boiling pot of water for 2 minutes then use a paring knife.


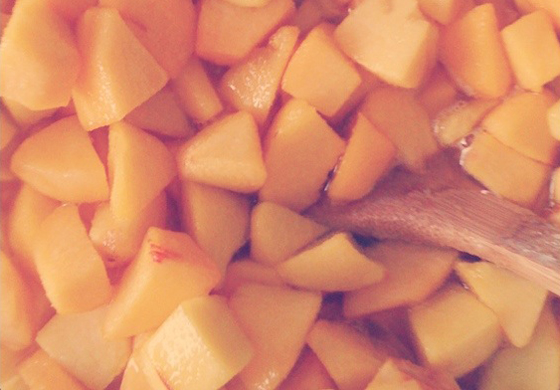
2. Combine the cut up peaches, sugar, and lemon juice in a glass bowl. Allow it to sit for an hour, stirring occasionally. This allows all of the juices to come out of the fruit.


3. Transfer everything to a large stainless or enamel pot and add the vanilla. Bring everything up to boiling and set your timer for 25 minutes, stir occasionally.


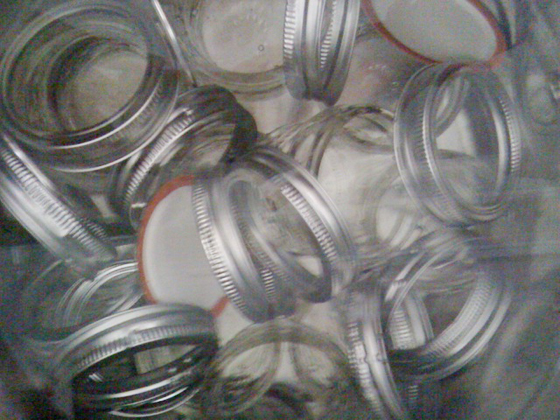
4. Now you’ll need to prepare your canning jars. In another large pot place all of the jars, lids, and rings. Fill the pot with water, covering everything with at least one inch. Bring the water up to a simmer, then turn off the heat. Remove and dry the lids and rings, but leave the jars in the hot water. This will keep them from cracking once you put the hot jam inside.


<Insert photo of bubbling pot that I got too distracted to take>

5. After about 15 minutes of your jam mixture boiling, get out a potato masher and have at it. The pieces should be more or less cooked and “mash” fairly easily.


<Insert photo of finished jam in pot that I got too distracted to take>

6. Around 20-25 minutes in your jam should start to reach the jelling point. You’ll know because it actually starts to resemble – what else – JAM! Turn off the heat and get out a ladle.


7. One by one remove your jars from their bath, dry and carefully ladle the hot jam into the jar leaving 1/4″ of breathing room. If you get any on the outside take a second and wipe it off. Put on the lid and the ring, and turn the jar upside down to rest at room temperature for the next 24 hours. (Some people like to put the jars back into a boiling bath for 10 minutes.)


* Please note that because this jam is pectin-free it has a shorter shelf-life, about a month in the refrigerator once the jar’s seal is broken.

 All subpar photos copyright of Kelly Beall/Design Crush

16

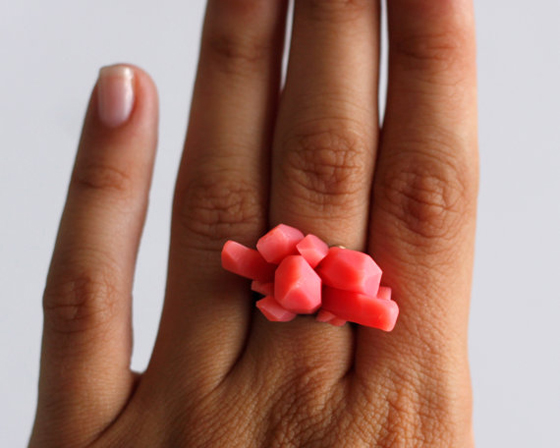
CODE Rings

 Lulu Frost always has the best pieces, I fell in love with her and her work years ago. It had been awhile since I’d seen anything new when these CODE rings popped up on my radar. The number four is my favorite/lucky number and I love how subtle the design is on it in particular.

4

Happy Weekend

PHOTO: Lex Kembery


01/  I like this DIY chevron picnic blanket
02/  How to Dress Like The Royal Tenenbaums
03/  how to make a succulent table from a recycled pallet
04/  these golden gift tags would be perfect for, oh, everything
05/  yeah, I could definitely vacation here
06/  this sandwich
07/  melted crayon art
08/  custom emboss your own stationery
09/  I wish my backyard were large enough for a movie screen!
10/  still photos of dogs in motion

2

Fire Up the Grill


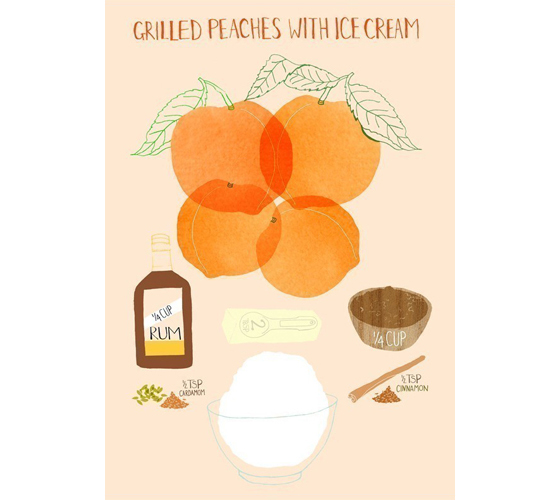
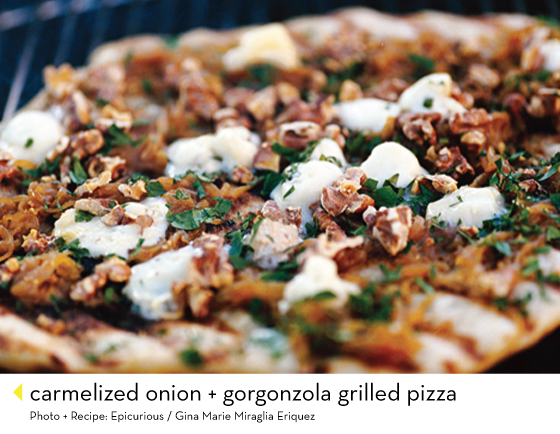
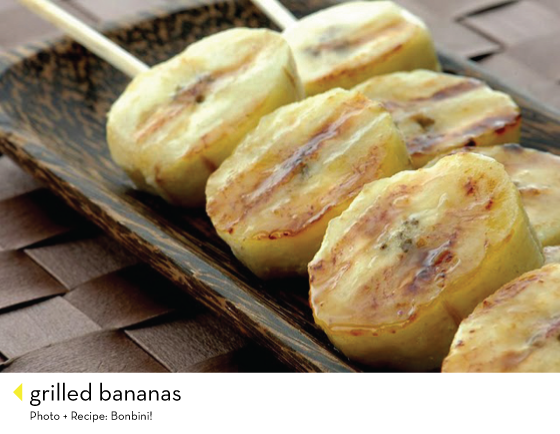
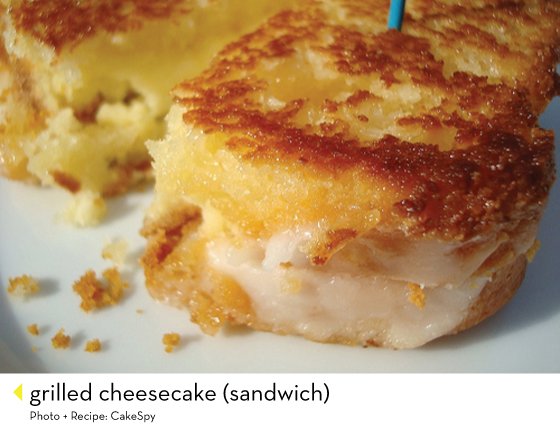
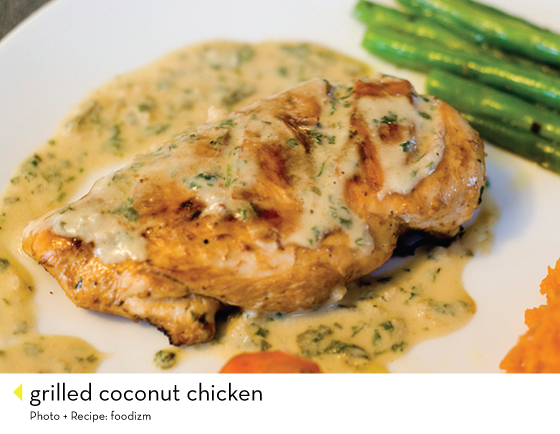
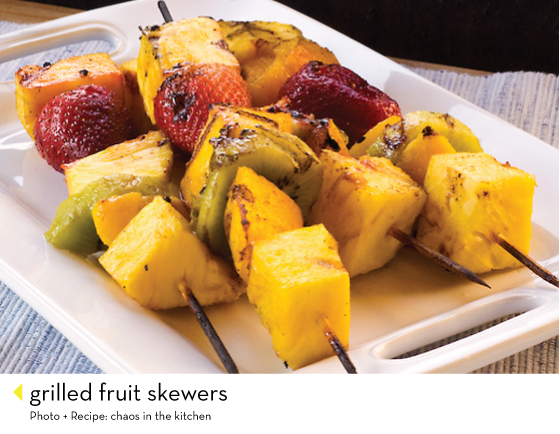
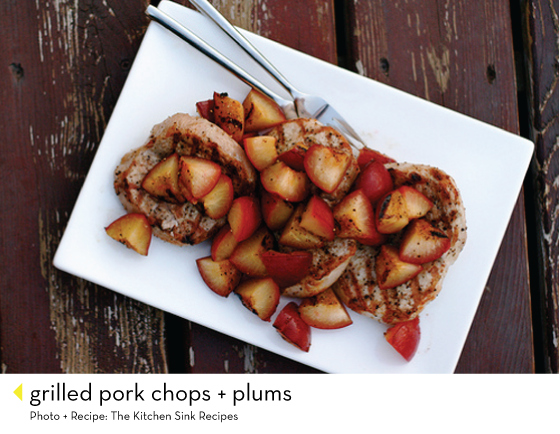
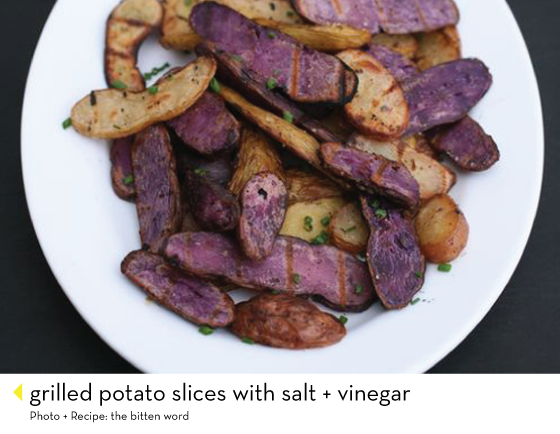
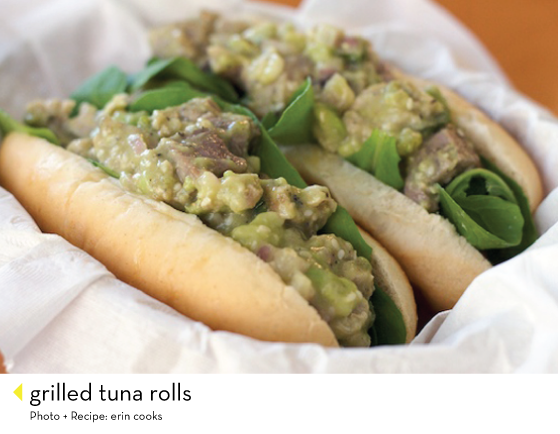
Grilling food during the summer months has always been a big part of my life, many a family function has been based around the flames and later many a party. When you really think about it, grilling is about as basic as it gets. Go outside, throw some food on the fire, check on it every once in awhile. Try not to burn it or catch it on fire. Done and done. The thing most people don’t know is just how versatile the humble grill can be. (Side note: It’s called cooking out, it’s not barbecuing unless there is actual barbecue sauce involved. End rant.) I’m hoping to try out a few of these recipes this year. [Click on the images to go to the recipes.]


All photos and recipes copyright of their respective source unless otherwise noted.


9