Feel Good Wednesdays

Gregory Krum-Design Crush

PHOTO: Gregory Krum

A few weeks back I had one of the most raging headaches I can remember ever experiencing. Migraines run in my family and I fall prey to them about once a month, but when this one was still hanging around a whopping five days later I knew something was up. None of my prescription or OTC meds were doing anything to even dull the pain that was originating at the base of my skull and radiating up towards my ears and jaw. That’s when I scheduled a massage, thinking that maybe some sort of deep tissue maneuvering might work a little magic.

I met with a master masseuse who ended up using a variety of massage techniques – not all comfortable and relaxing – to try and relieve the extreme tension that had built up in my neck and back. That’s right, it was a tension headache in migraine’s clothing. When the masseuse was finished she told me it was a challenging massage to give because I wouldn’t relax and that we needed more than an hour because I was so tense. Then she asked me whether I was stressed about anything (not really) and what I did for myself (uhhhh). My response was a very truthful “I’m not very good at that sort of thing.”

The massage did help, but the masseuse’s words are what really stuck. I realized I physically need to make more time for myself. Being a full-time blogger I have the advantage of a flexible schedule, it also means that I don’t have your typical weekend off. So I’ve decided that Wednesdays are going to be my recharging time, smack dab in the middle of the workweek. Feel Good Wednesdays, if you will. I definitely won’t be taking the day off, but I will be taking more time than usual for myself. A yoga class, less caffeine and more hydration (like with bubbly Ozarka® Brand Sparkling Natural Spring Water), maybe a mug of tea to wind down, a longer walk with the dogs once the temperatures drop, you see what I’m saying. I’m hoping that by slowing down just a little my life will thrive even more.

How do you make time for yourself? I can use all the advice you can give!

Sponsored by Ozarka® Brand Sparkling Natural Spring Water. Thank you for supporting the brands that keep Design Crush going!


1

The Guest Room // The Lighting

Guest Room-Euro Style Lighting-1-Design Crush


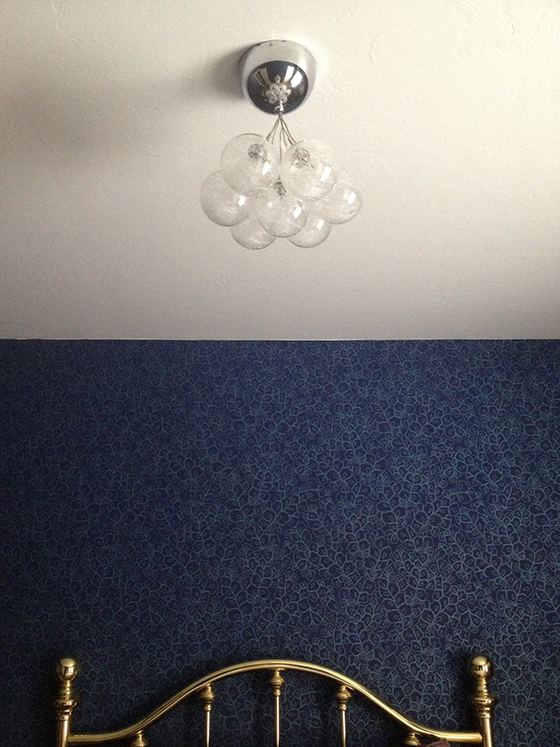
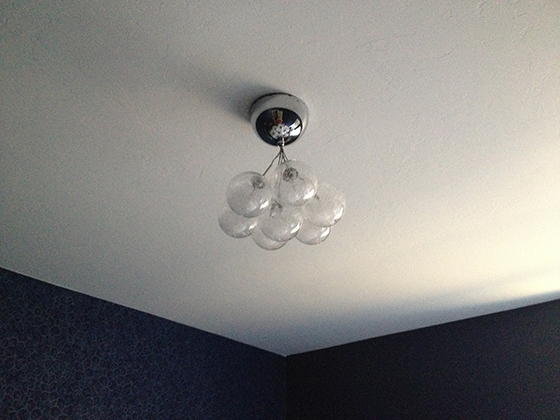
When it comes to creating the feel of a room the lighting is definitely a big part of the equation. Too soft and you might as well be feeling your way around in the dark, too harsh and you feel like you’re in a department store. A fine line for sure. I already mentioned that the small bedside lamp was repurposed from another room, but when it came to the ceiling fixture I wanted a bit of a statement piece. Nothing too over the top, but not your average run of the mill flush mount either.


Guest Room-Euro Style Lighting-2-Design Crush


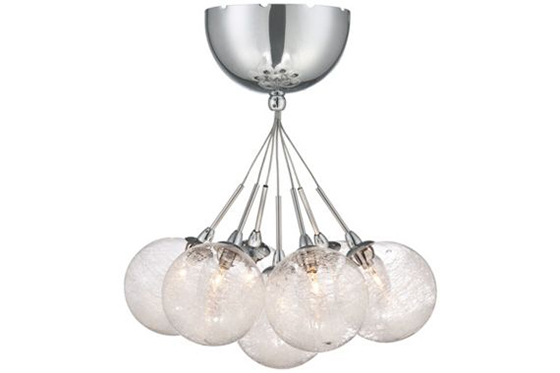
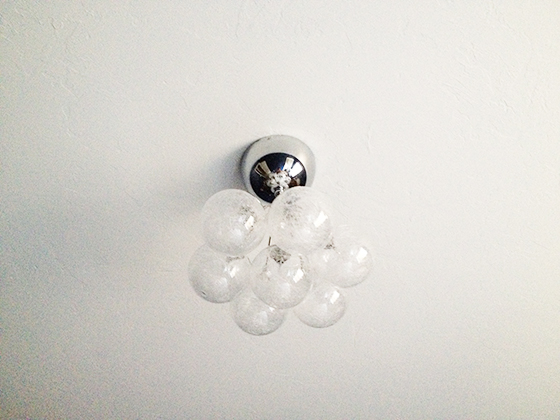
The fixture I went with is the Possini Euro Honeycomb Chrome with Blown Glass Ceiling Light from Euro Style Lighting. I love the mouth-blown glass balls, they look like they have tiny filaments throughout and give off a gorgeous glow when lit. It’s the perfect look for this modern-meets-traditional room!


Guest Room-Euro Style Lighting-3-Design Crush


Disclaimer: Light fixture provided by Euro Style Lighting. All words and opinions are my own. Thank you for supporting the brands that keep Design Crush going!

1

The Guest Room // The Paint

Guest Room-Paint-1-Design Crush


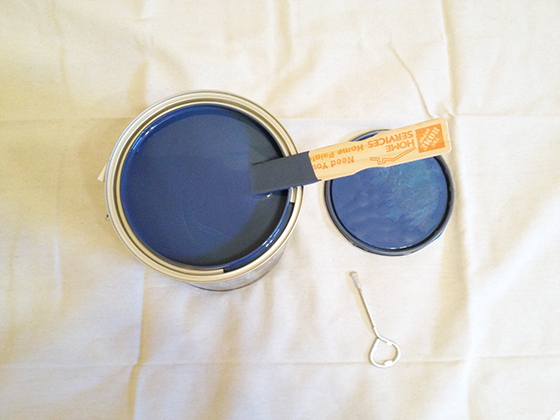
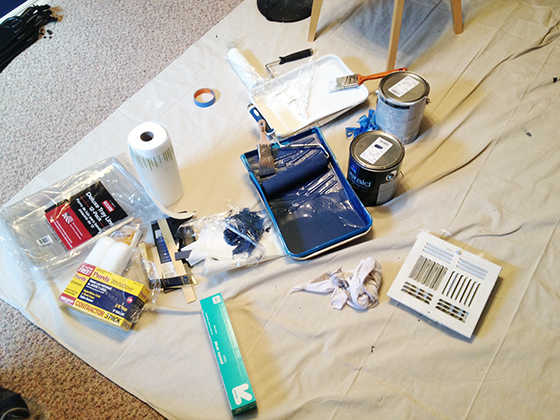
I’ve really wanted to paint a room black for a few years now, and my guest room was the only candidate in my house for it. But once I chose the wallpaper for behind the bed and matched it up to Sherwin-Williams Indigo Batik blue, well, it was Love with a capital L. All the drama of black without a total void of color.


Guest Room-Paint-2-Design Crush


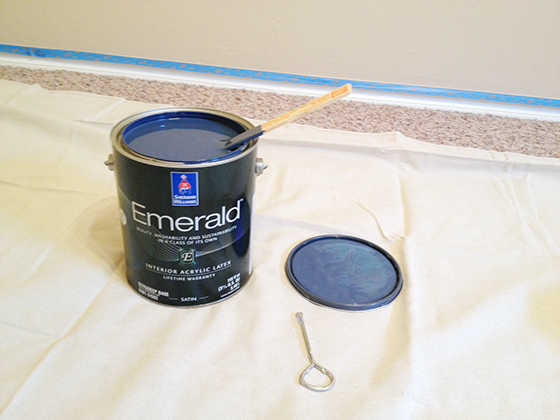
I went with their Emerald Interior acrylic latex paint in a satin finish. (If you recall, I used the Emerald Exterior on my front door.) It was the best fit for the vibrant hue I’d chosen because it offers incredible coverage and hide, and includes a built-in primer. It really is my favorite paint to work with, inside and out.


Guest Room-Paint-3-Design Crush


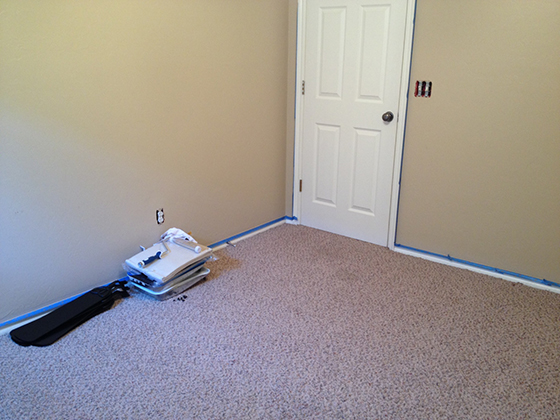
Here’s a little peek at the before, after I’d moved all of the things destined for my September yard sale into the garage. You guys, it was full of crap and ugly. When I bought my house this room was the brightest of reds, I even casually referred to it as the Murder Room. The day I closed on the house we started painting, and over the next two days we painted every space with the exception of the living room (which got a coat of light grey a year later). This room ended up being blah beige simply because I wanted to cover the red, but had no clue how I wanted to decorate the room just yet. So it stayed that way for the next five years.


Guest Room-Paint-4-Design Crush


Bebe was a great helper, she didn’t even eat any of the paint.


Guest Room-Paint-5-Design Crush


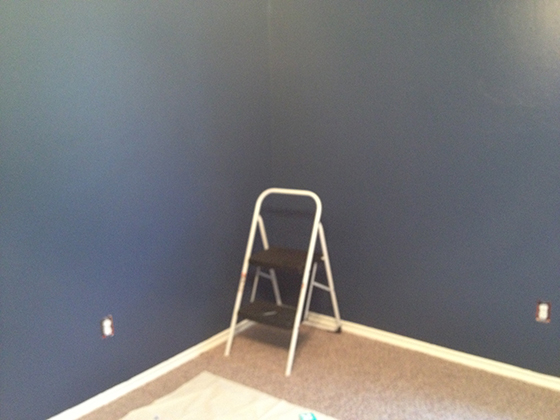
Even though I was planning on wallpapering over one wall the next day, I went ahead and painted all four instead of trying to save some time. It paid off in dividends by covering any little mistakes we made while hanging the paper and is highly recommended, I’m so glad I did it. The color was even better that I thought it would be, and I kept stepping back and stating “I really like this!.”


Guest Room-Paint-6-Design Crush


I splurged for this project and bought an actual canvas drop cloth after years of buying the cheap plastic kind. I’m weirdly looking forward to using it for years to come and accruing paint splatters!

Would you ever paint a room in your home this dark? Or have you already?

Disclaimer: Paint provided by Sherwin-Williams. All words and opinions are my own. Thank you for supporting the brands that keep Design Crush going!

5

Tips&Tricks: Kitchen

Tips&Tricks-Kitchen-Design-Crush

The kitchen is probably, okay definitely, my favorite room in the house. I love nothing more than cranking up some music and baking the afternoon away (well, when it’s below 100-degrees that is!). It’s a great stress reliever and it always feels good to share the bounty that comes out of the oven. At least my pants feel that way.


The key to preventing moldy berries.

How to frost a professional looking cake with pourable faux fondant.

Six secrets to the perfect pie crust.

Ten dollar DIY countertop.

Every kind of glass bottles, glass jars, tin containers, etc you could want.

Top 12 baking tips.

The common cook’s how many guide to kitchen conversions.

Make your own compost bin.

The 15 tools every man needs to cook like a pro.

How to soften brown sugar.

What do wine experts recommend for cheap drinking?

How to store salad greens.

Freezing, drying, and storing herbs 101.

How to peel garlic.

Eleven secrets to properly freezing produce.

How to clean your dishwasher.

0

And Five Years Later I Have a Guest Room

Guest Room-1-Design Crush


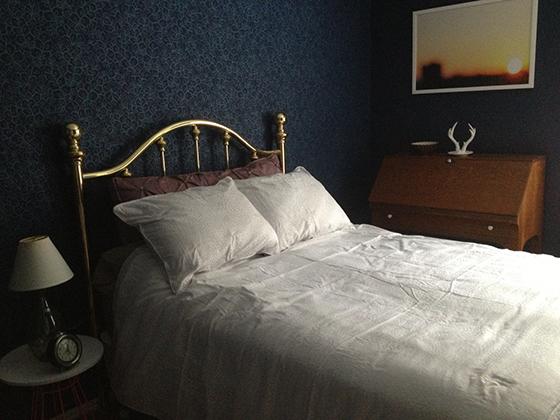
It’s only taken me 5 years, 1 month to make my guest room legit. As in there is a mattress that doesn’t involve the act of filling it with air, there is art on the walls, there’s a bedside table. Like I said, legit. I couldn’t be more excited to be able to comfortably host guests in my home now!


Guest Room-2-Design Crush


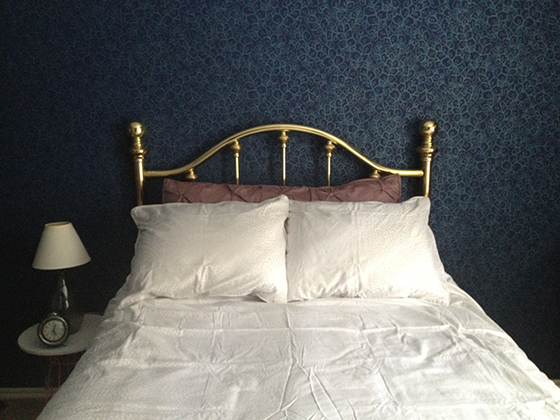
Now brass isn’t normally my thing, but this headboard is special. It was my step-grandmother’s. I toyed with the idea of antiquing it or maybe spray painting on a bright color, but when I found out how much she paid for it I just couldn’t bring myself to do any of those things. Once the room started coming together and I brought the headboard in I was glad I had left it alone, the brass brings a nice brightness that helps balance out the navy walls.


Guest Room-3-Design Crush


This room isn’t very large, maybe 12′ x 12′. It could have accommodated a queen sized bed but I went with a double. For how often it will be used I valued the extra walking space more.


Guest Room-4-Design Crush


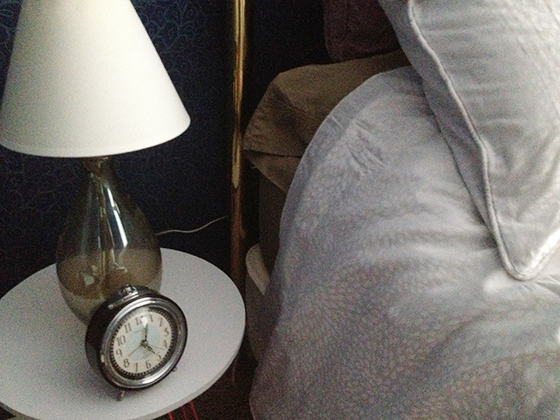
A lot of what’s in here has been repurposed form elsewhere in my house. The bedside lamp was once upon a time on my desk, the coatrack used to be in the house I grew up in, the bench was at the end of my hallway. The only furniture I bought was the small bedside table.


Guest Room-5-Design Crush


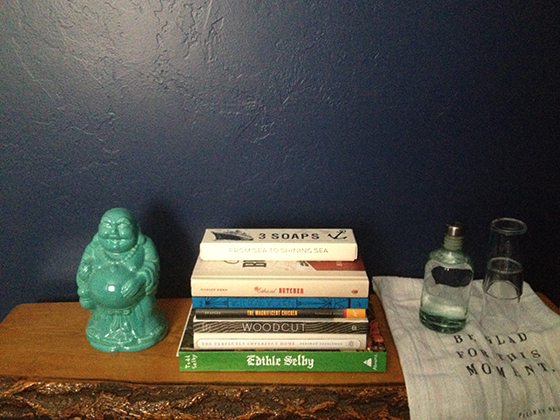
On the bench I stacked some of my favorite books for guests’ to flip through and also set out a small carafe of water with glasses and a towel. The Buddha used to be on my bedside table, but I just loved the way he stood out against the navy wall and decided to relocate him.


Guest Room-6-Design Crush


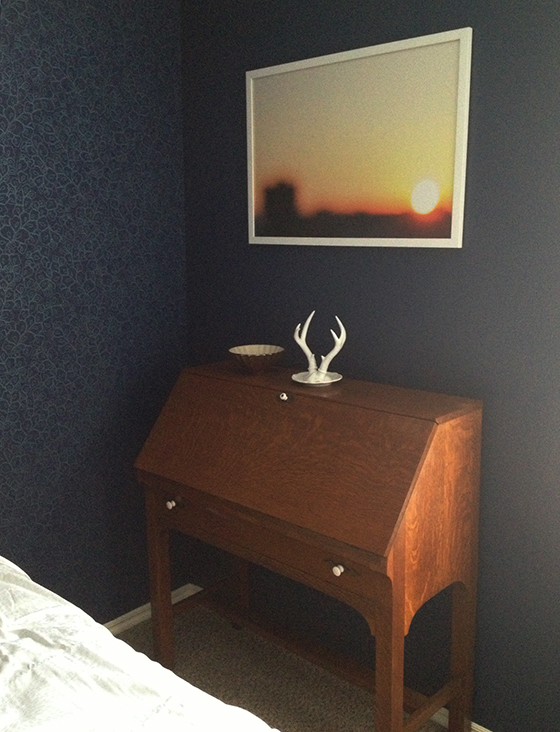
I love the brightness this piece of art brings to the room, the light grey bedding as well. This secretary desk was my Dad’s when he was a kid and I really like the way it balances out the warm wood of the bench and coatrack on the opposite side of the room. I also set out a jewelry tree and small bowl for guests to place their belongings when they wind down at night for bed.


Guest Room-7-Design Crush


Last but not least is the amazing light fixture that replaces the awful ceiling fan that used to be in its place. It’s the perfect size for the space, and the glass balls look like they have tiny filaments throughout.

I’m still planning on mounting a few floating shelves painted in the same navy as the walls above the bench, they’ll make a nice home for my small colored glass vessel collection. I’d also like to find a nice floor length mirror to prop against the wall opposite the bed, I think it will help open the space up more. As you know, decorating is a never-ending process! I’ll be sharing more specifics about the different pieces in the room through the week.

7

Sarah Wiener for REISS

Sarah Weiner-1-Design Crush


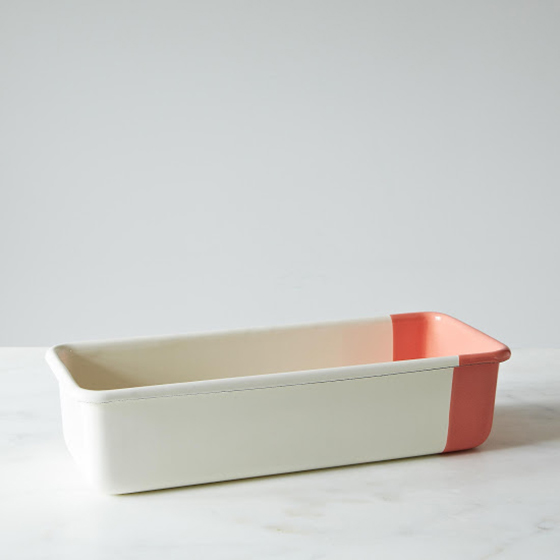
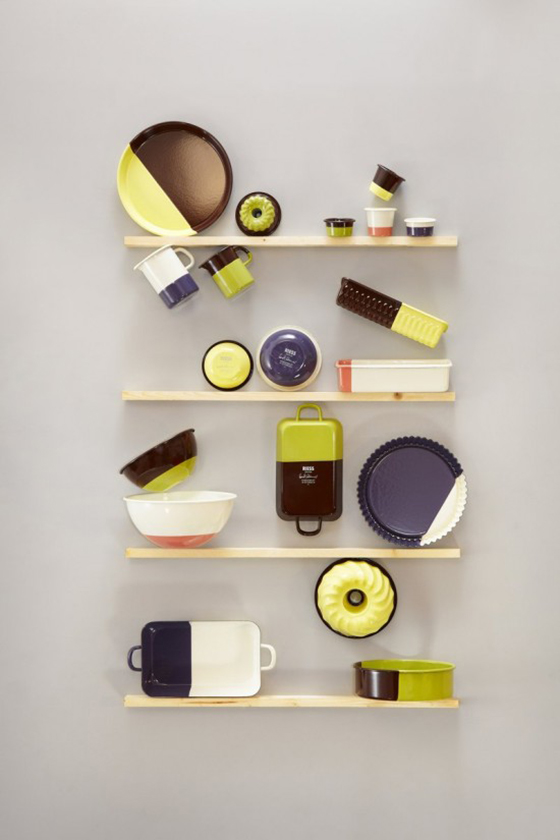
Enamelware is some of my favorite to use in the kitchen, the look and the heft of it just feel good. The two-color dipped forms by Sarah Wiener for REISS make me so ridiculously happy. I have a feeling they would not only make me bake (even) more, but they’d also never be hidden away in a dark cabinet! Each piece is dipped and glazed by hand by the Austrian company, making every one unique and leaving your hungry for more.


Sarah Weiner-3-Design Crush

Sarah Weiner-2-Design Crush


Sarah Weiner-4-Design Crush


Sarah Weiner-5-Design Crush

2

Boxcar Planters

Boxcar Planter-1-Design Crush


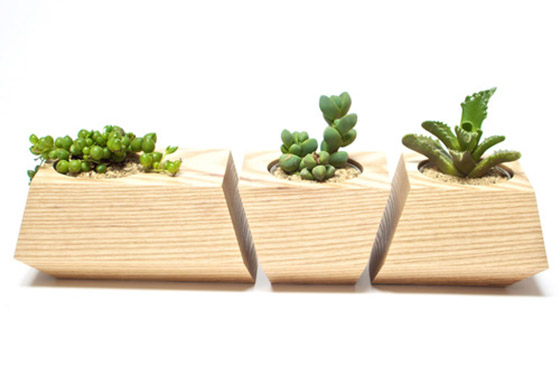
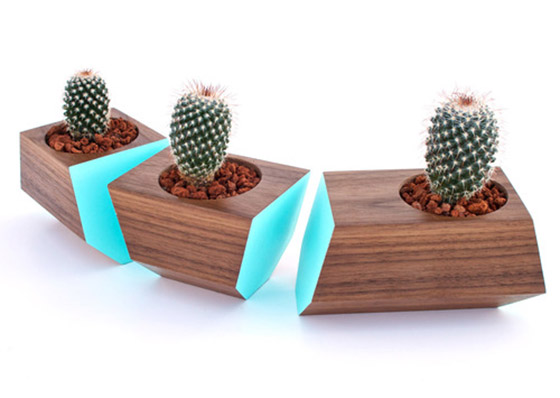
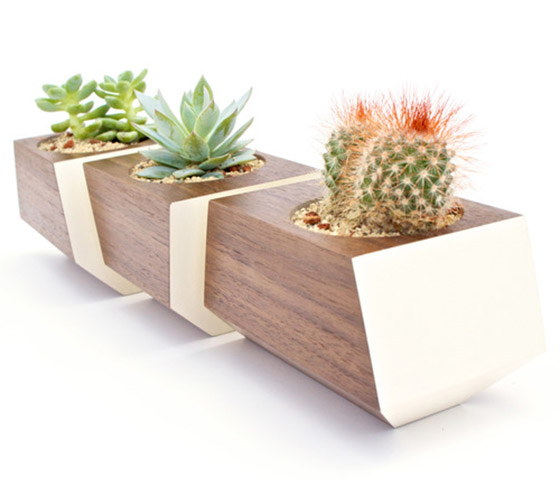
This Boxcar Planter looks like it was made for a sunshine-filled windowsill or as a centerpiece for a long table. Each piece comes with a metal insert to grow your own little succulent plants to keep the wood in tip-top shape. Every planter is made to order in Joe Gibson‘s Portland workshop.


Planter-2-Design Crush

Planter-3-Design Crush

1

Calling All Cat Ladies!

Cat-Ladies-Unite-2-Design-Crush

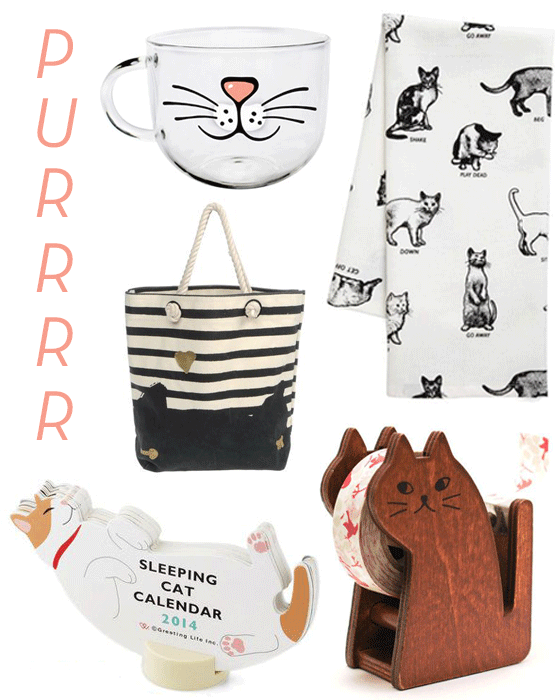
Cat Animal Glass/Cup Mug // Etiquette Got Your Tongue Tea Towel // Tsumori Chisato Shoulder Bag // Cat Washi Tape Dispenser // Sleepy Cat Year of the Critter 2014 Calendar

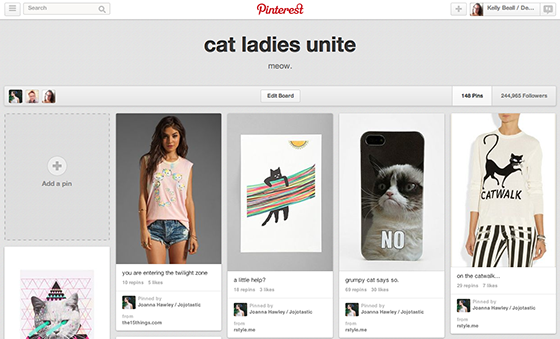
If you follow me, Anne Sage, and/or Joanna Hawley on Pinterest, you may have noticed a new board that unites our feline-crazed minds. That’s right, we banded together to embrace the idea of the crazy cat lady! On our Cat Ladies Unite board you’ll find fashion, paper goods, literature, and photography. (All the highest of high brow, of course. Cough.) A few of my favorite pins are pictured above, because there’s no shame in loving your cat more than your dignity.


Cat Ladies Unite-1-Design Crush

3

DIY Color Washed Glasses

DIY Color Washed Glasses-1-Design Crush

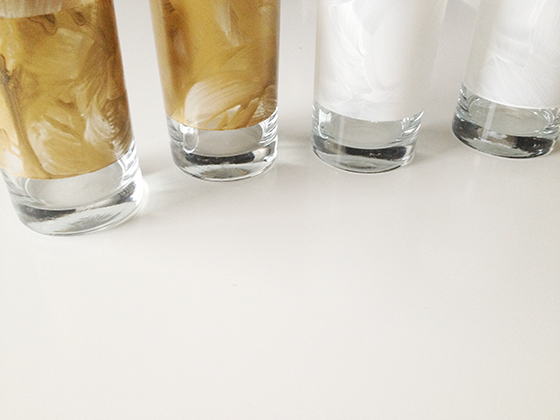
I love a tall glass tumbler more than just about any other glassware, really I do. But sometimes those guys are just sitting there like a blank canvas in the cabinet, waiting for a makeover. These Color Washed Glasses are a breeze to make and can look as fancified or casual as you want!


DIY Color Washed Glasses-2-Design Crush

All you need:
• a set of straight-sided glasses (I used tall tumblers, but you can use whatever)
ScotchBlue™ Painter’s Tape
• acrylic paint in the color(s) of your choice
• 3/4″ acrylic paint brush
• paint palette (i.e. paper plate)


DIY Color Washed Glasses-3-Design Crush

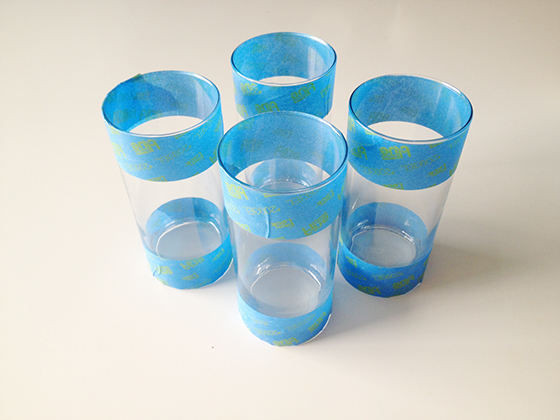
The first thing I did was wash and dry the glasses thoroughly, and then I taped them off. Because they’re going to be used primarily for beverages I wanted to make sure the paint was nowhere near the lip, so I simply used the width of the ScotchBlue Painter’s Tape as a measuring guide. You can opt to paint all the way down to the base of the glass, but I wanted to balance out the spacing at the top with a second strip of tape at the bottom. Since the glasses aren’t exactly straight up and down there will be a small amount of gapping with the ScotchBlue™ Painter’s Tape, simply smooth it down using your fingernail by pushing down and towards the edge.


DIY Color Washed Glasses-4-Design Crush

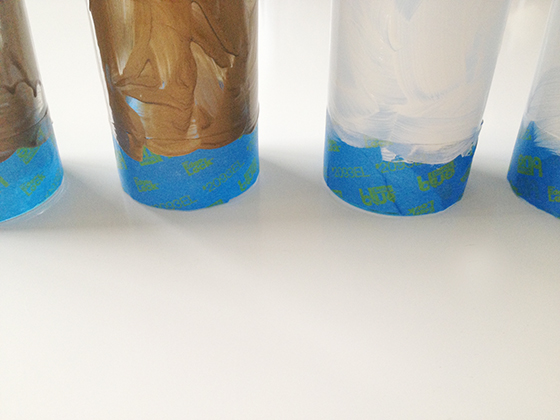
Next, squeeze a quarter-sized dollop of paint onto your palette surface (I always use a small paper plate) and load up your brush. Get to work sweeping and swashing over the exposed part of each glass, making sure to overlap the ScotchBlue™ Painter’s Tape slightly. You want a random look, so go crazy swooping and swashing!


DIY Color Washed Glasses-5-Design Crush

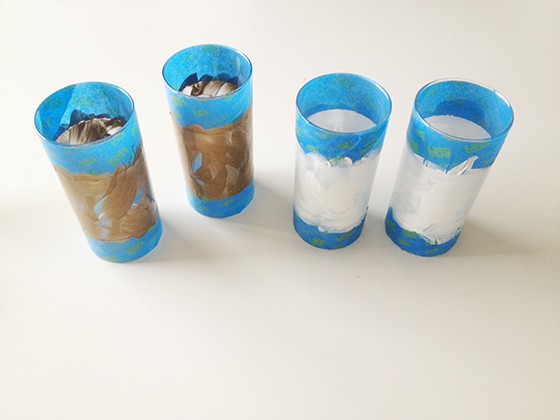
These glasses only required one layer of paint because we aren’t going for a solid opaque look. I set them aside to dry for about half an hour before removing the ScotchBlue™ Painter’s Tape.


DIY Color Washed Glasses-6-Design Crush

The edges came out very clean, and in the few spots that bled through I used my nail to scrape off the excess before the pain set completely.


DIY Color Washed Glasses-7-Design Crush

Huzzah! Time to sit back with an icy drink and enjoy the fruits of your labor. Because these are hand-painted you’ll need to hand wash these guys after using, or risk all of the paint coming off in the dishwasher – but you totally knew that already, right? I also plan on using these as small vases this fall, I think some brightly colored mums would look incredible with both the gold and white!
scotchblue, scotchblue painter's tape, painter's tape, tape

This post is a collaboration with ScotchBlue™ Painter’s Tape Brand. Join the community at Facebook.com/scotchblue or visit scotchblue.com to learn more.
ScotchBlue™ Painter’s Tape | ScotchBlue™ Painter’s Tape Facebook Page | ScotchBlue™ Painter’s Tape Twitter Page | ScotchBlue™ Painter’s Tape YouTube Page | ScotchBlue™ Painter’s Tape Pinterest Page

0