Framed Friday: Coconut Beef Stew.

These are a few of my favorite things:
1. Beef Stew
2. Coconut

(Does two count as a few? I can never remember.)

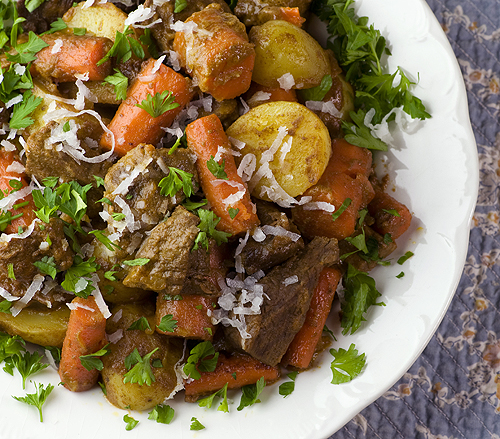
Anyway, imagine this. You get a hankering for a nice, hot, comforting beef stew with all the wonderful ingredients: chunks of beef, pieces of carrot and potato, etc. But instead of the usual beef broth or wine that you usually make beef stew with… you use coconut milk. And you throw in a few spices that are usually not found in beef stew, like coconut and cumin. And when the stew is done, all tender and with a hint of coconut taste after simmering for hours in the coconut milk, you sprinkle it with a little shredded coconut just for good measure. Then you ladle it out into bowls and take your first bite, and you are transported into a land that is a confusingly wonderful mixture of tropical comfort food. I promise you, this is one beef stew that you are going to remember lovingly for a good long time.

Which all goes to show you, you CAN teach an old dog new tricks.

Sorry.  Any excuse to put a puppy picture up.

Anyway… Coconut Beef Stew. Try it!

Coconut Beef Stew

• 1 tablespoon olive oil
• 2 onions, chopped
• 2 garlic cloves, chopped
• 2 tablespoons paprika
• 2 tablespoons cumin
• 1 tablespoons cinnamon
• 1 teaspoon salt
• 4 tablespoons tomato paste
• 1 14oz can coconut milk
• 2 pounds beef chuck steak, cut into cubes
• 4 large Yukon gold potatoes, cut into chunks
• 2 cups carrots, cut into 1-2 inch pieces
• 1 cup flaked coconut
• 1/2 cup chopped parsley

1. Heat oven to 350. Put oil in Dutch oven or other ovenproof pot over medium heat. Cook onions for 5 minutes or until soft. Add garlic and spices and stir for one minute. Stir in tomato paste and then coconut milk. Bring to a boil and add beef.
2. Cover and transfer to oven. Cook for 1 hour, then remove from oven and add potatoes and carrots. Cover and cook for an additional hour and 15 minutes.
3. Sprinkle each serving with flaked coconut and parsley and serve.

~ Kate, Framed

3

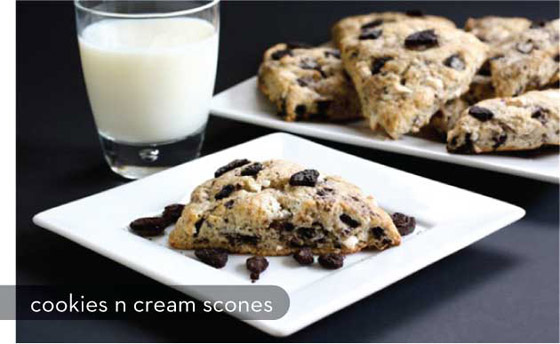
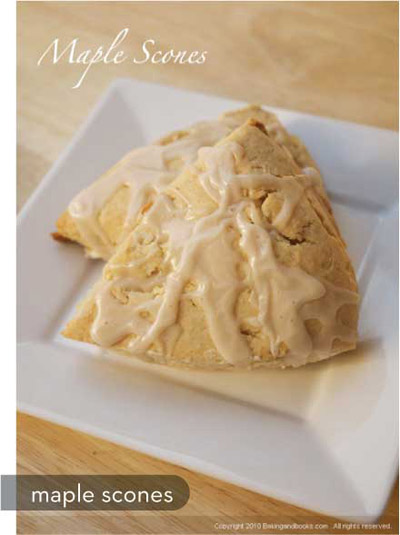
Let Them Eat Scones.

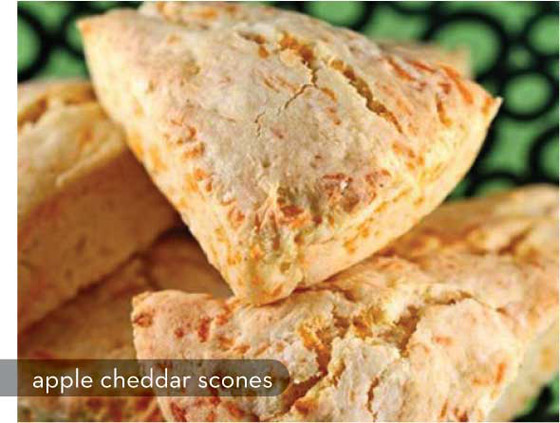
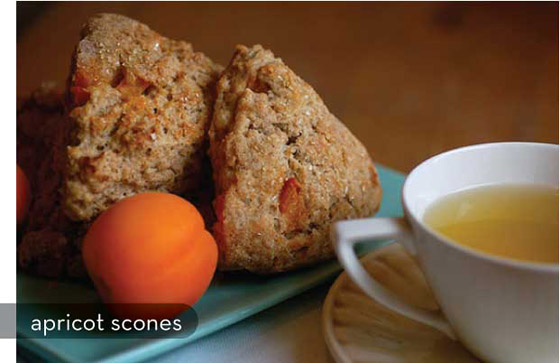
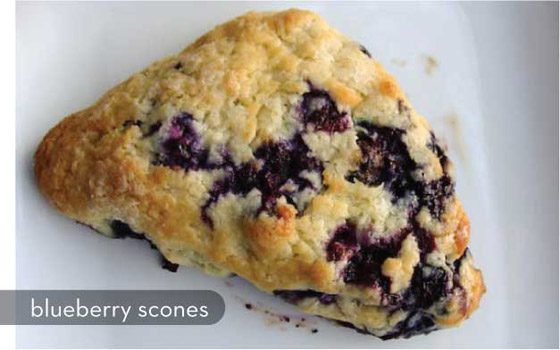
Scones are incredibly versatile and easy to make. They’re a breeze to take with you for a fast breakfast or to bake up on a weekend morning which is usually what I’m looking for in a breakfast recipe. And they always, always impress.  (PS: Forget all of the hype about scone pans, you really just need your hands and a knife.)

6

Framed Friday: Bacon Cashew Caramel Popcorn.

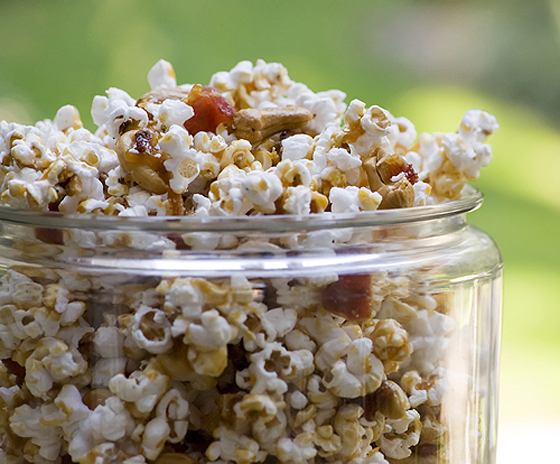
Now you have to admit, I have been very well-behaved in terms of the bacon recipes lately. I didn’t put any bacon in the pumpkin granola, or the marshmallow frosted cupcakes, or even in the spaghetti tacos. I am practically going through bacon withdrawal over here. And the only antidote might be this CRAZILY good popcorn. Bacon, cashews and popcorn, all held together with just a little bit of caramel and with a little red pepper tossed in just to keep you on your toes. It’s hard to describe how completely, totally, addictively good this is. All I will say is, one minute that jar was full up with popcorn, and the next it was empty. It’s all kind of a blur to me. A happy, sweet, salty blur.

This recipe comes via the wonderful Saveur magazine (who called out my little blog as one of their “Sites We Love,” so I in turn will love them forever), and they got it from someplace in Denver called Colt and Gray. I had never heard of Colt and Gray before this recipe, but based on this popcorn recipe alone, I love them too. It’s part of their bar menu (don’t you just love bar menus???) and I could easily eat it for dinner all by itself.

Here’s the deal. Pop up about 15 cups of popcorn (which is about 1/2 cup of unpopped popcorn kernels, which doesn’t make sense to me but it’s true.)  This will mean your popcorn ends up with just a tiny bit of caramel on each kernel, which was perfect from my point of view, but if you like more caramel on your caramel corn, cut the popped popcorn down to 10 or 12 cups. Cook up some bacon, crumble it up and toss it in with the popcorn. Add in some cashews, some coarse salt and some red pepper.

Now comes the fun part: making the caramel. You bring some cream to a boil with a tea bag, and let it sit for a while. (Tea bag? I don’t know, and I wasn’t going to ask any questions.) Then you boil up some sugar, water and corn syrup in a large saucepan until the sugar melts and turns amber-colored. Now comes the dramatic part: pour in the cream… it will bubble up and then before your eyes you will have a pan full of beautiful molten caramel. Quickly pour it over your popcorn mixture, quickly stir it up to coat everything with just a touch of caramel loveliness. Now turn the whole shebang onto a parchment lined cookie sheet and let it cool until the caramel hardens. Then comes the hardest part of all: trying not to eat it all in one fell swoop. Good luck with that part!

Bacon Cashew Caramel Popcorn

adapted from Saveur

• 1/2 cup popcorn kernels, popped to make 12-15 cups popcorn
• 6 ounces bacon, cooked and chopped
• 1/2 cup cashews
• 1 teaspoon kosher salt
• 1/4 teaspoon cayenne pepper
• 1/4 cup heavy cream
• 1 tea bag (regular black tea)
• cooking spray
• 1 1/4 cups sugar
• 1/4 cup water
• 2 tablespoons light corn syrup

1. Combine popcorn, bacon and cashews in a large bowl. Sprinkle with salt and cayenne and toss to coat.
2. Bring cream and tea bag just to the boil and remove from heat. Let sit for 15 minutes, press on tea bag and remove.
3. Line baking sheet with foil and coat with nonstick spray. Spray two large spoons with cooking spray as well.
4. Stir sugar, water and corn syrup in large saucepan over medium low heat until sugar dissolves. Increase heat to high and boil without stirring until  syrup turns amber, occasionally swirling pan. This will take about 15 minutes. Remove from heat and immediately add cream – mixture will bubble up – don’t panic!
5. Immediately pour mixture over popcorn, being Very Careful – it’s hot. Toss with the sprayed spoons until well-combined  and transfer to baking sheet. Cool completely and then break up into chunks.

~ Kate, Framed

2

Birthday Cake(s).

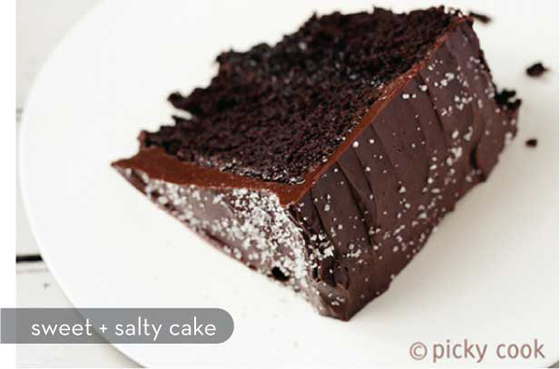
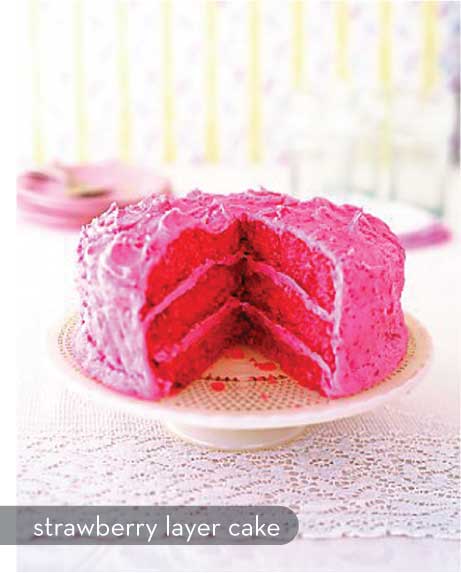
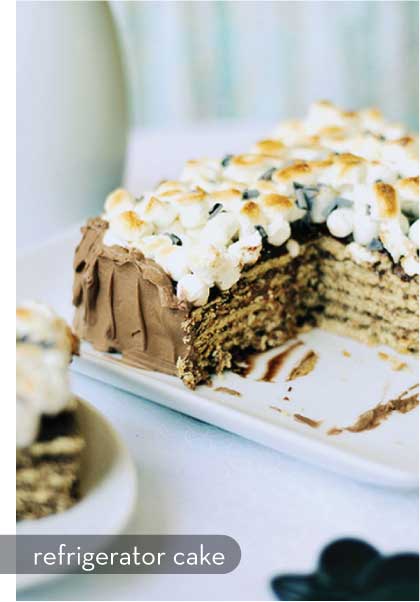
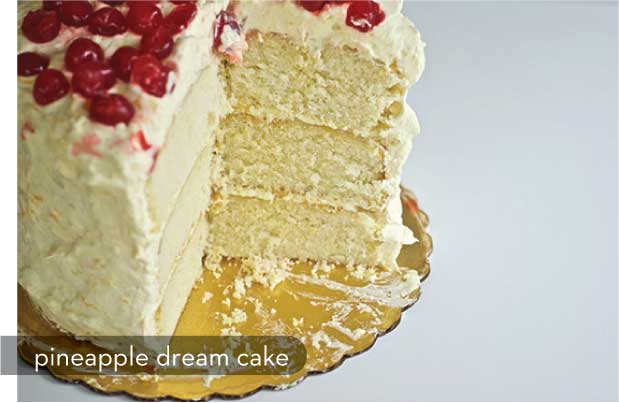
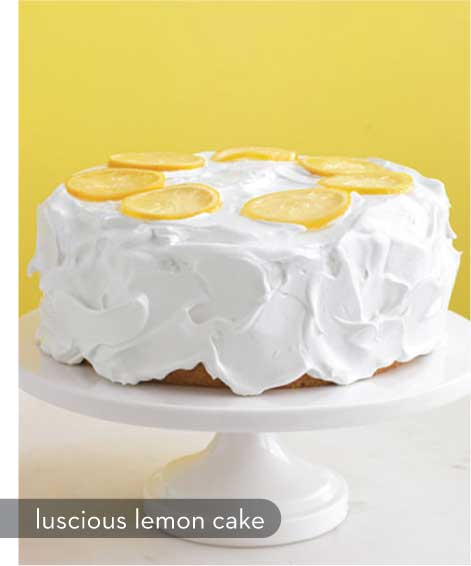
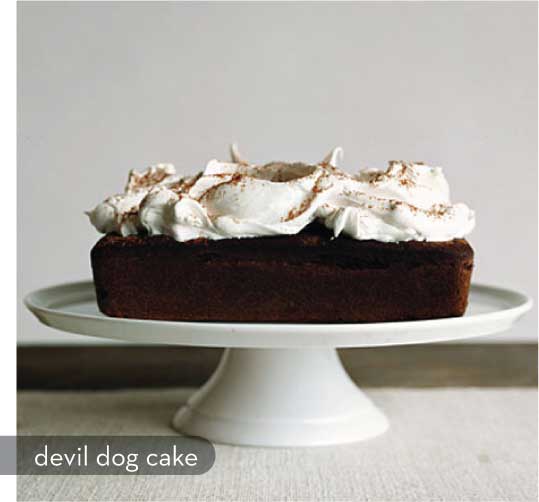
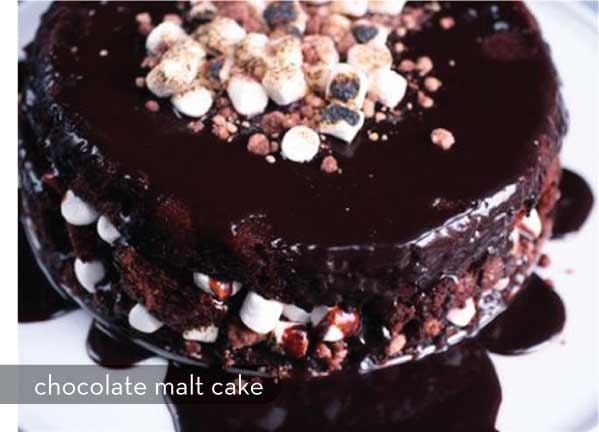
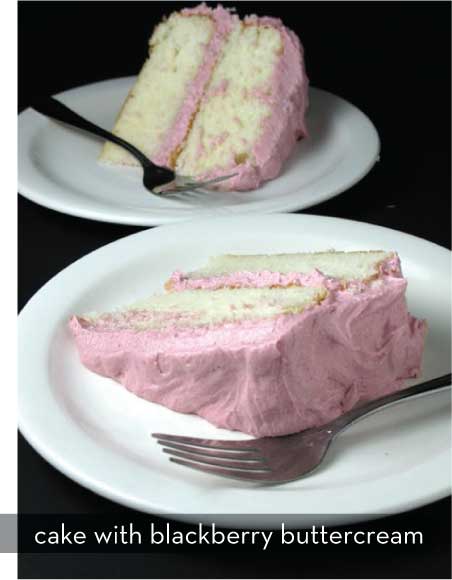
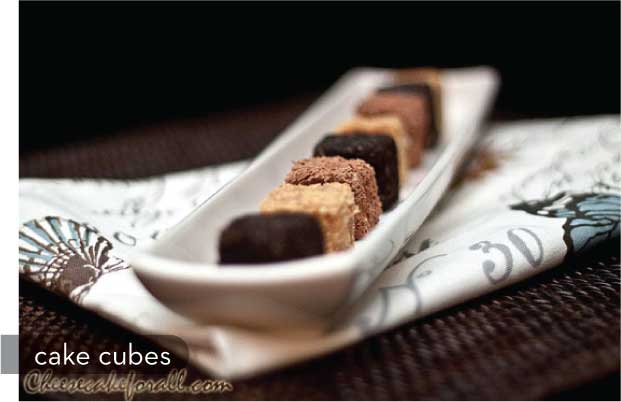
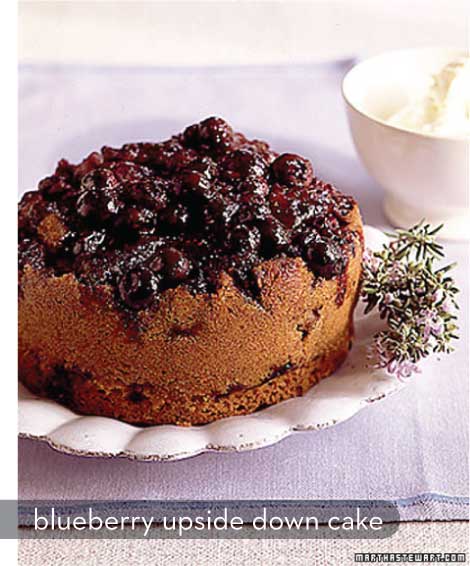
Is there any better kind? Believe it or not, I’m picky when it comes to food. But cake? Totally different story. In fact, I don’t think I’ve ever met one I didn’t like. Here are a few I’d be happiest to find on my doorstep, in my mailbox, and in my face come the 4th. (I love the Good Housekeeping circa 1950 names and looks a few of them have!)

10

Happy {Halloween} Weekend.


{Katherine Squire}

+ Keep the vampires at bay with this garlic necklace.

+ Have you seen these spookified decoration displays from Making it Lovely and Brooklyn Limestone?

+ If I were in the market for a headstone this would be it.

+ For when you can’t find your phone but have internet access…

+ I’m a sucker for novelty cameras.

+ Check out this great tutorial for making your own pyrite bookends.

+ Sort of the BEST SANDWICH EVER.

+ Definitely making this chicken + noodles recipe within the next week!

+ Why has no one thought of cinnamon toast butter before?!

+ I didn’t have time to throw together a Halloween mixtape, luckily K.I.D. Collective did.

+ And so did Kitsune Noir!

+ Skull wallpaper. Yesssssss.

+ In love with this last minute costume, a flowing hooded cloak.

Happy Halloween Weekend!

Hey: Sunday is the last day to sign up for this year’s Calendar Swap! Get on the ball or miss out until next October. (And possibly be wandering around for an entire year in the meantime, clueless as to what month or day it is. But you know, your choice…)

2

Framed Friday: Chicken Vegetable Cobbler.

There is something about the word “cobbler” that just makes me feel all warm and cozy and contented. Most of my cobbler recipes are for desserts – apple, peach, and so on. (And just so you know, I have a chocolate cobbler recipe waiting in my stack of  “to be made one day soon” recipes. SOON. Very soon.)

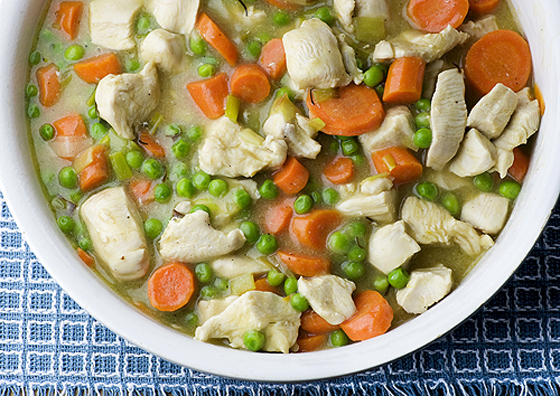
Anyway, cobbler is something I usually associate with dessert, so when I came across this chicken recipe in Mark Bittman’s fabulous video series, I thought I had died and gone to heaven. Cobbler for dinner! NOW we’re talking. First you cook up a heavenly, homey mixture of chicken, carrots and peas all in a creamy herby thick broth.

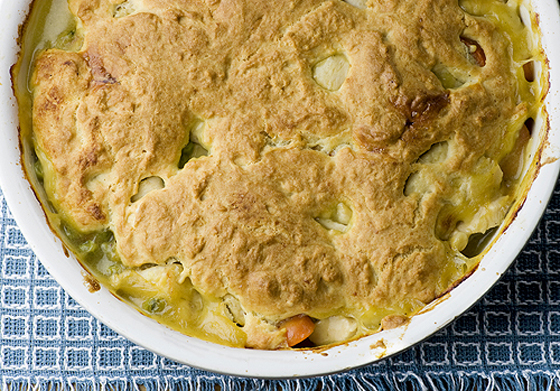
Then you top the whole thing with a buttery biscuit dough and pop it in the oven. By the time it is almost ready to come out, people and dogs will be drifting into your kitchen with happy and expectant looks on their faces. And really, isn’t that one of the main reasons we make things like chicken cobbler in the first place? Yes it is.

Chicken Vegetable Cobbler

adapted from The Minimalist
3 tablespoons olive oil
1 leek, washed and chopped
salt and pepper
1 1/2 cups chicken stock
2 sprigs fresh rosemary
2 medium carrots, cut in chunks
2 chicken breasts, cut into bite sized pieces
1 cup frozen peas
2 tablespoons cornstarch
1 cup flour
3/4 teaspoon baking powder
1/8 teaspoon baking soda
1/4 teaspoon salt
3 tablespoons butter, cut into small pieces
1/2 cup buttermilk
1 egg

1. Heat over to 400.  Put oil in large skillet over medium heat. When hot, add leek, sprinkle with salt and pepper and cook, stirring occasionally until soft, about 5 minutes.
2. Add stock and rosemary and bring to a boil. Add carrots and chicken and simmer until chicken is cooked through, about 10 minutes. Add peas and stir for one more minute. Remove rosemary and discard.
3. Whisk cornstarch with a few tablespoons of cool water to make a slurry and add to skillet. Sir until liquid thickens, and then transfer the chicken mixture to an ovenproof casserole.
4. Put flour in food processor with baking powder, baking soda and salt. Add butter and process until combined, about 30 seconds. Transfer to bowl and mix in buttermil and egg until it comes together into a sticky dough.
5. Drop spoonfuls of batter onto chicken mixture and smooth with a knife, covering as much of the surface as you can. Leave a few holes for the steam to escape. Bake for 35-45 minutes until golden brown. Scoop onto plates or bowls and serve at once.

~ Kate, Framed

2

Halloween Goodness.


emma who

Spookiness

The story behind Bram Stoker’s Dracula
Granny Grimm’s Book of Ghoulish Grammar
The Belmez Faces
10 Haunted Houses in the U.S.
4 strange cases of demonic possession
The Witches of Salem

Craftiness

10 obscure, geeky DIY costume ideas
How to make a Zombie Barbie Garden
Colorful handcut paper leaves
Loving this super simple costume
Ominous DIY favor bottles (two words: Pop Rocks!)
• Loving this project for ‘Harvest Houses’
Geekstravaganza Halloween decorations
Forest Scene Pumpkin
Print + stick zombie wounds
• Loving these morbid terrariums!

Partiness

• Would love to throw a Witching Hour party with the girls
Get pumpkined!

Tastiness

15 creepy-cool Halloween party foods
12 super gross candies for trick or treaters
Potted Pumpkin Pies (so cute!)
Halloween Refrigerator Donuts
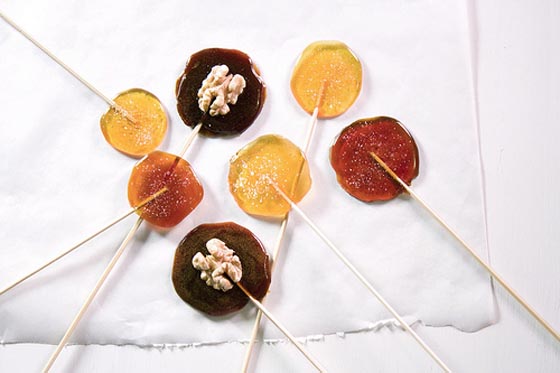
Red Hot Devil Macaroon Lollipops

Drunkeness

Mexican Pumpkin Punch
Caramel Apple Martini
Autumn Coffee (with a kick!)
Vampire Blood Martini
Holland Razor Blade

5

Happy Weekend.


{via ffffound}

+ I really, really needed this. Bonus: it’s free.

+ Spaghetti Tacos!!!

+ Prayers the world over have been answered with the Gangsta Lorem Ipsum generator!

+ Geeking out over being able to print + use my very own sundial.

+ Mesmerized by this Kaarina Kaikkonen’s installation.

+ And this rainbow forest.

+ This week has been rough, who’s day isn’t brightened by a sweet compliment?

+ Have you checked out the 1010 Project? It doesn’t disappoint.

+ Letterpress stamped cookies. For reals.

+ Just in case you’re curious about the birth of Wonder Woman

Happy Weekend!

PS: Not much time left to get in on the 2011 Calendar Swap, hope you’ll be joining us!

2

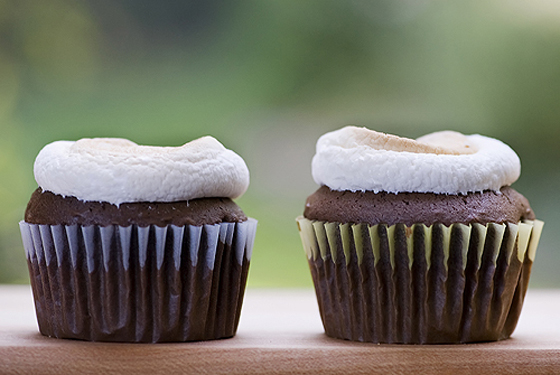
Framed Friday: The Easiest Cupcake Frosting.

So, this is another one that has me scratching my head and saying to myself, so why am I only figuring this out NOW? Because it is so simple, and so delish, and so adorable looking. This one is SO easy there is not really an official recipe involved – just a quick run-down of the process. Here’s what you need:

Chocolate cupcakes
Marshmallows
An oven
A spoon

I made up a box of Duncan Hines chocolate cupcakes, because while I love a good homemade cupcake as much as the next person, sometimes you are just in the mood for cake that comes out of a cake mix box.  I am, anyway. And since I was going for the easiest frosting ever, it seemed to make sense not to knock myself out on the cake part, right?

Anyway, here’s what you do. Bake up a batch of cupcakes however you want to bake ’em. While they are baking, grab a bag of marshmallows – the regular size ones – and count out as many marshmallows as you have cupcakes. When the cupcakes have 3 minutes to go, take them out of the oven but leave the oven on. Balance a marshmallow on top of each cupcake (this is the hardest part of the entire thing) and carefully slide them back in. Bake for another 3 to 5 minutes, just until the marshmallows are soft. They will probably still be pretty tall, but just take a clean spoon and press down gently with the back of it, and they will flatten right out.

By the way, if anyone thinks this looks like the S’Mores version of a cupcake, you won’t get any argument from me!

~ Kate, Framed

3