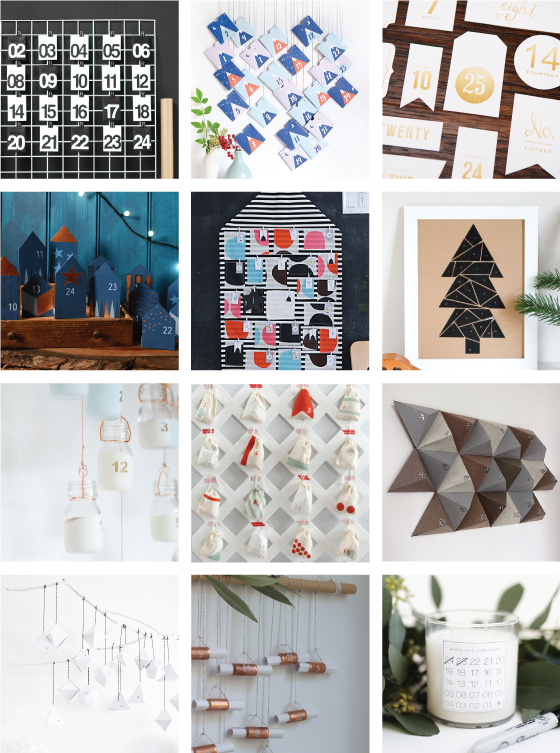
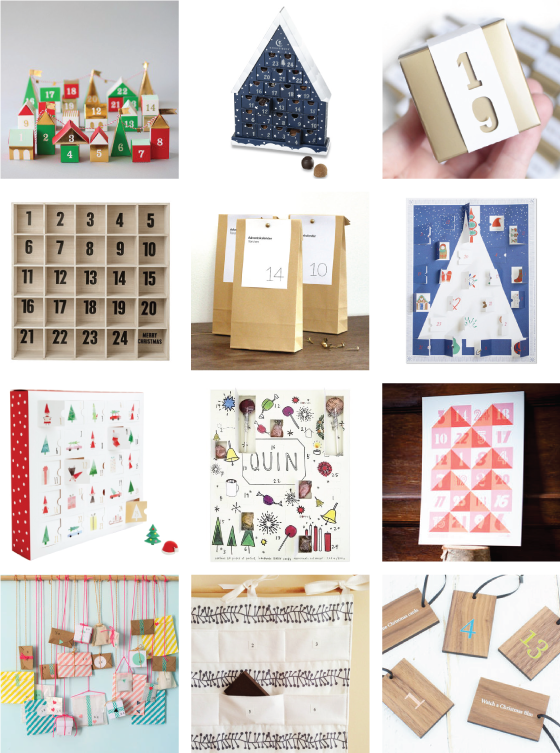
Lately I feel like I’m being pulled in about ten different directions, and it’s really become the norm. Aside from needing to work on my work/life balance and learning to say no more often, I’ve also come to value what little free time I have. With that thought in mind and the idealisms of the holidays nearly upon us, I’ve tracked down twelve DIY advent calendars and twelve to buy. Because it’s really all about picking and choosing our battles, right?
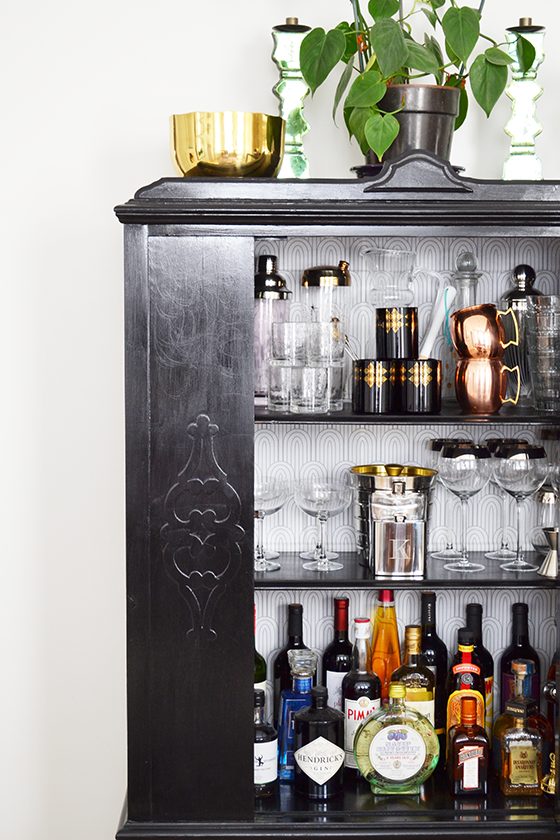
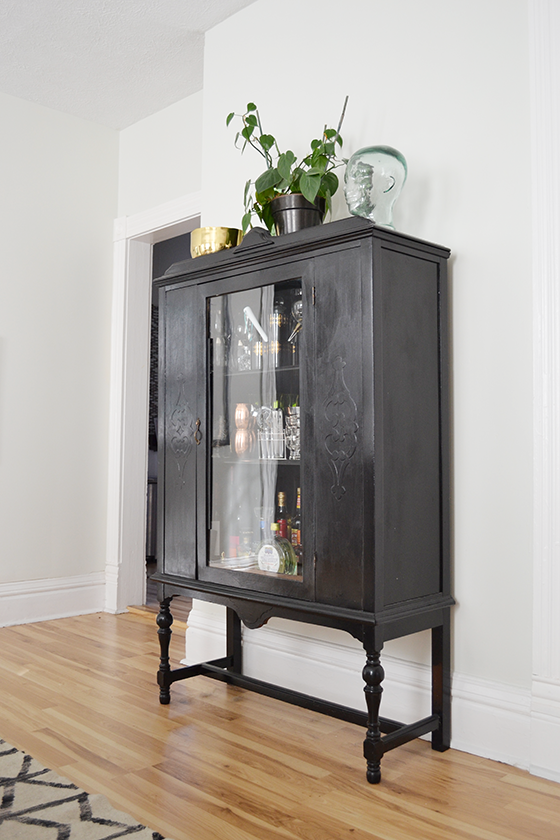
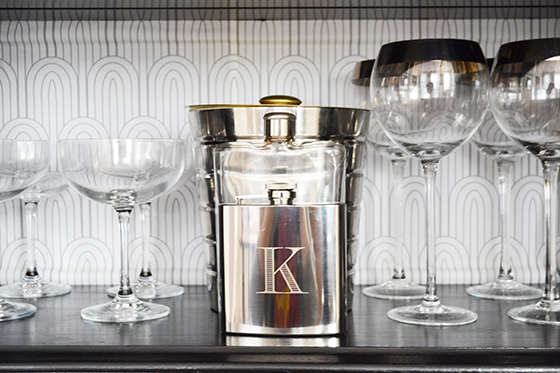
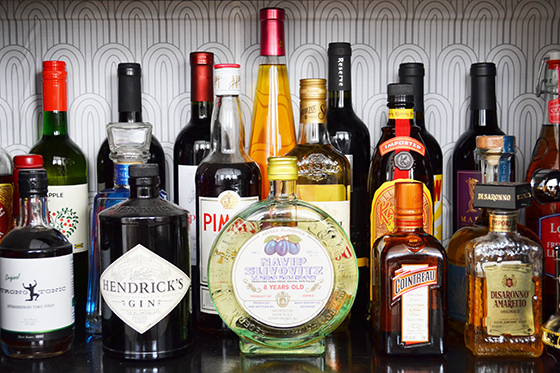
This Depression era kitchen cabinet has played a big role in my home as a bar cabinet. I love having a dedicated place to house all of my favorite barware and spirits, but the piece was in need of a little refresh since I first painted it glossy black a few years ago.
When Walls Need Love reached out about checking out their products I knew just what to experiment on. I’d toyed with the idea of wallpapering the interior of the cabinet ever since painting it, but to be honest I was nervous the pieces within might not pop as much if up against a pattern.
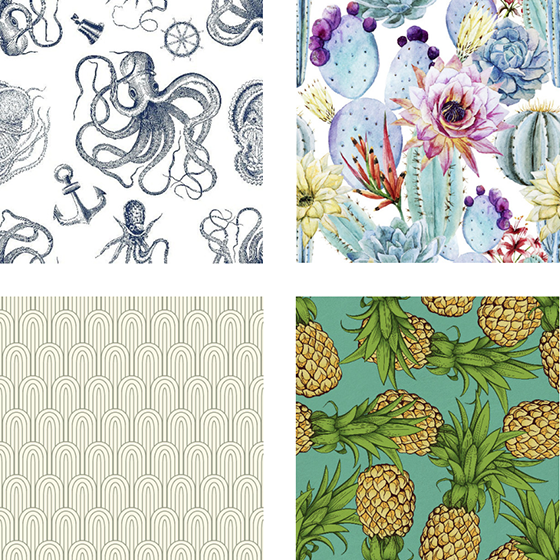
Walls Need Love has a fantastic selection of removable wallpaper, just the level of commitment I was looking for (RE: low). If I didn’t like the end result I could simply remove it and call it a day. To start I ordered samples of four designs – Vintage Nautical, Watercolor Cactus, Crazy Pineapples, and Retro Nouveau – and after much deliberation decided to go with the Retro Nouveau. While I thought I wanted something bright and large in scale, it turned out that the best fit for both the cabinet and my style was the smallest and most neutral.
The removable wallpaper itself was really easy to install. I measured and cut a length off of the roll (with a little extra for unforeseen errors), then removing about a foot of the backing paper at a time started at the top and made my way down. I used a wooden ruler to smooth out any bubbles as I went. Lining up a smaller pattern like this isn’t the easiest when it comes to other adding other pieces of paper, but I made my way slowly and used a razor blade to trim off any excess. Overall I’m really pleased with how easy this little makeover was, and with the impact it makes in my dining room. Removable wallpaper is so versatile, I can’t wait to try out some other home projects of different scale with it.
This post sponsored by Walls Need Love. All words and opinions are my own. Thank you for supporting the brands that help Design Crush create fresh content!
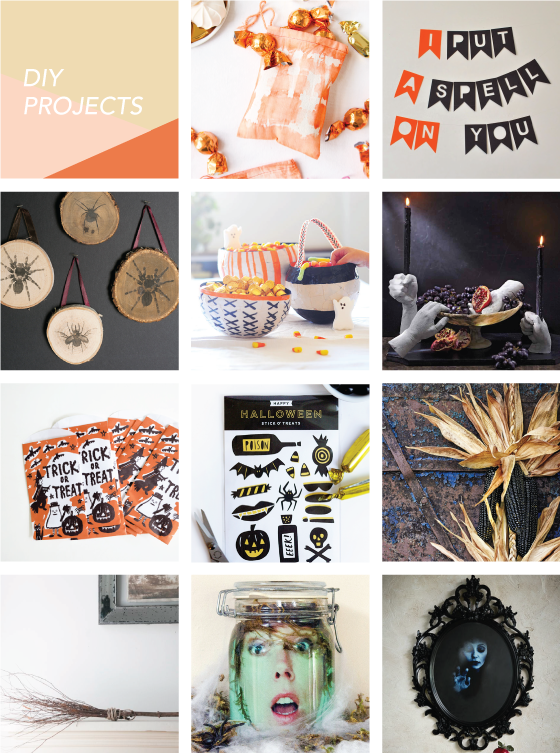
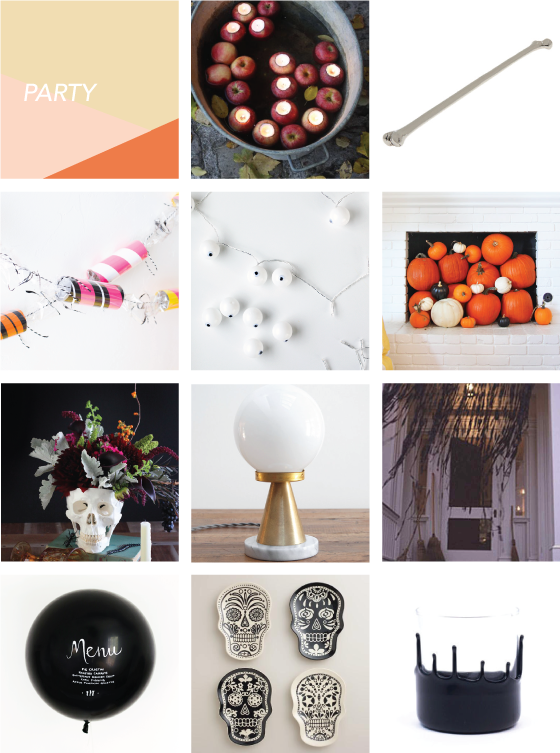
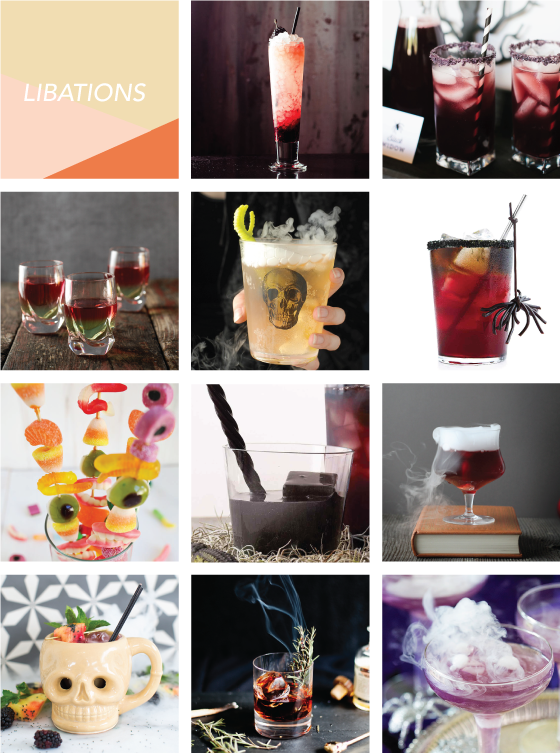
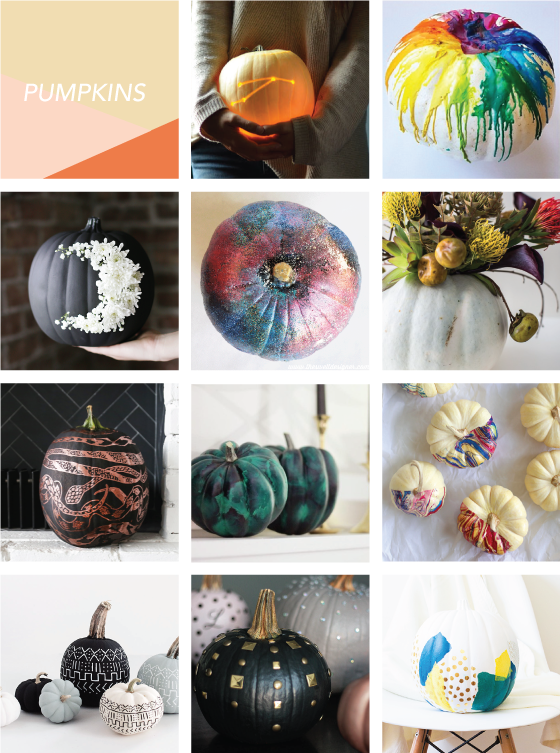
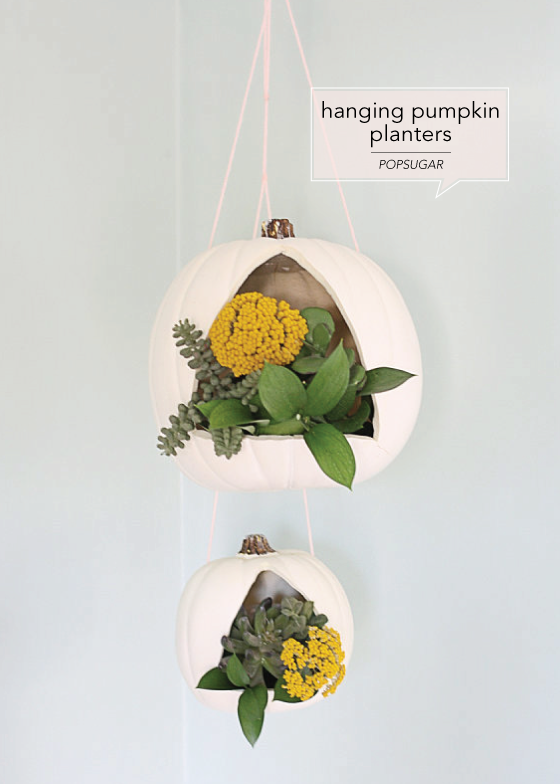
If I’ve never mentioned it before, Halloween is my favorite holiday. I’d actually wager that it’s my family’s favorite, so it was essentially ingrained in me from the get go. Some October soon I plan on having my first Halloween party since, oh, college. But this year I’ll be celebrating at a friend’s house party with a snarky costume that you’ll have to see on Instagram! In the meantime, check out DIYs, party ideas, food and cocktails, and of course pumpkins.
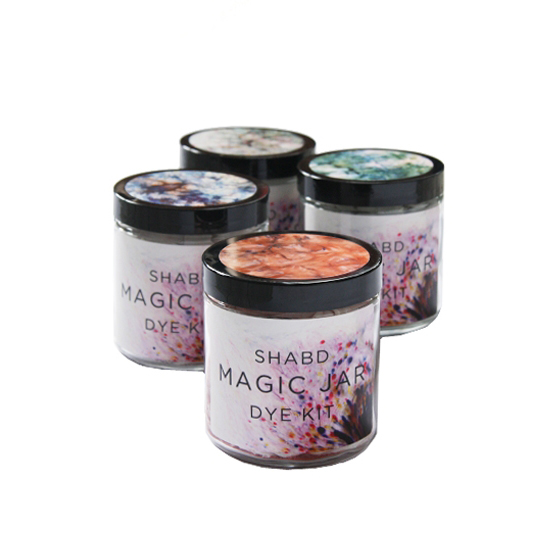
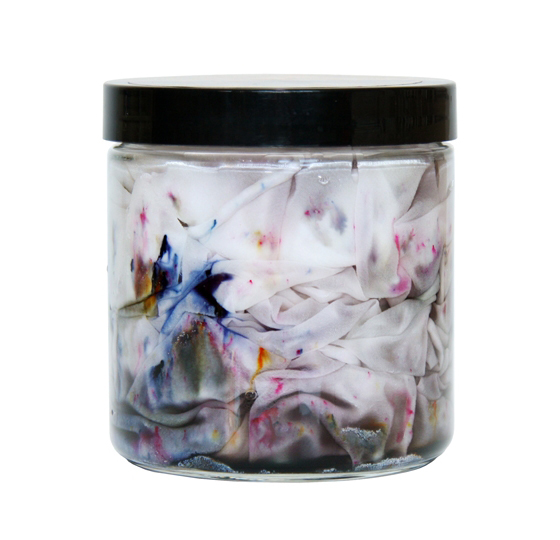
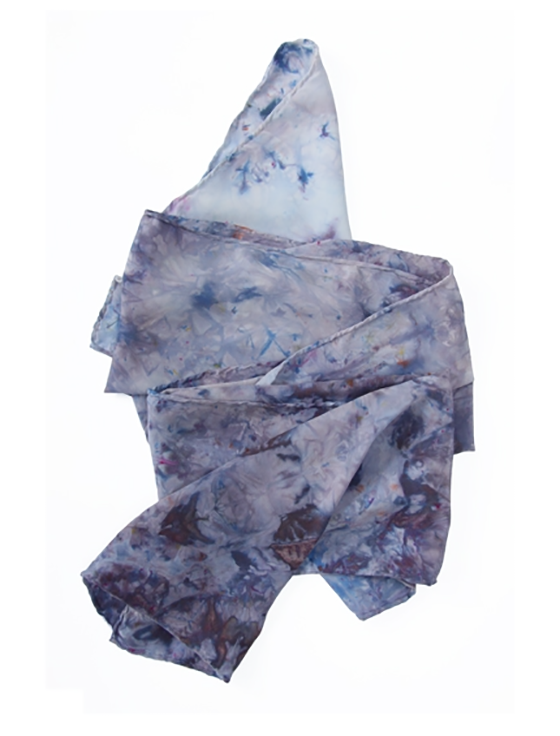
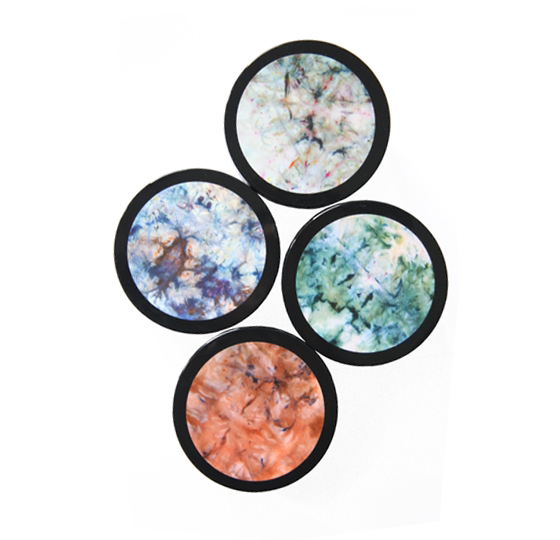
Basically the instant I saw the Shabd Magic Jar Dye Kit it jumped onto my Christmas list (which is getting quite long, just in case you were wondering). This magical all-in-one dye kit comes with a silk crepe de chine scarf and permanent non-toxic dyes and fixatives, all packed inside a reusable glass jar. Just add water, practice being patient for one hour, and then see the results. So much fun! The kits are available in amethyst, copper, jade, and quartz.
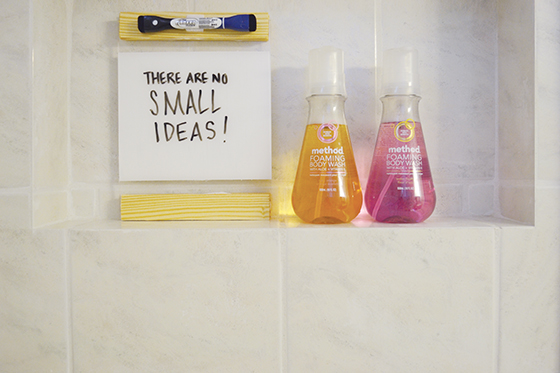
You know the drill… you’re in the middle of sudsing up in the shower when inspiration strikes. You’ve figured out the elusive answer to a work brief, nailed what kind of landscaping design you’d like in the backyard, or even solved climate change (here’s hoping). But by the time you step out of the tub *poof* it’s gone. The most fantastic ideas happen when you’re inspired, so why not have a place to write them all down?
Trying method‘s latest and greatest product – foaming body wash – inspired me to come up with a solution. The scents and bubbles wake up my senses and get my creative juices flowing (the ruby orange is my favorite scent of the four available – it’s so summery and refreshing!). So a modern do-it-yourself shower memo board that would both give me a spot to brainstorm and match up with my minimal aesthetic seemed like just the ticket.
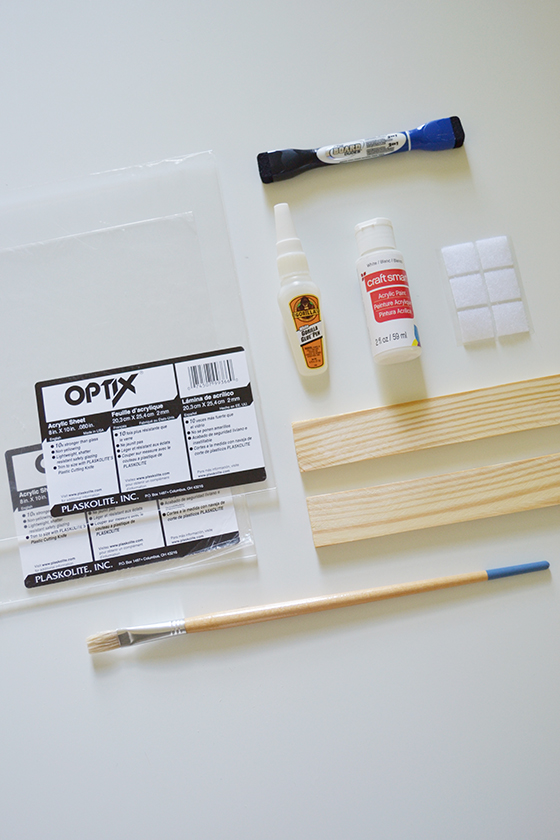
Materials:
• 2 – 8 x 10″ pieces of plexiglass
• 4 – 8″ lengths of quarter inch thick wood (varnished or not)
• strong adhesive (I used Gorilla Glue)
• painter’s tape
• white craft paint
• small paint brush
• self-adhesive velcro
• dry-erase marker
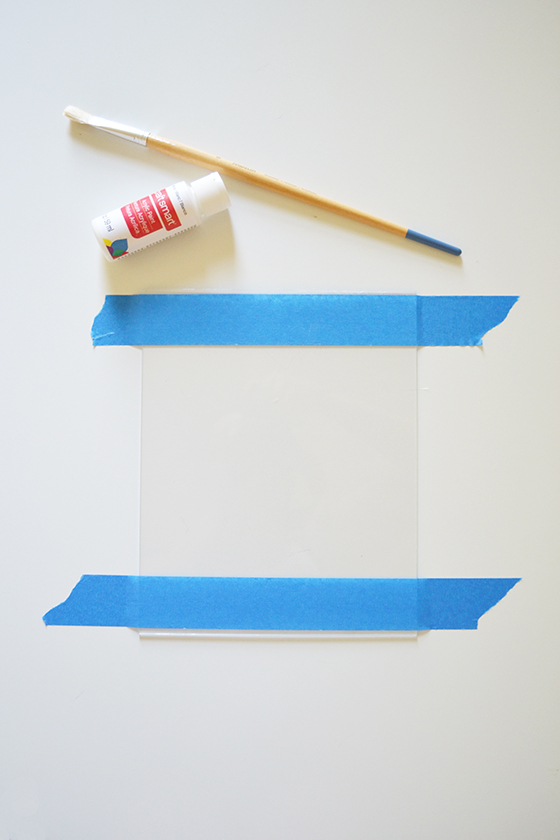
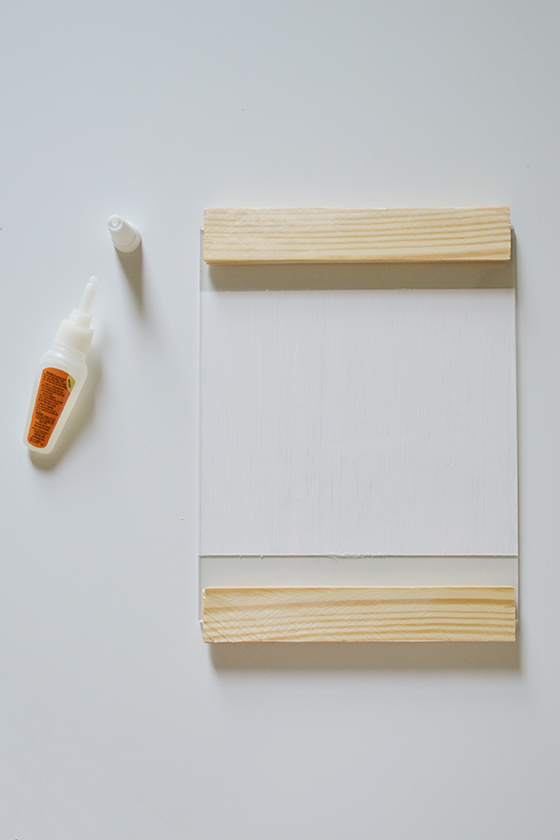
Begin by taping off one of the pieces of plexiglass with the painter’s tape, about and inch on both top and bottom. You could also get more creative and mark out individual boxes, lines, etc – make the space work best for how you tend to process and think. I taped past the edges which helped to anchor the plexiglass in place while I was painting.
It’s best to apply several thin coats of craft paint instead of one thicker one. To achieve the opacity I wanted took three coats with about thirty minutes of drying time in between each. Make sure and pull off the painter’s tape before the last layer is dry, it will help keep the edges crisp and clean. If you get any smudges just use a cotton swab or your fingernail to to fix things up.
Plexiglass is notoriously difficult to drill through, so I opted for a heavy duty adhesive instead. I placed a thin line of adhesive about 1/4-inch from the edge of both the top and bottom, then placed the second piece of plexiglass over the first to cover my newly painted surface. In order to get a really tight seal I placed a few heavy coffee table books on top to act as a clamp, then waited for an hour or so for things to dry thoroughly.
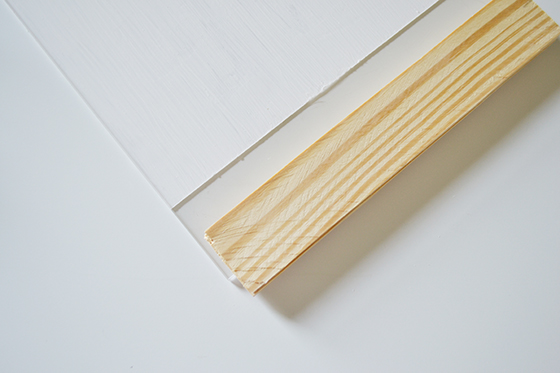
Attaching the wooden edges to top and bottom was just as easy. Once again I spread a thin line of adhesive along the edge of each piece, then placed them so that about two thirds of their width was on the plexiglass and the rest hung off. Then again I set a few large books on top and allowed everything to dry. You could stop here, but I opted to add a second set of wood edges to the backside by repeating the process.
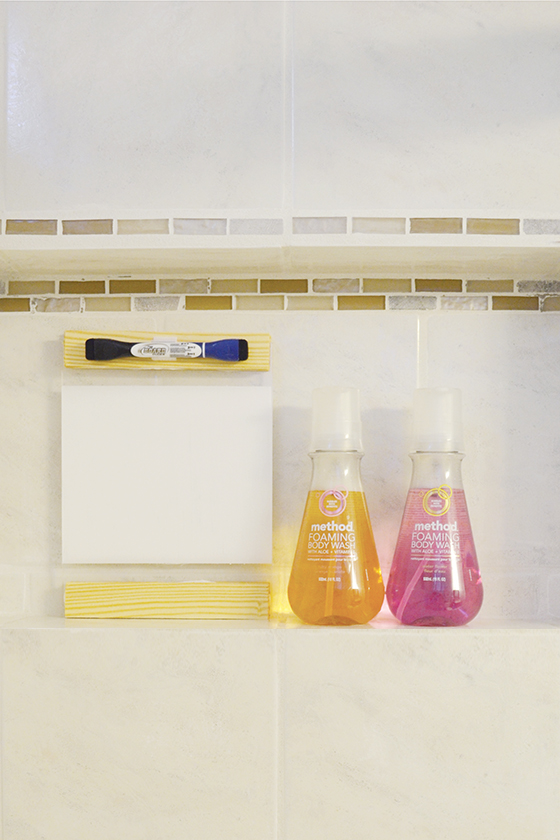
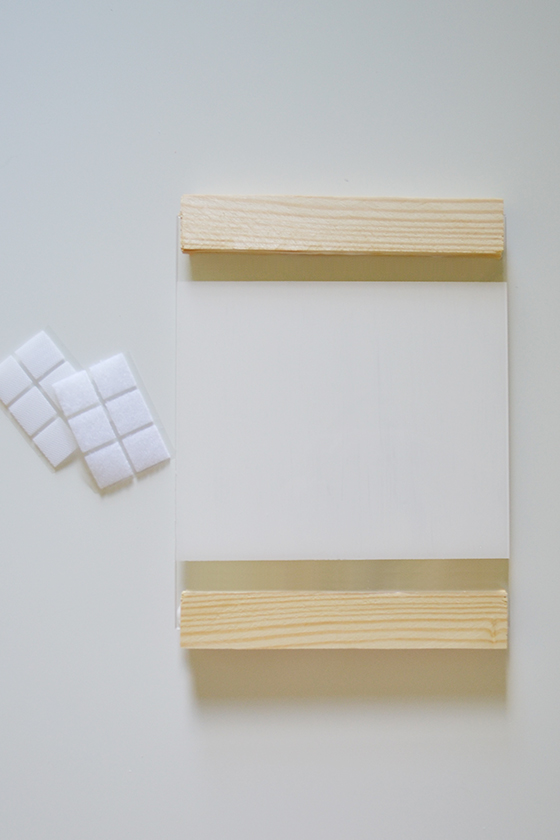
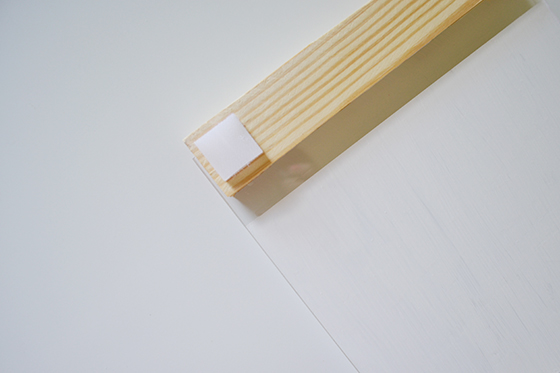
There were lots of possible ways to attached my brand spankin’ new memo board to the shower wall once I was finished. I could add an eye hook and use a suction cup or command strip, but I went with… velcro! Self-adhesive pre-cut squares couldn’t be easier to apply and they allow the board to really stay in place while writing on its surface. (And rest assured, I checked to make sure they survived the humidity and also came off the wall relatively easily!) One went on the four corners of the backside – both sides of the velcro stuck together at this point – then I positioned it on the wall and pressed for about 30 seconds.
I attached a dry-erase marker the same way, with velcro so it’s always handy when I need it.
I’ve used method‘s products in my home for years, their hand soaps and body washes favorites. I love that all of their products are naturally-derived and never tested on animals, a big plus in my animal loving household. These new foaming body washes are super moisturizing and smell amazing. They also manage to add a fun dose of color to my otherwise neutral bathroom. Head over to Target to try them for yourself now through October!
method Foaming Body Wash is sold exclusively at Target now through October 2015. This post is sponsored by method. As always all words and opinions are my own. Thank you for supporting the brands that help keep Design Crush going!