Make It: Paint Dipped Copper Necklace
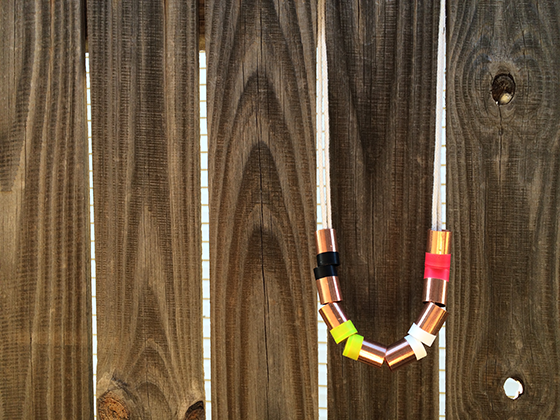
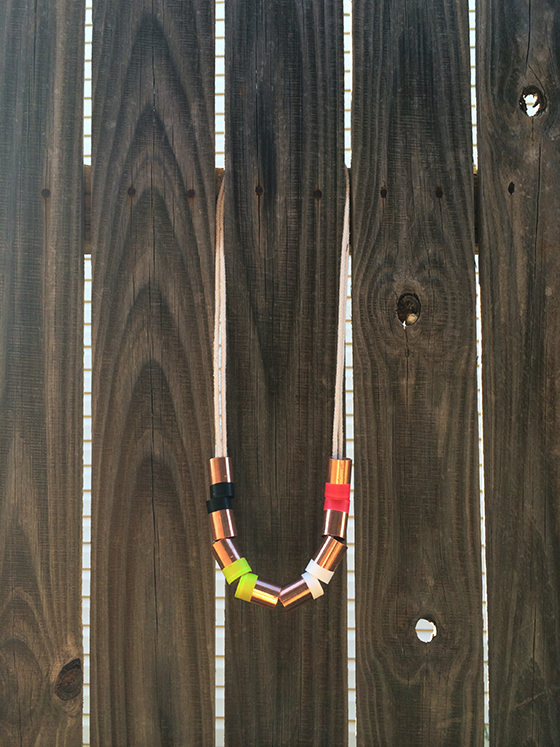
I’ve had the idea for this paint dipped copper necklace in my head for some time, and if you’re any sort of creator you know it’s always nice when the concept comes out even better than you anticipated! This guy is sure to be a staple in my summer wardrobe and offer some color to my mostly black, white, and neutral wardrobe. I love how customizable it is – use as many copper couplets and whatever and however many colors of paint as you’d like.
Supplies:
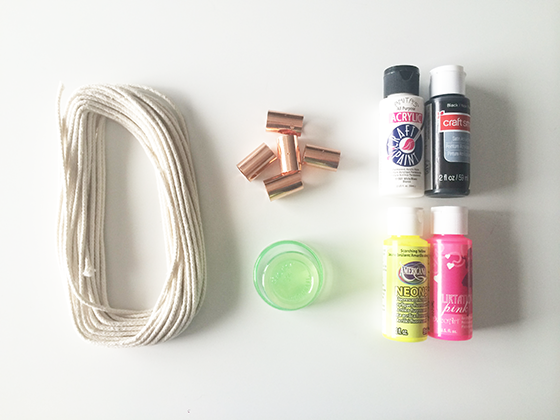
• copper couplets (I used 1/2″)
• 2 – 28″ lengths of 1/8″ cotton/polyester rope
• craft paints in the colors of your choice
• 4 oz plastic cups
• wax paper
• clear nail polish (optional)
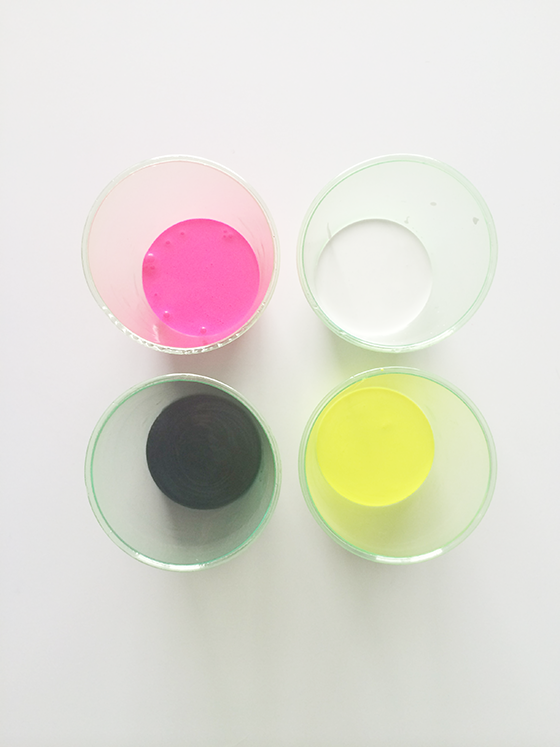
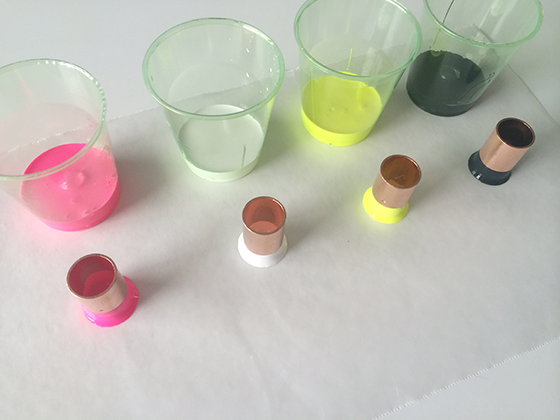
I chose neon pink, neon yellow, white, and black for my color palette. I like that the black and white keeps my necklace colors in tune with what I already have in my wardrobe, while the neons offer a pop of interest. Start by pouring about half an inch of paint into each of your plastic cups. (Because you won’t actually be using that much you can pour the remainder right back into the bottle post-dip!)
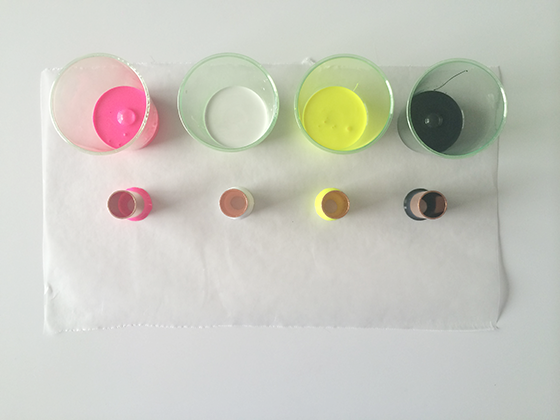
Tear off a short piece of wax paper and set your paint and cups on top of it. Dip one of the copper couplets into the paint making sure to touch it to the bottom of the cup, then remove and gently shake off as much of the excess as possible. Set couplet on the wax paper to chill out for a minute. Repeat with all couplets and paint colors.
After the couplets hang out for a bit (about 15 minutes) you’ll notice the paint beginning to pool at the bottom. The next step is simple – pick each one up and move it to a clean part of the wax paper. Wait another 30-45 minutes and do it again, except this time flip them over so they’re sitting on the unpainted end. So easy. Once they’re completely dry you can opt to do another round of dipping for extra coverage if you’re not satisfied. You can also coat the painted portions with some clear nail polish if you’d like added protection.
Only one step left! Snip off two lengths of cotton/poly rope and string up your copper pieces as desired, I settled on an end-to-end configuration after playing around for a bit. Tie the ends together (or use a clasp if you’re fancy) and call it a day.
Posted In jewelry, make it, wear it


